Please note that the full access to this content needs a subscription: please sign up.
For the sandwich enthusiast...
This recipe is a protected and only available for paid members. To obtain the full step by step recipe and detailed ingredients list, please sign up.
Preview the recipe
Hand kneading Instruction
- Dry milk can be replaced by using whole milk in place of the water. Use an equal amount by volume. In a large bowl, combine all ingredients until a cohesive dough ball forms. Transfer the dough to a clean, unfloured work surface. Knead using the palms and heels of your hands, pushing the dough away from you, then folding it back over itself.Continue kneading for 8 to 10 minutes. It is important not to add any extra flour, as this will change the dough's texture. The dough is properly kneaded when it is smooth, slightly tacky but not sticky, and has reached an internal temperature of 75-80°F (24-27°C).
Fermentation
- Place the dough in a large, lightly greased bowl. Turn the dough over once to coat it lightly in oil. Cover the bowl tightly with plastic wrap or a damp kitchen towel. Let the dough rise in a warm, draft-free place (ideally 75-85°F / 24-29°C) for approximately 30 minutes, or until it has almost tripled in volume.
Shaping & Proofing
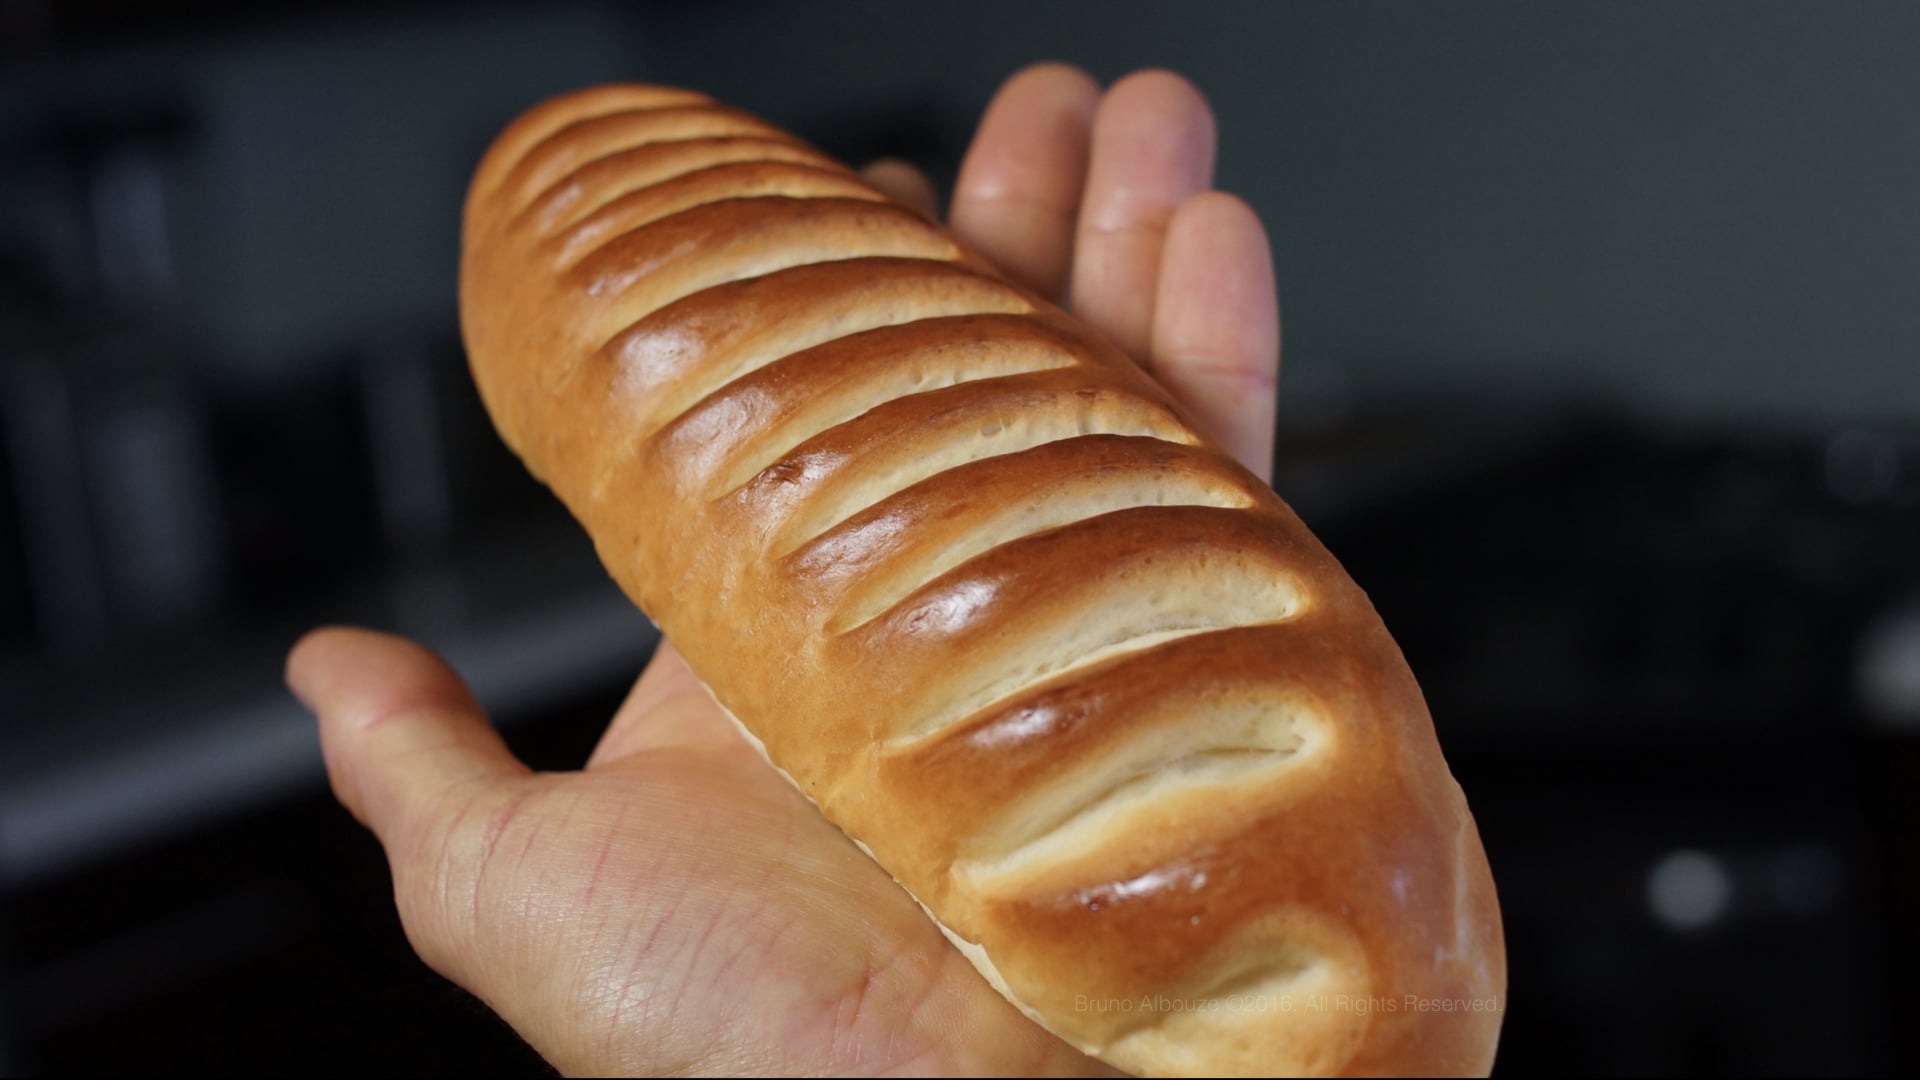
- Turn the dough out onto a clean work surface. (No extra flour is needed.) Divide the dough into 9 equal pieces, each about 100g. Gently pre-shape each piece into a round, then cover them with a damp kitchen towel and let rest for 15 minutes. After resting, deflate each round and shape it tightly into a bun approximately 8 inches (20 cm) long. Place the buns seam-side down on a parchment lined baking tray, spacing them 4 to 5 per tray. Apply an egg wash to the surface of each bun. Using the tip of a razor blade or a very sharp paring knife, carefully make a few shallow, diagonal slashes along the top of each bun. Cover the trays and let the buns proof for about 1 hour, or until puffy and nearly doubled in size.
Baking
- For best results when baking bread, using a pizza or baking stone is highly recommended. The stone creates crucial thermal mass, which helps generate a burst of steam for a superior oven spring and a crispier crust. Position your oven rack in the lower third. If your oven has a "Bake" setting (without convection/fan), use that. Place the baking stone on the rack and preheat the oven to 450°F (230°C) for 25 minutes to ensure the stone is fully heated.Carefully slide the proofed buns on parchment onto the hot stone. Bake for about 15 minutes. Once golden, remove the buns from the oven and transfer them immediately to a wire rack to cool completely to room temperature. Enjoy!
Storage
- Keep the Vienna bread at room temperature for up to 2 days. For longer storage, freeze it for up to 3 months.
Ready to discover this recipe? You're only 1 step away.
This recipe is only accessible to registered members!
Create your account to access all recipes and content of my website.
Join us now and enjoy more 800 recipes (Mostly French with European Influences, American Classics and Asian fusion)
Already register? Sign in


Appetizers
Beetroot Red Cabbage Mango Salad

Free Recipes
How To Prepare Red Cabbage Raw


Free Recipes
Apple Pie Traybake

Cakes
Olive Oil Chocolate Cake

Desserts
Spicy Chocolate Bar

Entrees
Deboning A Poularde Leg

Free Recipes
Chanterelle

Bread
Panettone Perdu

Free Recipes
Mustard Fig Spread

Free Recipes
Poularde Demi-Glace
