Please note that the full access to this content needs a subscription: please sign up.
Orange and chocolate
This recipe is a protected and only available for paid members. To obtain the full step by step recipe and detailed ingredients list, please sign up.
Preview the recipe
Quick Orange Marmalade
- To start off, you will need fresh mandarins. Bring a pot of water to boil and cook the mandarins for 2 minutes. This process helps soften the fruit and makes it easier to work with. Once cooked, cover the mandarins and let them sit overnight. This step allows the flavors to develop and intensify, resulting in a more vibrant jam. The next day, drain the mandarins and rinse them thoroughly. Remove the stems and slice the fruit, making sure to discard any seeds and tough membranes left behind. Transfer the prepared mandarins into a food processor and give them a few pulses to break them down. Add sugar and pectin to the food processor and pulse a few more times to incorporate the ingredients. Sugar helps sweeten the jam, while pectin acts as a natural thickening agent, giving the jam the perfect consistency. The combination of these ingredients creates a luscious and spreadable texture that is ideal for a jam. Once the mandarin mixture is ready, transfer it into a saucepan. Bring the mixture to a boil and cook it for 3 minutes to ensure that the flavors meld together. Stir the mixture occasionally to prevent it from sticking to the bottom of the pan. After cooking, allow the jam to cool to room temperature. Finally, transfer the mandarin jam into a clean jar or container. This homemade jam can be stored in the refrigerator for weeks, allowing you to enjoy it at your convenience.
Chocolate Crust
- In a food processor, cream together butter, salt, sugar, cocoa powder, and almond meal. Once the mixture is smooth, add in an egg followed by the flour in two separate additions. Pulse the mixture until just combined, being careful not to overmix. Wrap the dough and chill it completely to ensure it firms up. Next, dust your work surface with flour and lightly coat the pastry as well. Work the dough gently to soften it, ensuring that it remains cool yet flexible enough to roll out into a thin, 3mm sheet. Using a round cutter, cut out disks of dough measuring 12X4.8 inches (or 12cm in diameter) and refrigerate them for 30 minutes to allow them to rest. Grease pastry rings generously with butter to prevent sticking. Take a chilled disk of pastry between your hands to soften it slightly before gently placing it onto a pastry ring. Press the dough into the bottom and sides of the ring, taking care not to stretch it too thin to avoid breakage. Dust your thumbs with flour to prevent sticking as you rotate the ring and shape the tart shell evenly. Once the tart shells are formed, chill them again and let them rest for an hour. Using a paring knife, trim any excess dough along the edges horizontally for a clean finish. Prick the bottom of each shell a few times with a bamboo skewer before refrigerating them for up to a week or freezing them for future use.
Orange Syrup
- Bring to boil ingredients. Use syrup at room temperature.
Baking
- Fill each pastry shell with a tablespoon of orange marmalade. Next, generously fill each shell with almond cream, a rich and nutty filling that complements the bright citrusy notes of the orange marmalade. Once your pastries are assembled, pop them in the oven and let them bake to golden perfection at 350ºF/180ºC for 25 to 30 minutes. To add an extra layer of moisture and flavor, gently drizzle the cakes with some of the orange syrup.
Chocolate Mousse
- Soften gelatin sheets in cold water and then drain them. Next, melt dark chocolate over a water bath until it is just melted. Meanwhile, bring milk to a boil with sugar and then tempering it with beaten egg yolks, you'll create a luscious base for the mousse. Once the custard reaches the perfect temperature, around 185ºF/85ºC, remove it from the heat and stir in the melted gelatin. This step ensures that the gelatin is evenly distributed and will help the mousse set properly. Sieve this mixture over the melted chocolate, and gently mix them together to create a smooth and velvety chocolate base. In a separate bowl, whip heavy cream to soft peaks. Wait until the chocolate mixture cools to around 100ºF/38ºC before folding in the whipped cream in two additions. Gently mix everything together with a whisk to ensure a homogeneous mixture. Once the mousse is well combined, immediately fill your molds and smooth out the tops with a small offset spatula. Place the molds in the freezer and allow the mousse to set for at least 6 hours before unmolding. Any leftover chocolate mousse can be saved for later use, whether as a topping for other desserts or as a sweet treat on its own.
Glazing Chocolate Domes
- Start by removing the frozen chocolate mousse domes from the silicone mold. Carefully place them on a cooling rack set over a baking tray lined with plastic wrap to catch any drips from the mirror glaze. It's important to keep the domes frozen to ensure they hold their shape during the glazing process. Next, warm up the chocolate mirror glaze to 95ºF/35ºC, making sure to stir it occasionally to achieve a smooth consistency. For an extra level of finesse, you can use an immersion blender and sieve it to perfect the texture of the glaze before application. Once your glaze is ready, it's time to work your magic. Carefully pour the glaze over each frozen dome, ensuring a full and even coating.
Montage
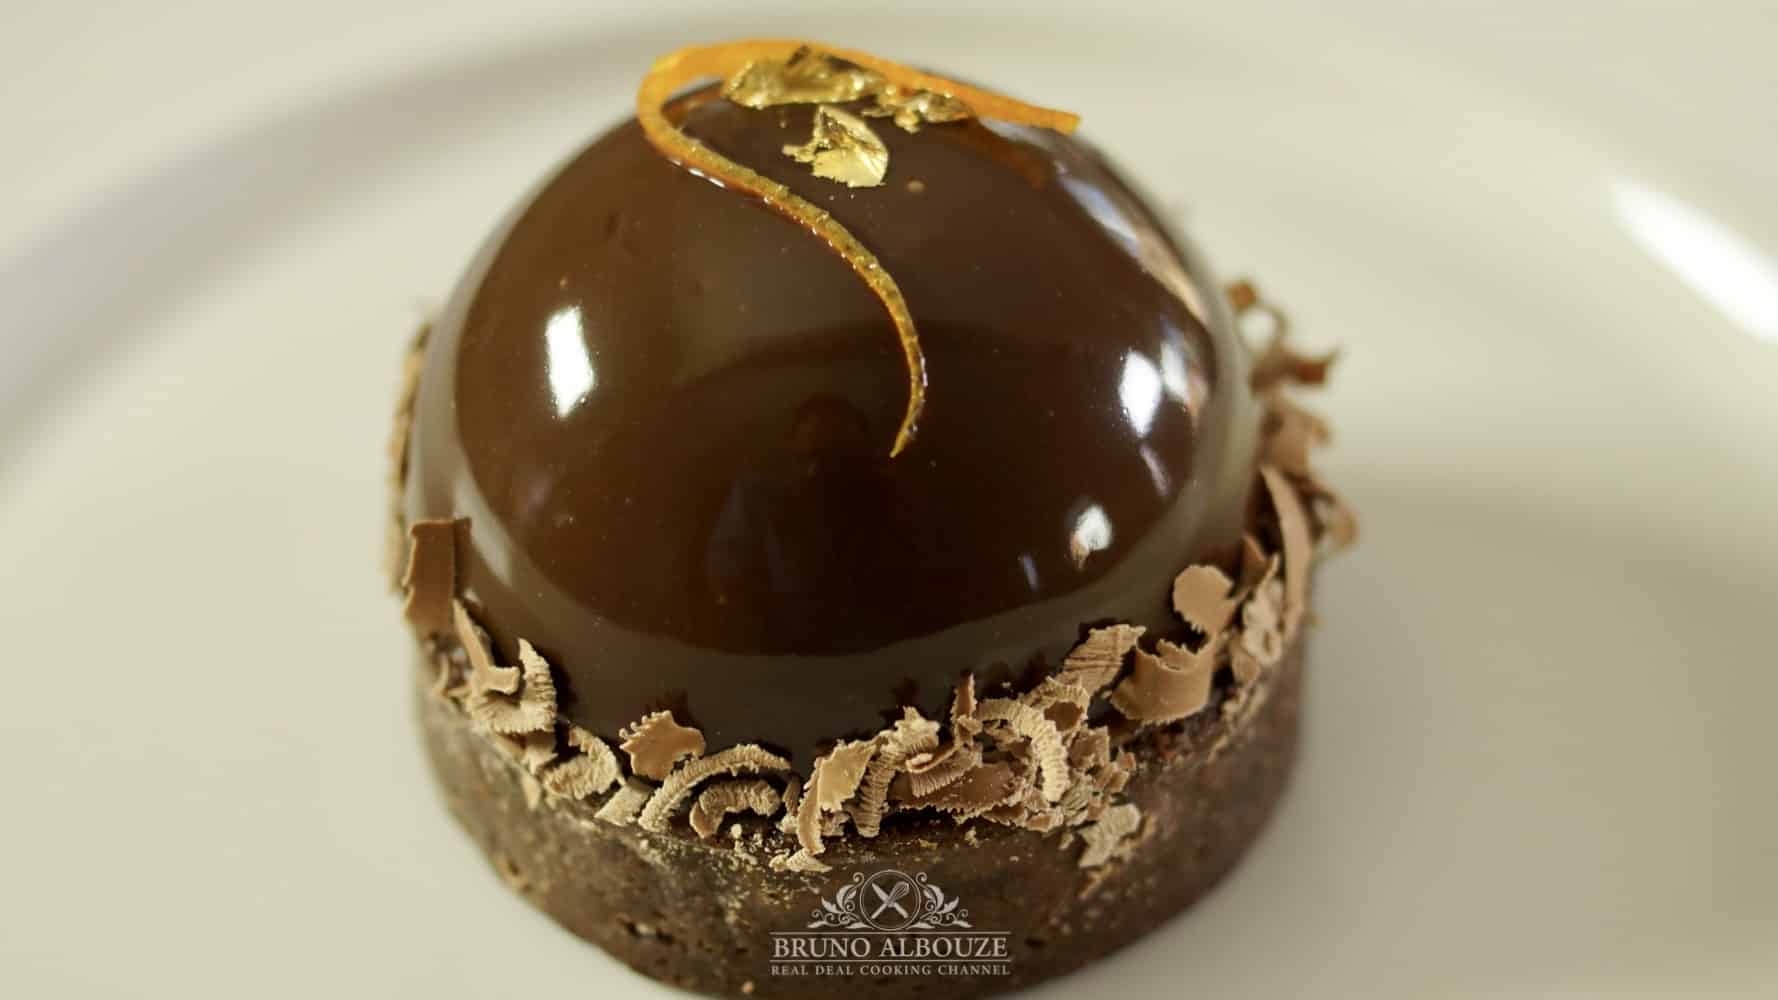
- To remove glazed domes from the cooling rack, warm up an offset spatula in hot water or quickly over a flame. Carefully run the spatula under each glazed dome to remove it from the cooling rack without damaging the cake. Once you have removed the domes, top each cake with them for a beautiful finishing touch. For an extra special decoration, consider adding a tiny string of milk chocolate shavings to the lower tier of the cake. If you want to take it a step further, top the cakes with gold leaf and orange zest for a luxurious and vibrant finish. Before serving, it's important to let the cakes thaw in the refrigerator. This will allow the flavors to fully develop and the textures to soften, resulting in a more enjoyable eating experience for your guests. Enjoy!
Ready to discover this recipe? You're only 1 step away.
This recipe is only accessible to registered members!
Create your account to access all recipes and content of my website.
Join us now and enjoy more 800 recipes (Mostly French with European Influences, American Classics and Asian fusion)
Already register? Sign in


Appetizers
Beetroot Red Cabbage Mango Salad

Free Recipes
How To Prepare Red Cabbage Raw


Free Recipes
Apple Pie Traybake

Cakes
Olive Oil Chocolate Cake

Desserts
Spicy Chocolate Bar

Entrees
Deboning A Poularde Leg
Free Recipes
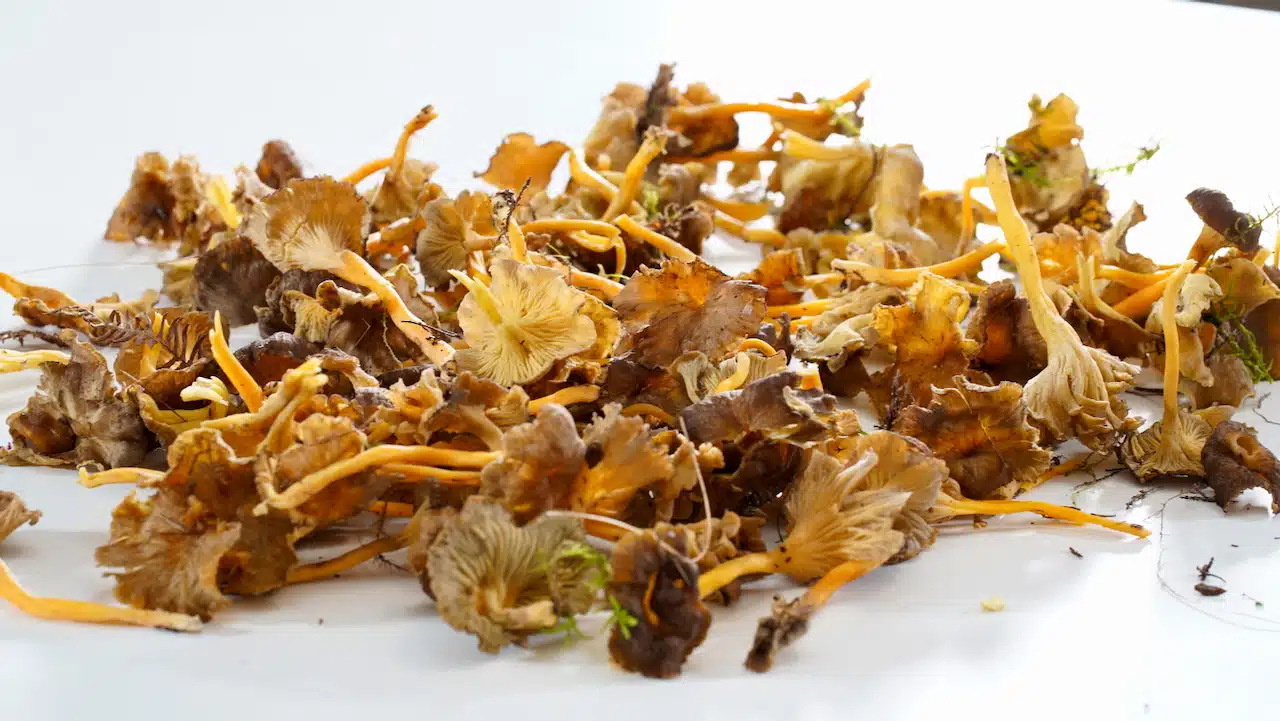
Chanterelle

Bread
Panettone Perdu

Free Recipes
Mustard Fig Spread

Free Recipes
Poularde Demi-Glace
