
Please note that the full access to this content needs a "Year at the table" subscription: please sign up.
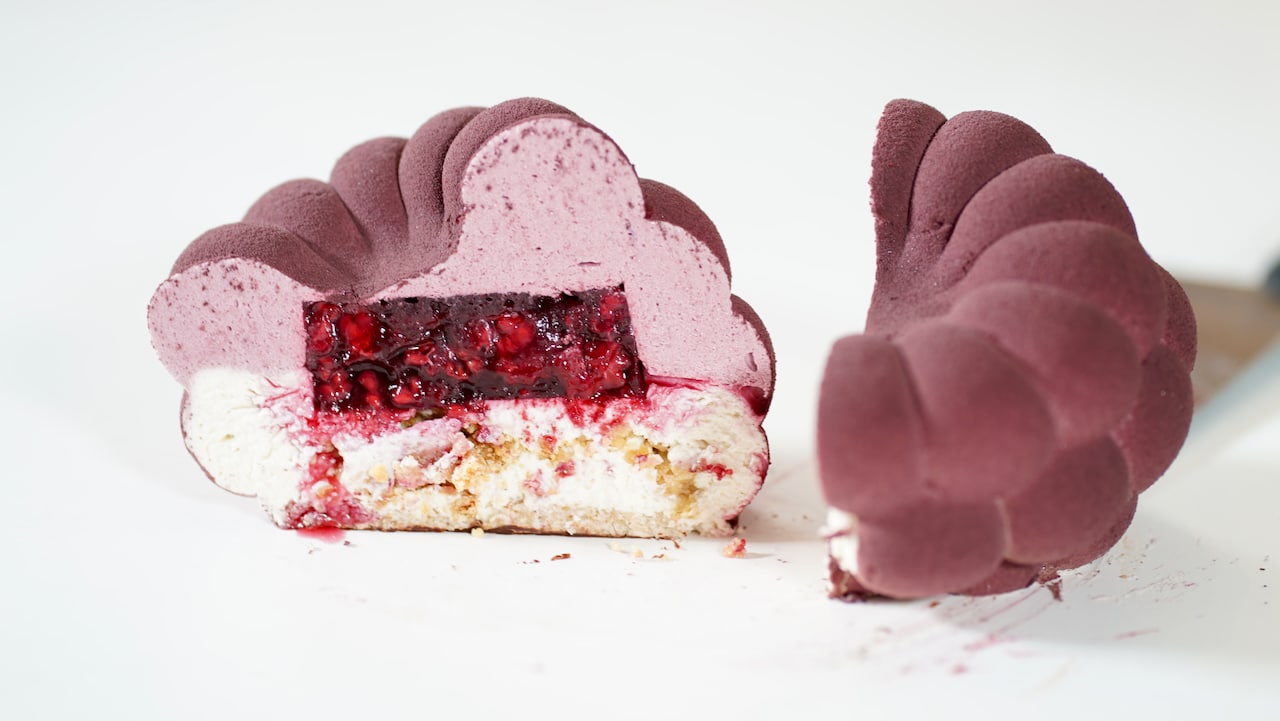
To look upon this creation is to be deceived by the most exquisite lie...
This recipe is a protected and only available for paid members. To obtain the full step by step recipe and detailed ingredients list, please sign up.
Preview the recipe
- Let the cake thaw in the fridge for 15-18 hours before enjoying it.

Raspberry Trompe L'Oeil Silicone Mold
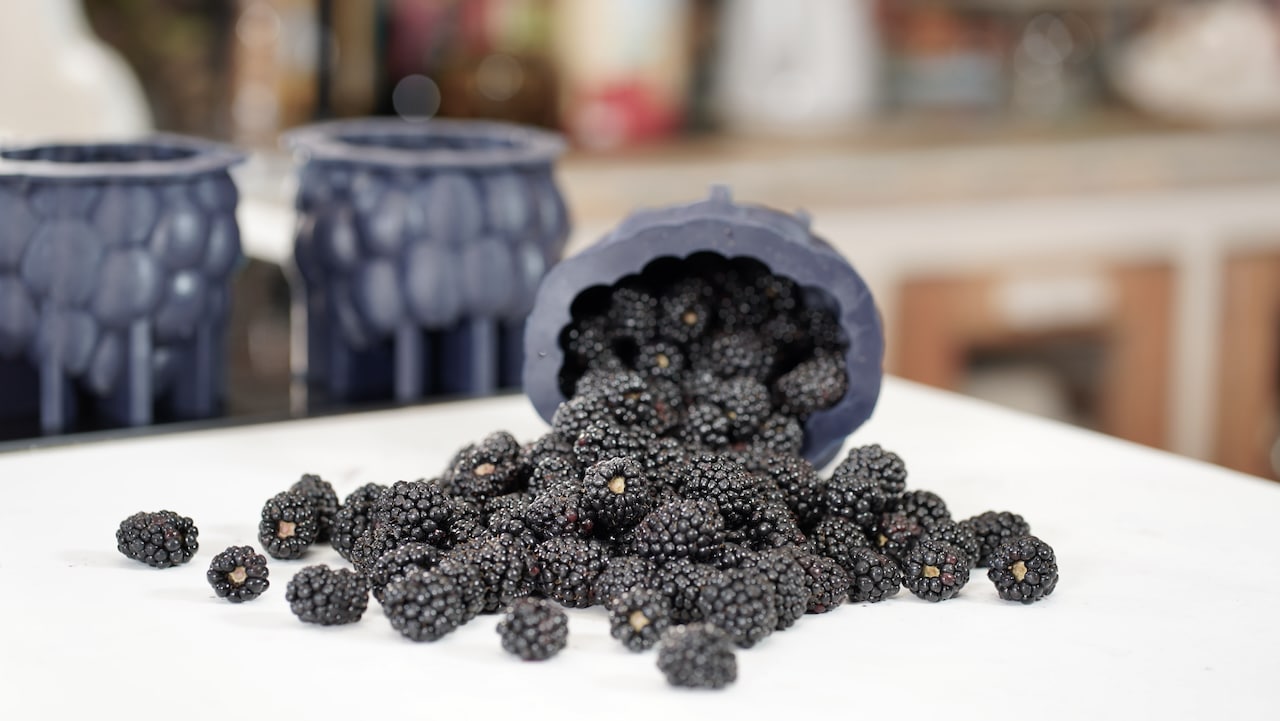
- Raspberry-shaped silicone molds are here used for blackberry trompe l'oeil cakes. A wide range of options can be found online. These can be found online in various styles: a 6-cavity sheet mold for smaller, bite-sized illusions, or a 12 cm diameter individual mold designed with a bottom foot for stability—perfect for a dramatic, standalone centerpiece. For reference, I purchased my silicone molds from Déco Relief; they measure 4.7 inches (12 cm) in diameter and have a combined filling capacity of 600 grams for one finished cake mold.
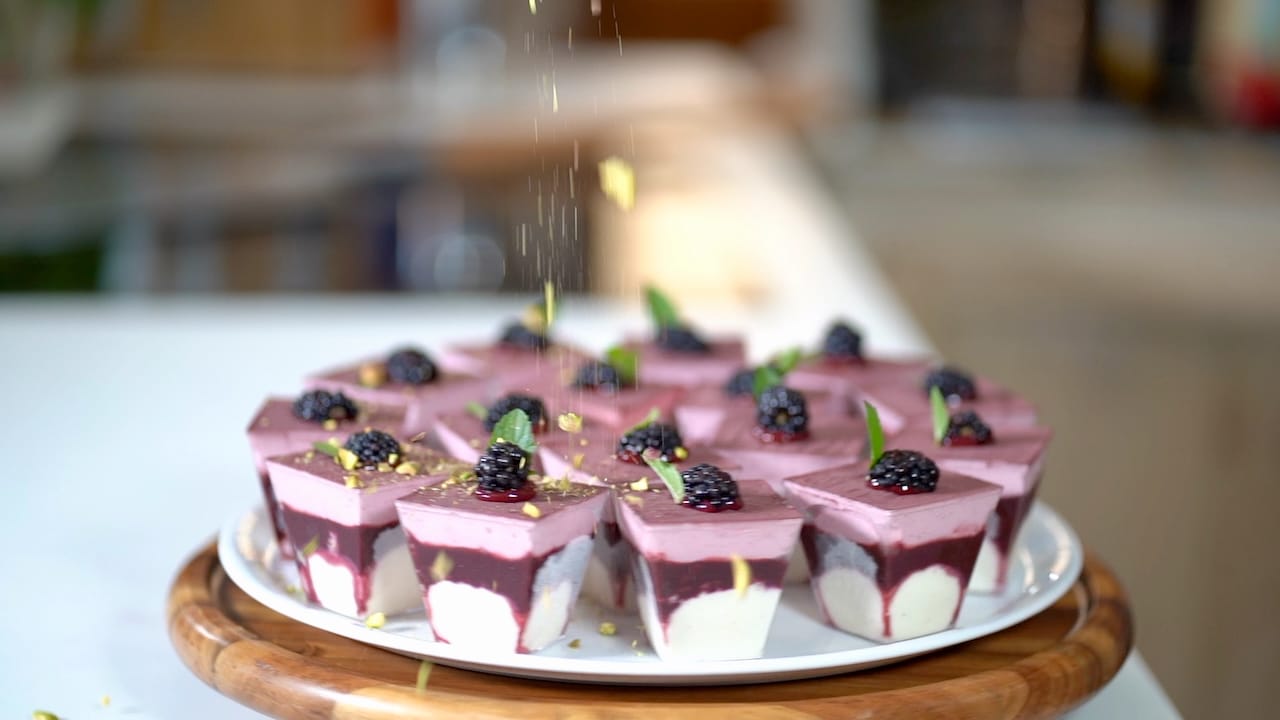
- And don't forget, when you end up having leftovers, it will always be saved to make Grab&Go dessert cups! For example: Blackberry Coconut Dessert Cups.


Blackberry Insert
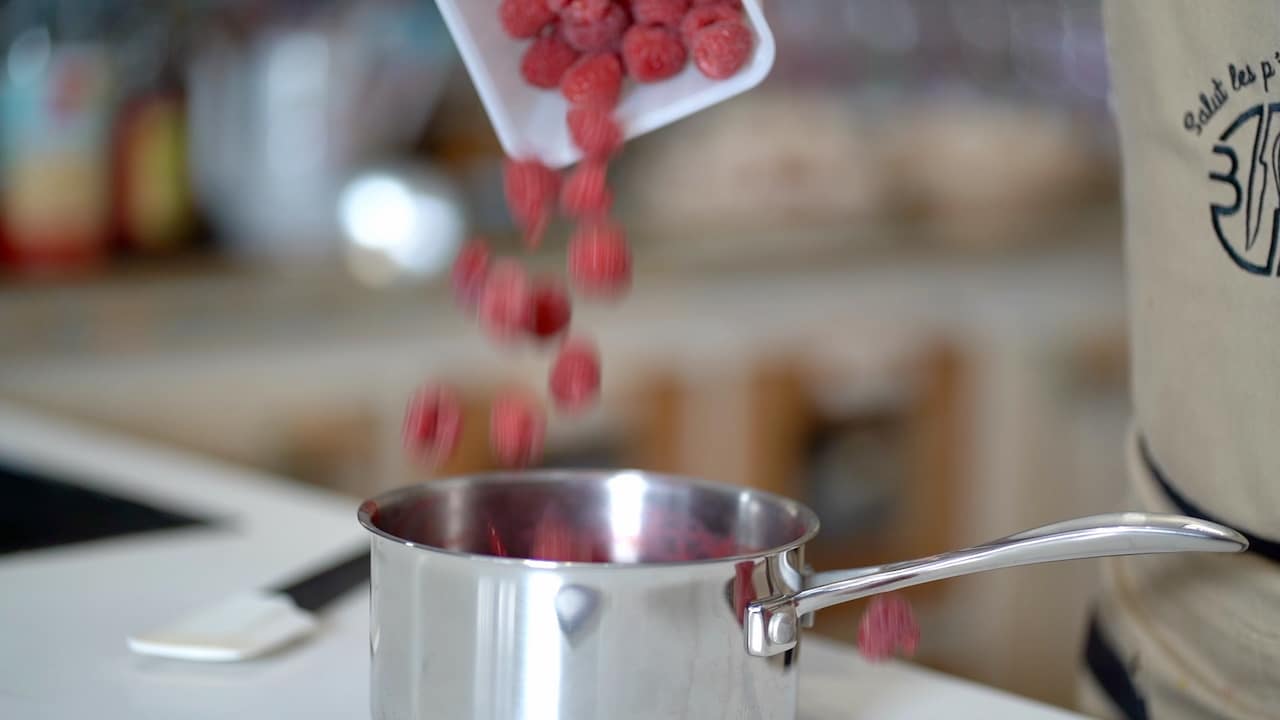
- Soak the gelatin sheets in ice water until softened, then drain and squeeze out the excess water. In a medium-sized saucepan, heat the blackberry purée and the sugar mixed with the pectin over medium-low heat. When it boils, cook for 2 minutes. Add lemon juice and remove from the heat.
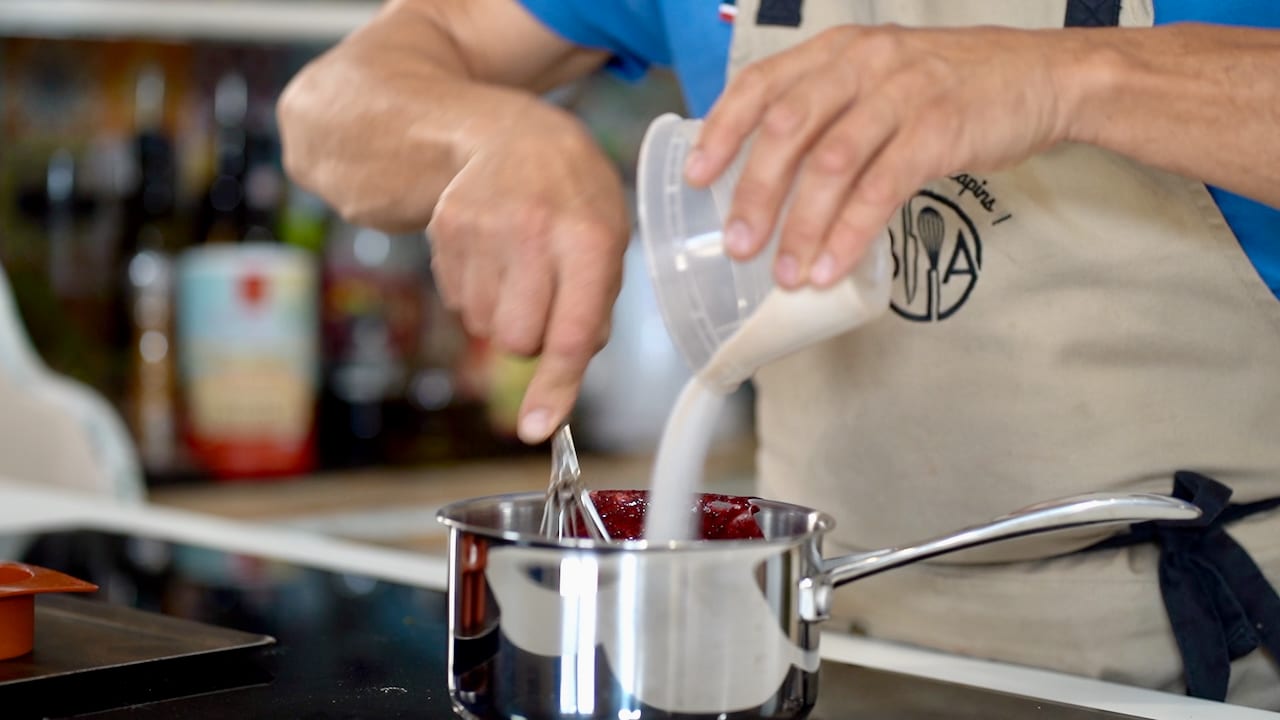
- With the whisk, incorporate the bloomed gelatin and then the fresh red fruits.
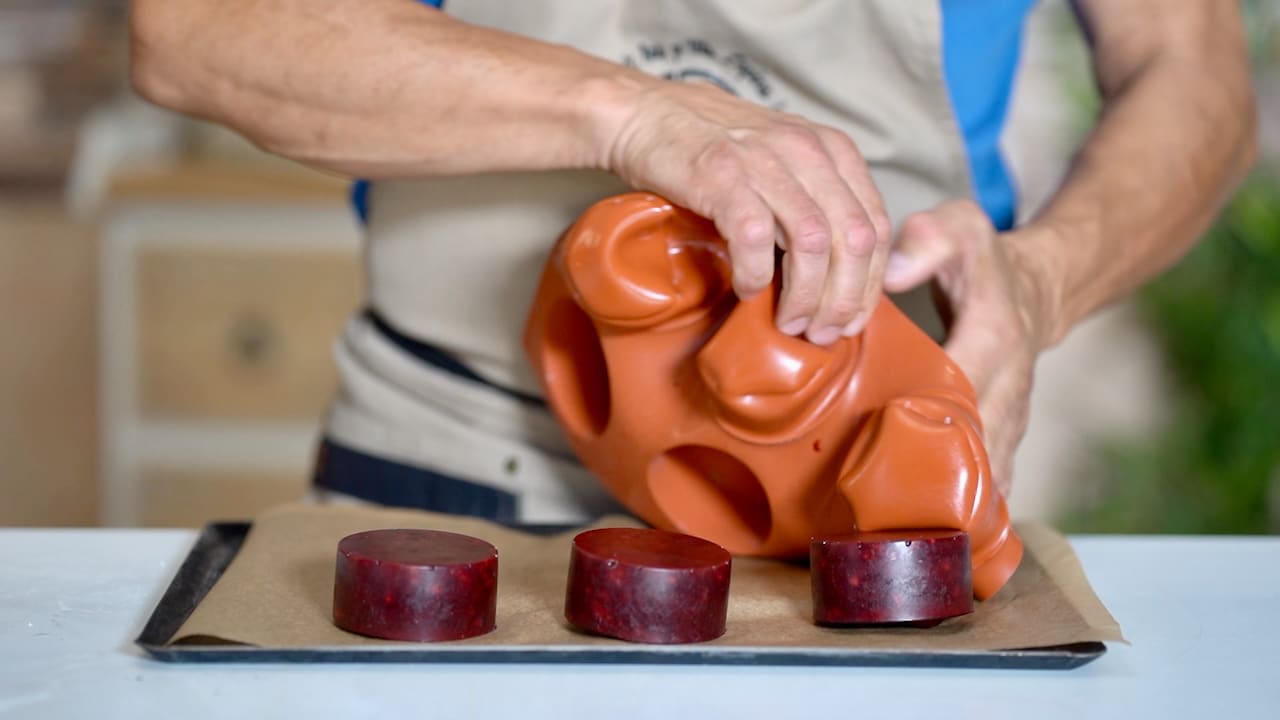
- Fill the half-sphere silicone molds (3.5 oz / 100-130g max per cavity, per cake). Freeze for at least 6 hours before unmolding. Remove the frozen raspberry inserts from the molds and keep them in the freezer.


Coconut Dacquoise
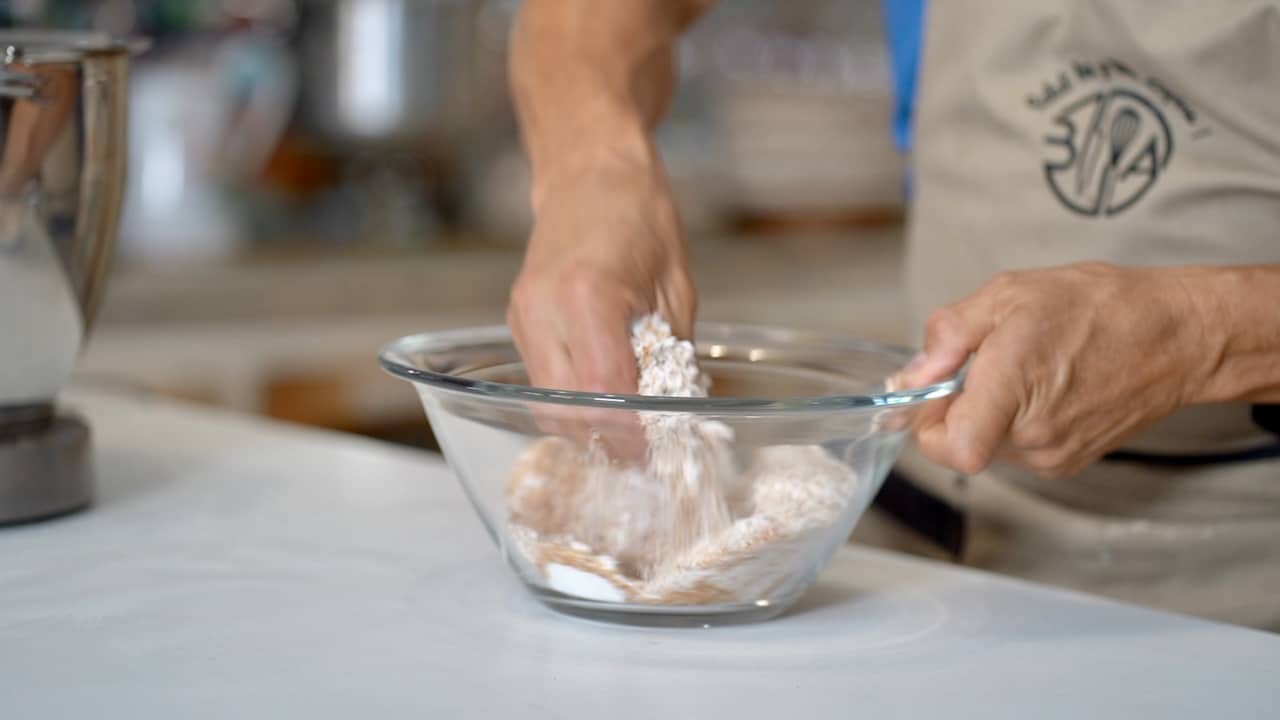
- Grease and line the rimmed baking tray with parchment. In the stand mixer fitted with the whisk attachment, beat the egg whites, cream of tartar, and white sugar on medium speed keeping the mixture on the foamy stage. Meanwhile, lightly toast the shredded coconut in a skillet or in the oven. In the food processor, pulse the powdered sugar and almond meal. Transfer powders into a bowl and then combine with the toasted coconut.
- Set your fan oven to 340ºF (170°C). Increase the mixer speed to high and beat until stiff peaks form.
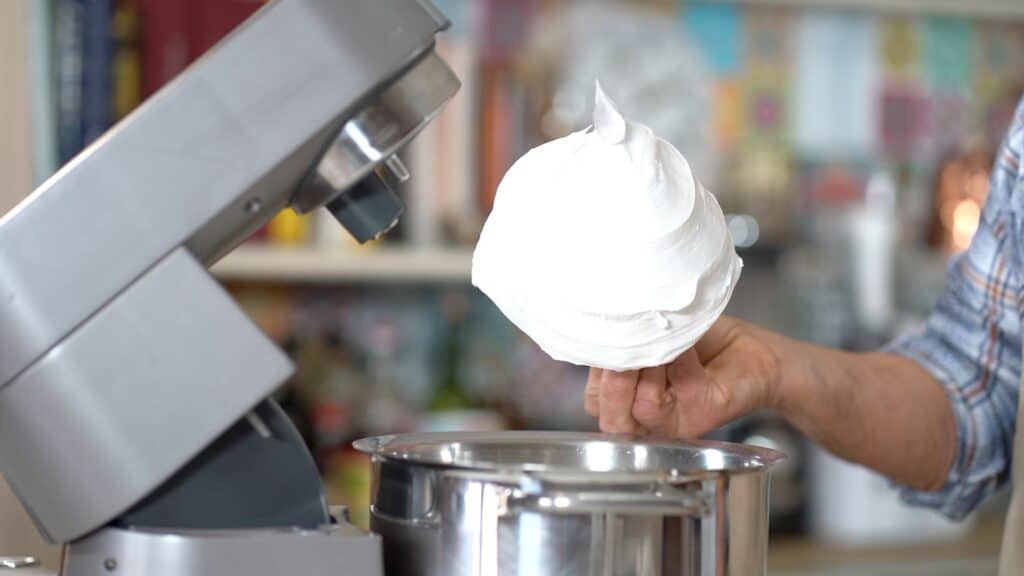
- Stop the mixer and fold in the dry ingredients.
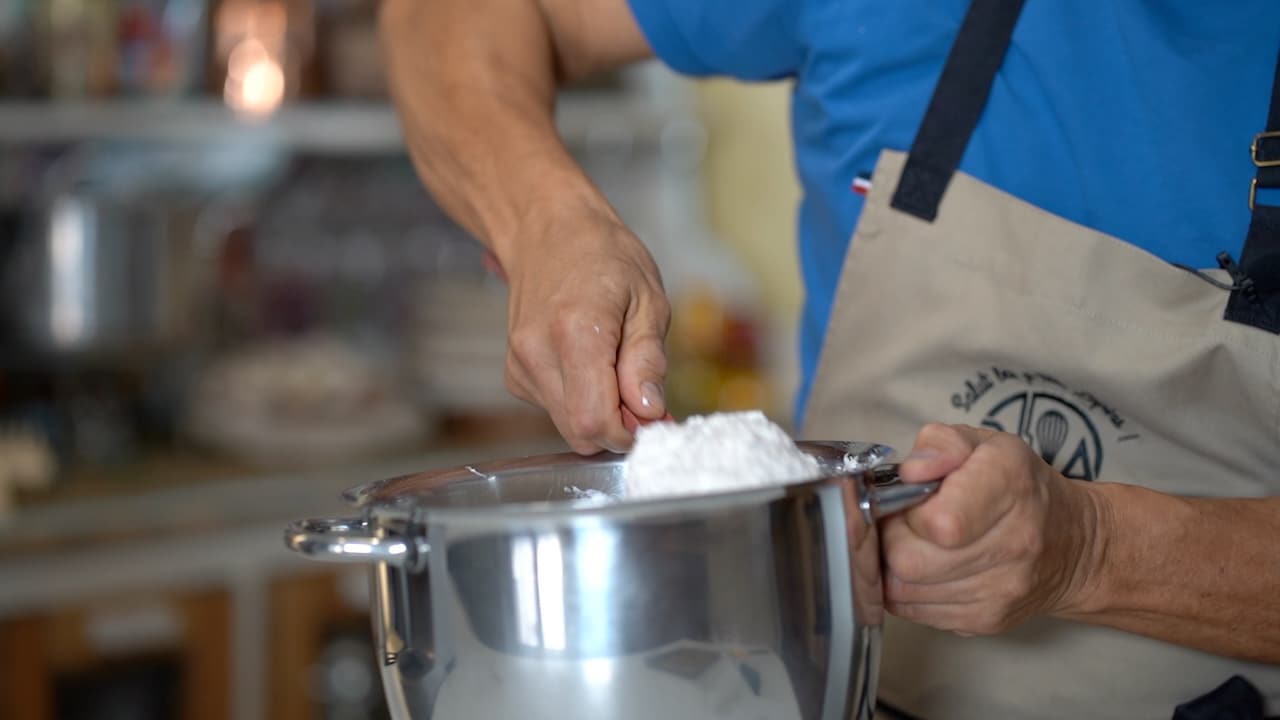
- Spread the coconut dacquoise mixture into the prepared baking tray.
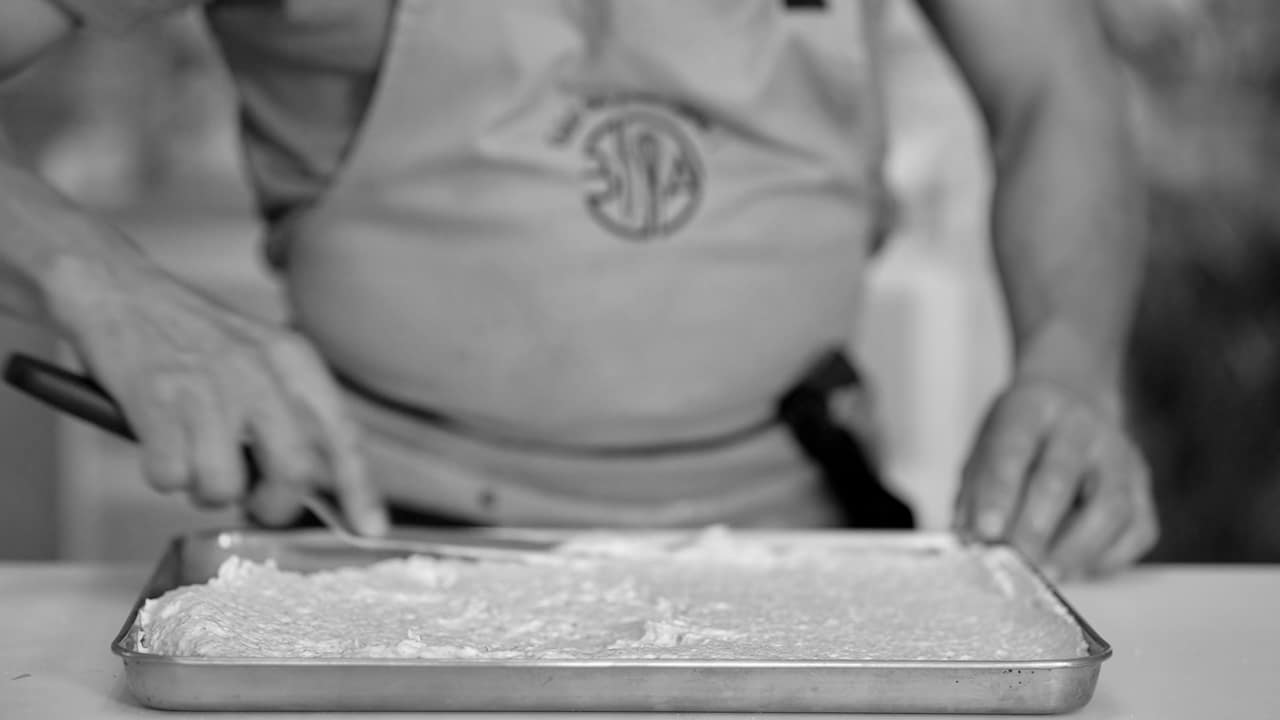


Baking
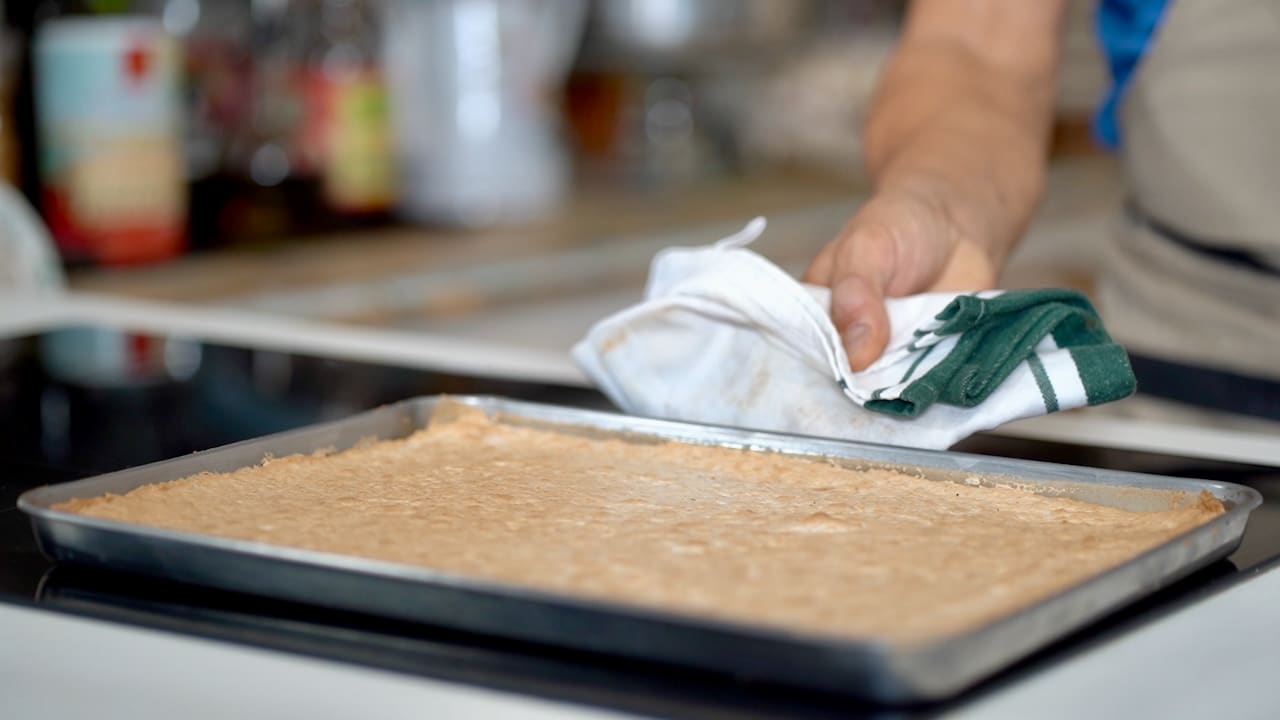
- Bake coconut dacquoise for 12-15 minutes. Let cool and freeze. Top the biscuit with parchment, flip it and remove the parchment. Cut into desired size discs, and freeze. Save leftovers for future desserts.

Coconut-Vanilla Ganache Montée
- Soak the gelatin sheets in ice water to soften, then drain and squeeze out the excess water. Meanwhile, melt white chocolate over a bain-marie on a gentle heat. Remove from the heat once just melted.
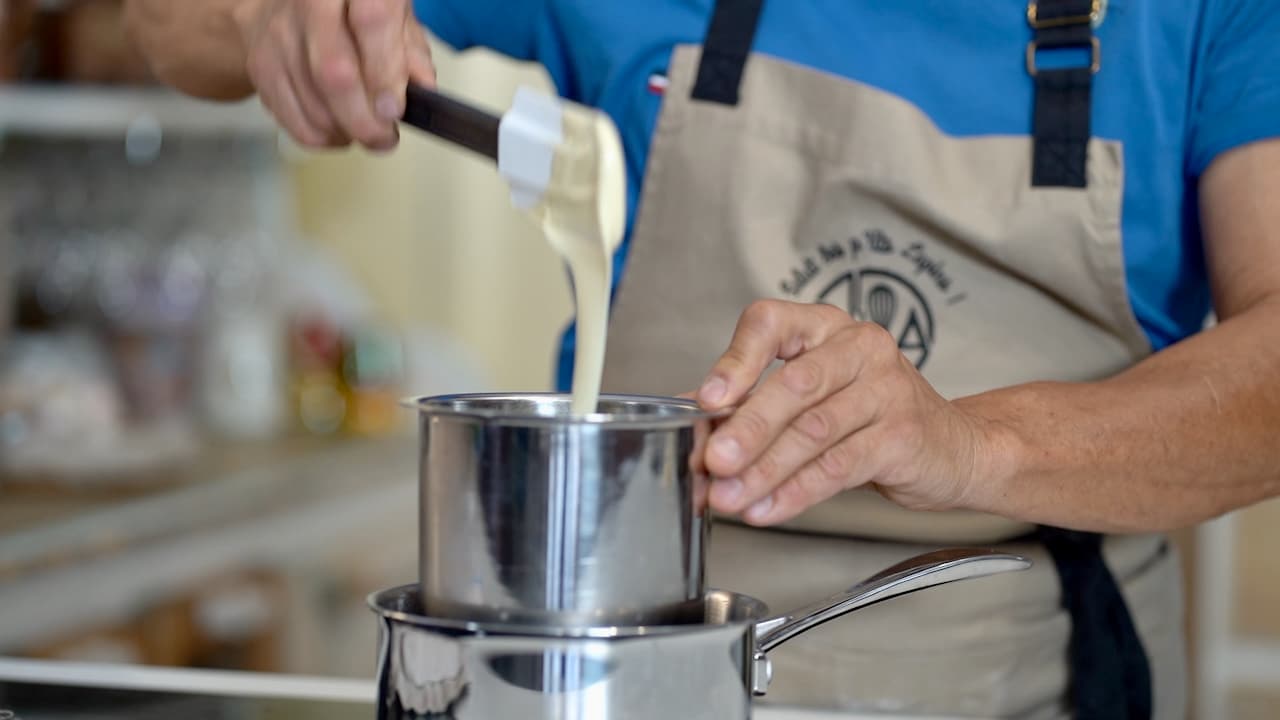
- In a saucepan, bring to a quick boil coconut cream, heavy cream and vanilla. Remove from the heat and pour over the melted white chocolate. Blend with the an immersion blender.
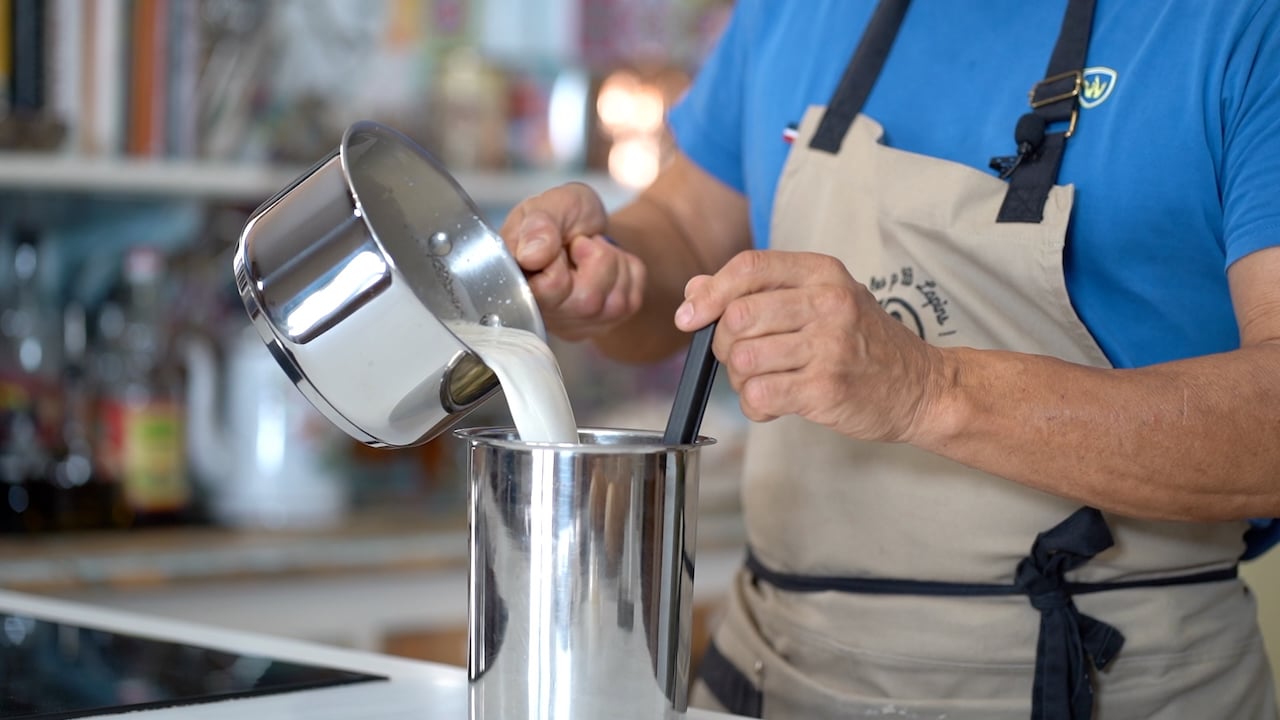
- Add in the bloomed gelatin, blend and then add the remaining chilled heavy cream. Mix well and refrigerate the ganache montée overnight to set completely before whipping. Whip ganache montée right before using it.


Blackberry Mousse
- Soak the gelatin sheets in ice water until softened, then drain and squeeze out the excess water. Heat the blackberry puree with the sugar to about 140°F (60°C). Remove from the heat and whisk in the bloomed gelatin. Transfer the fruit puree to a large bowl and let it cool to 95ºF (32-35°C).
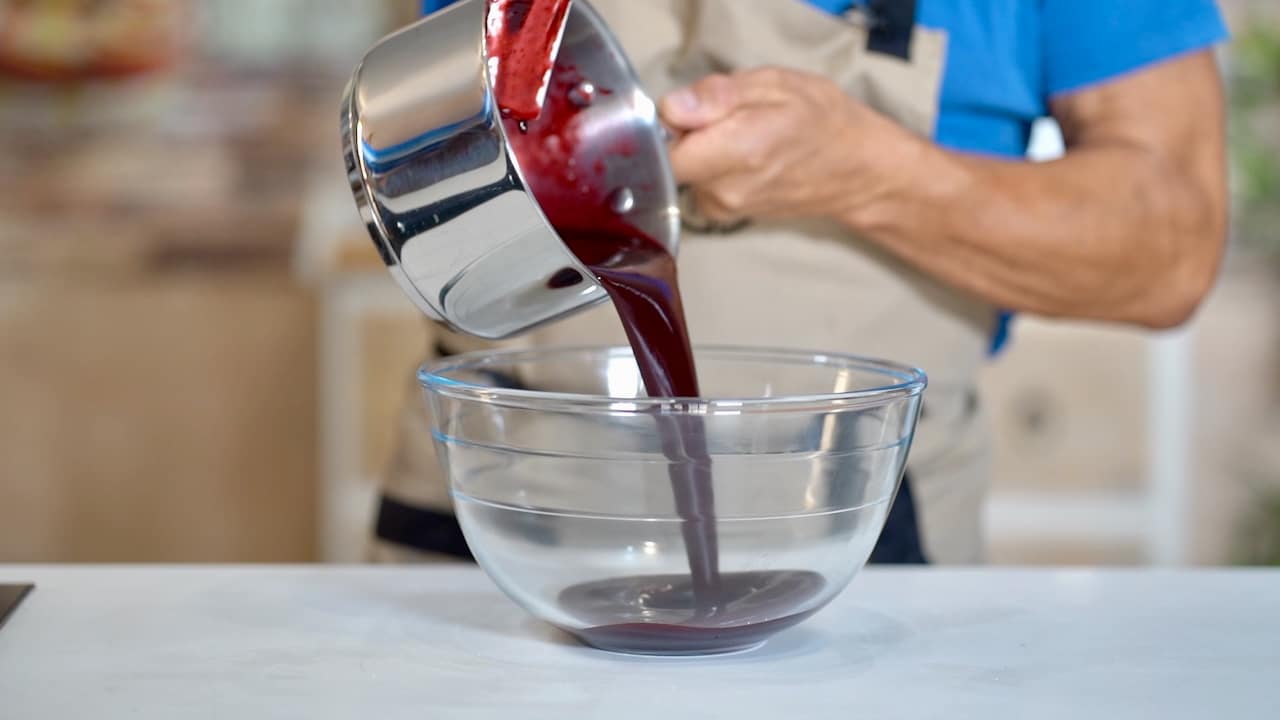
- Whip the chilled heavy cream to medium-soft peaks (keep it supple).
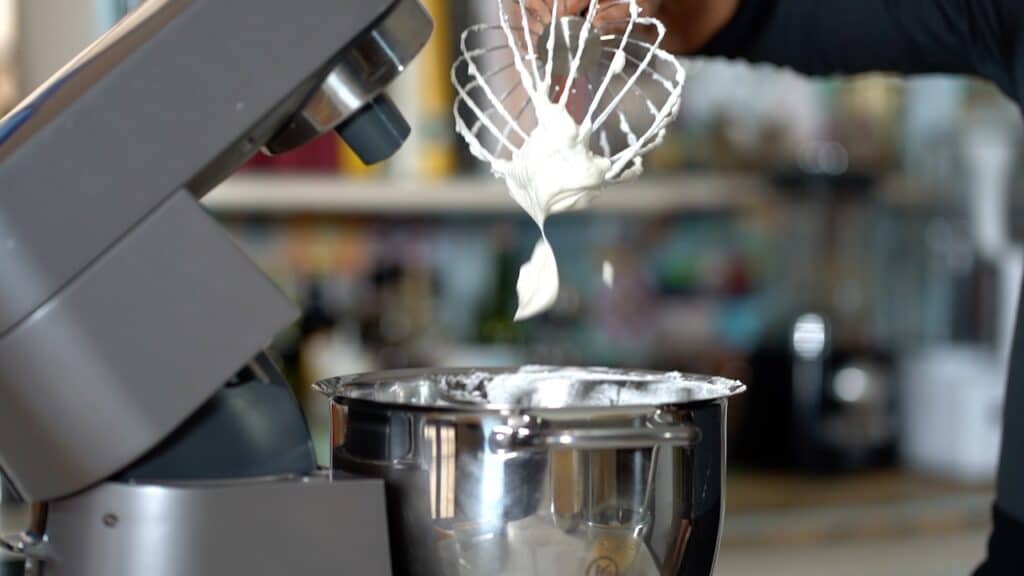
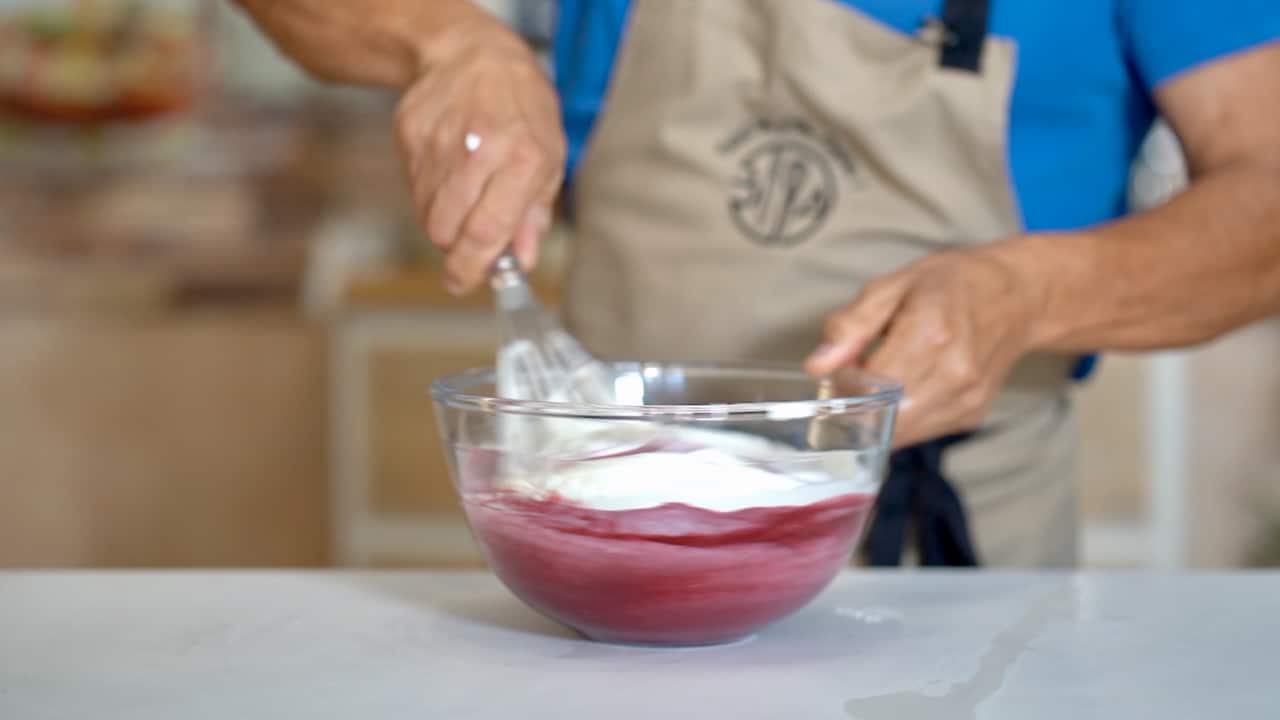
- Fold the whipped cream into the tempered blackberry puree with the whisk. Don't clean the mixing bowl and whisk, transfer the chilled coconut ganache montée into it and keep refrigerated. It will be used next.


Cake Assembly
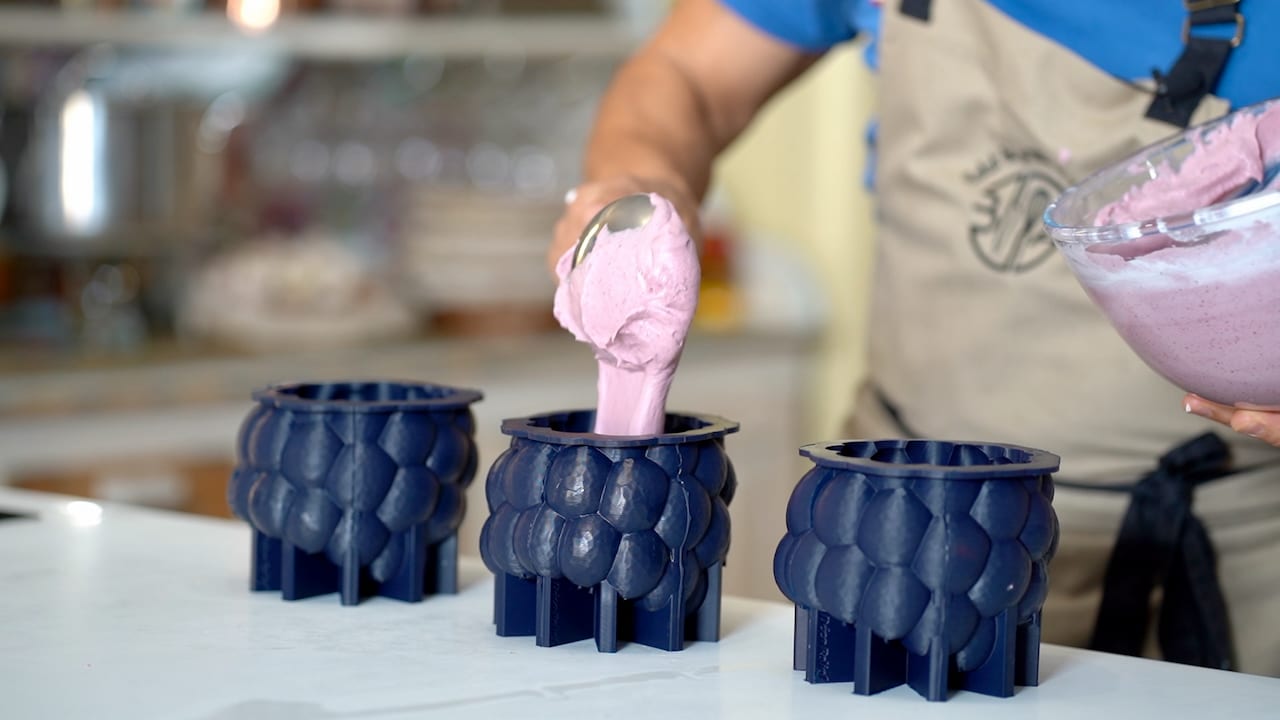
- Fill each silicone mold with the blackberry mousse to 60% capacity (300g). Gently tap and massage the mold.
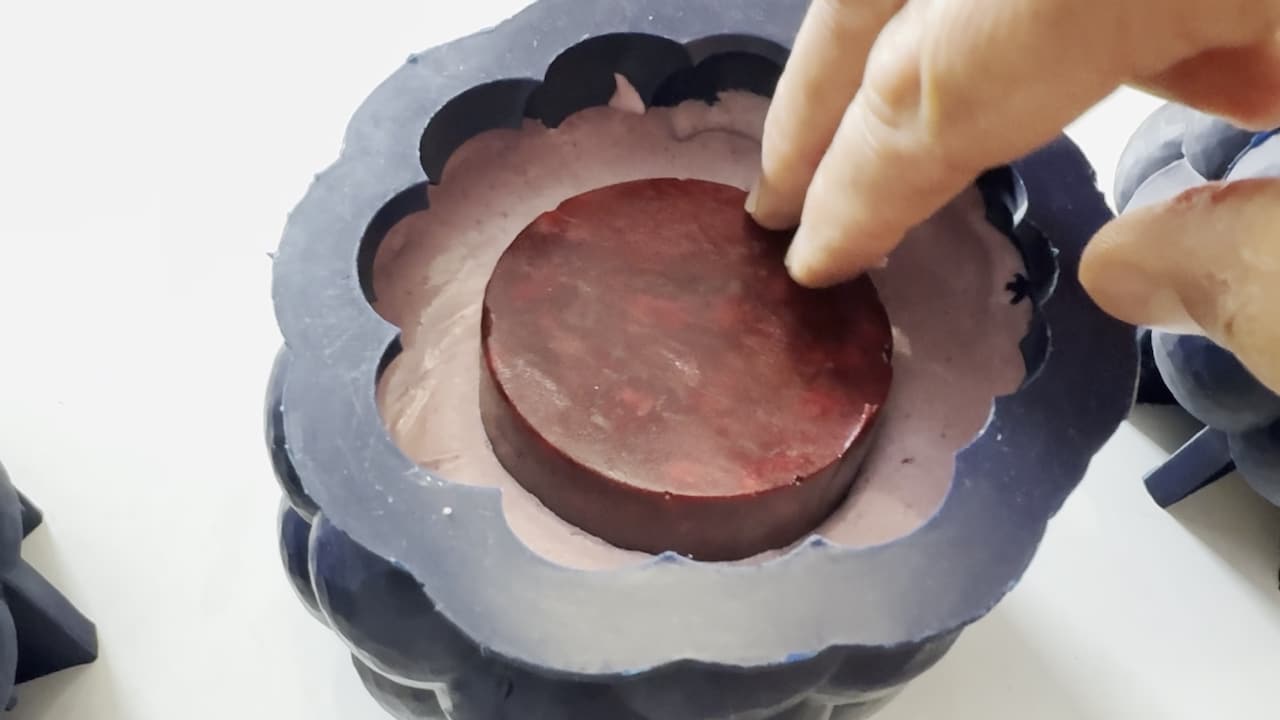
- Add the blackberry insert and gently push it down (dome side down). Avoid refrigeration for now.
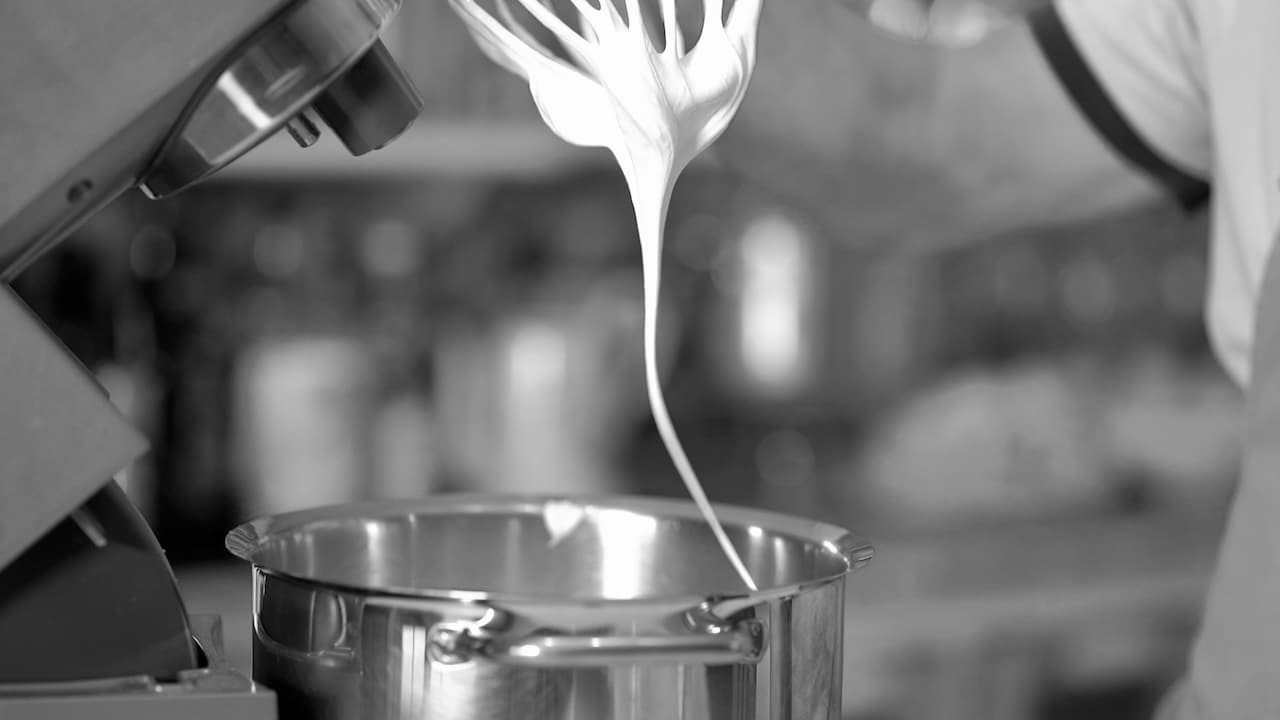
- Whipping ganache montée: Whip ganache montée to soft peaks. Avoid over whipping otherwise it wont spread well into the silicone mold. So, stay close to your stand mixer!
- Immediately, pipe a generous rope of ganache montée all around the sides of the mold and in direct contact with the blackberry mousse. Gently tap the mold, then use a tablespoon to lift the mousse upward, ensuring the drupelet cavities are completely filled. Add more filling if necessary.
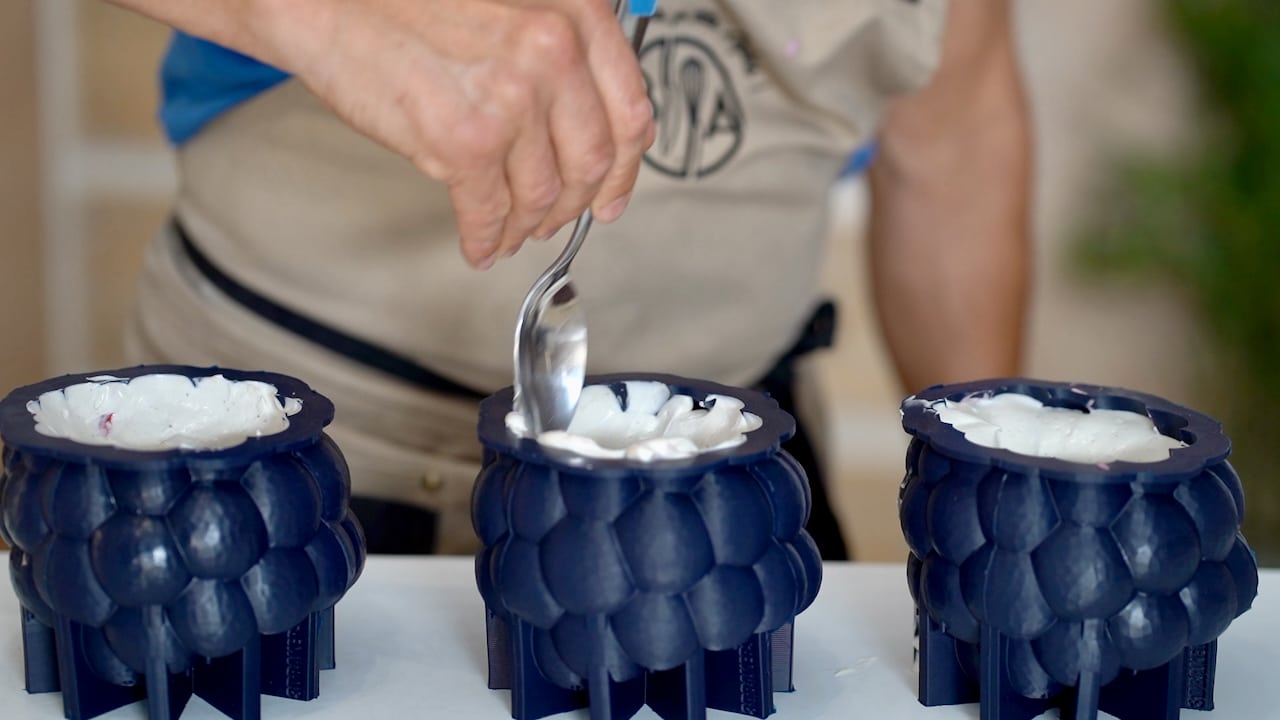
- Add a layer of crumble (crush it into small pieces), and top with more coconut ganache montée, almost up to the top (leave a little room for the dacquoise).
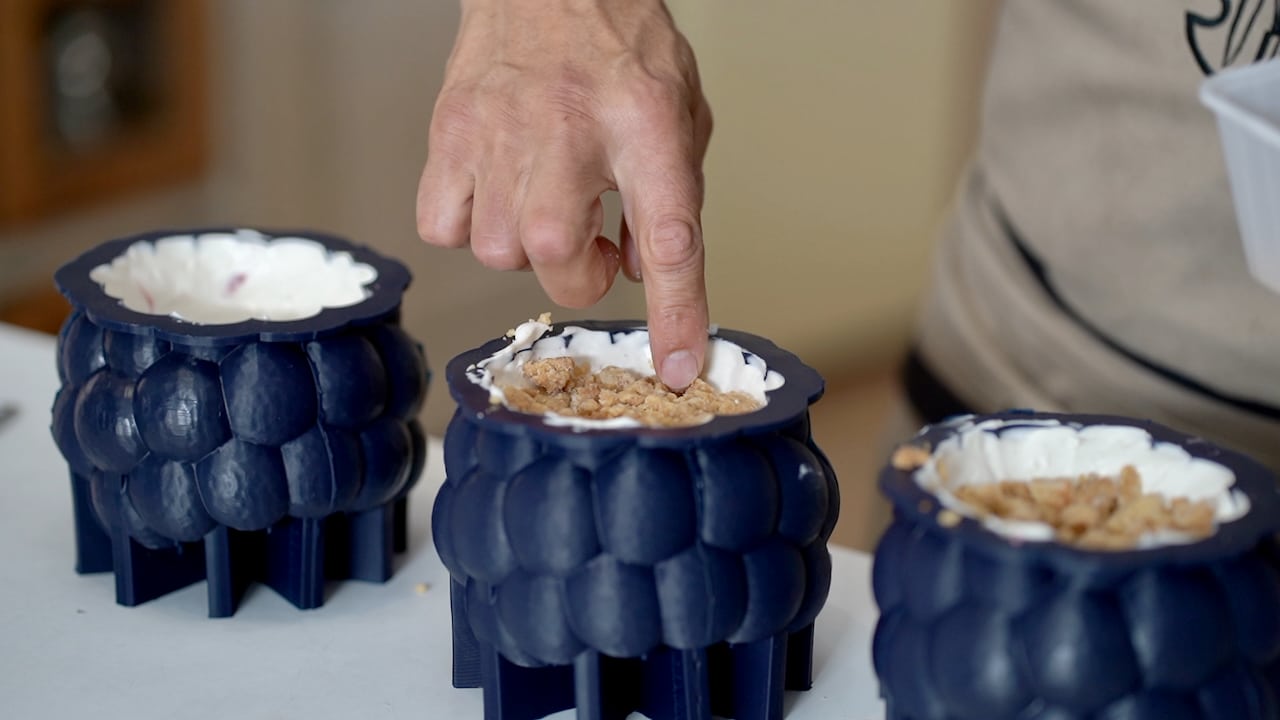
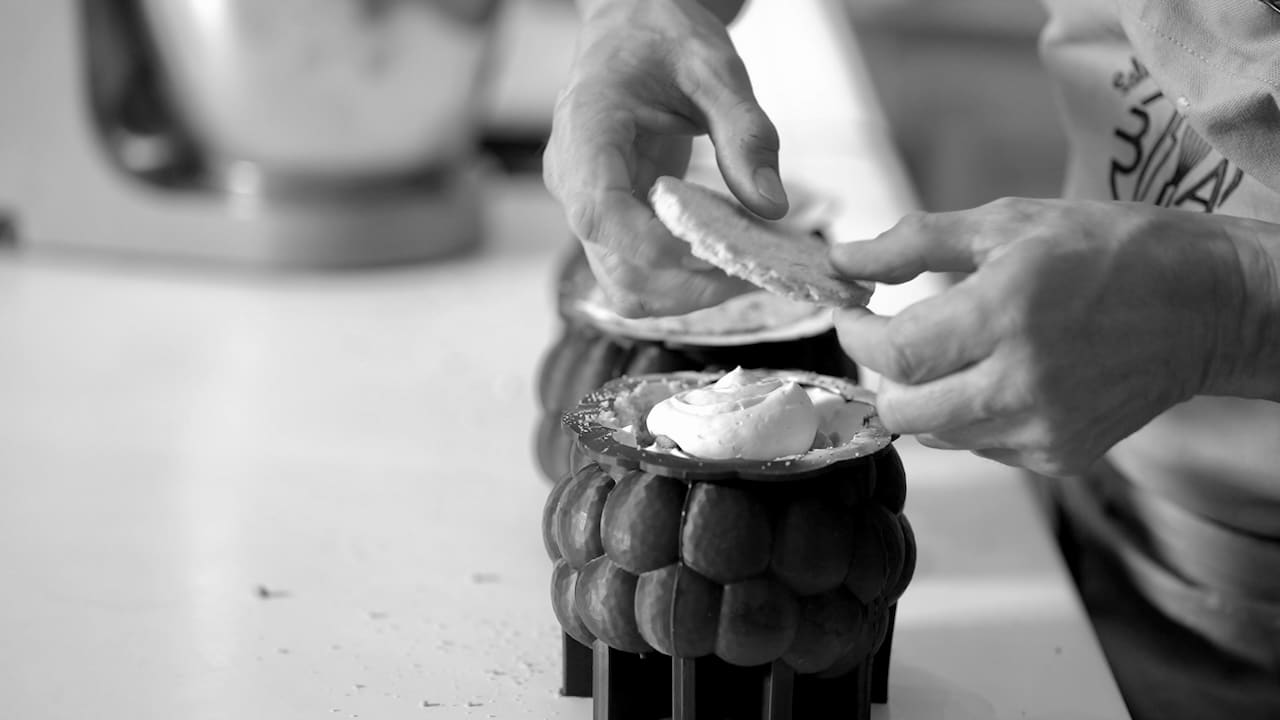
- Lastly, pipe a dollop of filling and enclose each cake with a coconut dacquoise disc. Freeze cakes overnight or for up to 3 months. Demold the cake the day it will be glazed.


Chablon
- Chablonner is a technique consisting of thinly coating the bottom of a cake with a mixture of melted dark chocolate and oil. It is meant to seal and strengthen the base. It can be done before freezing the cake or after. This step is optional.
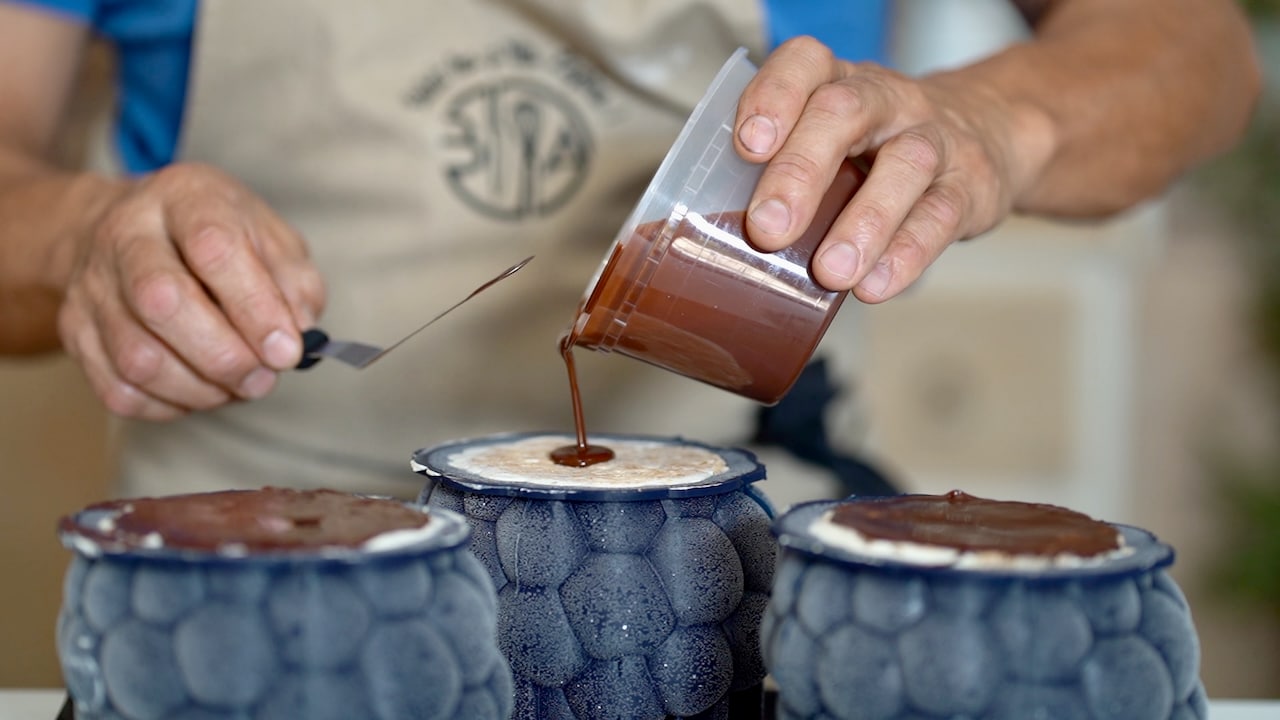

Demolding
- To unmold a frozen cake assembled in a silicone mold, invert it onto a frozen baking tray. Once unmolded, return the cake to the freezer until you are ready to glaze it.
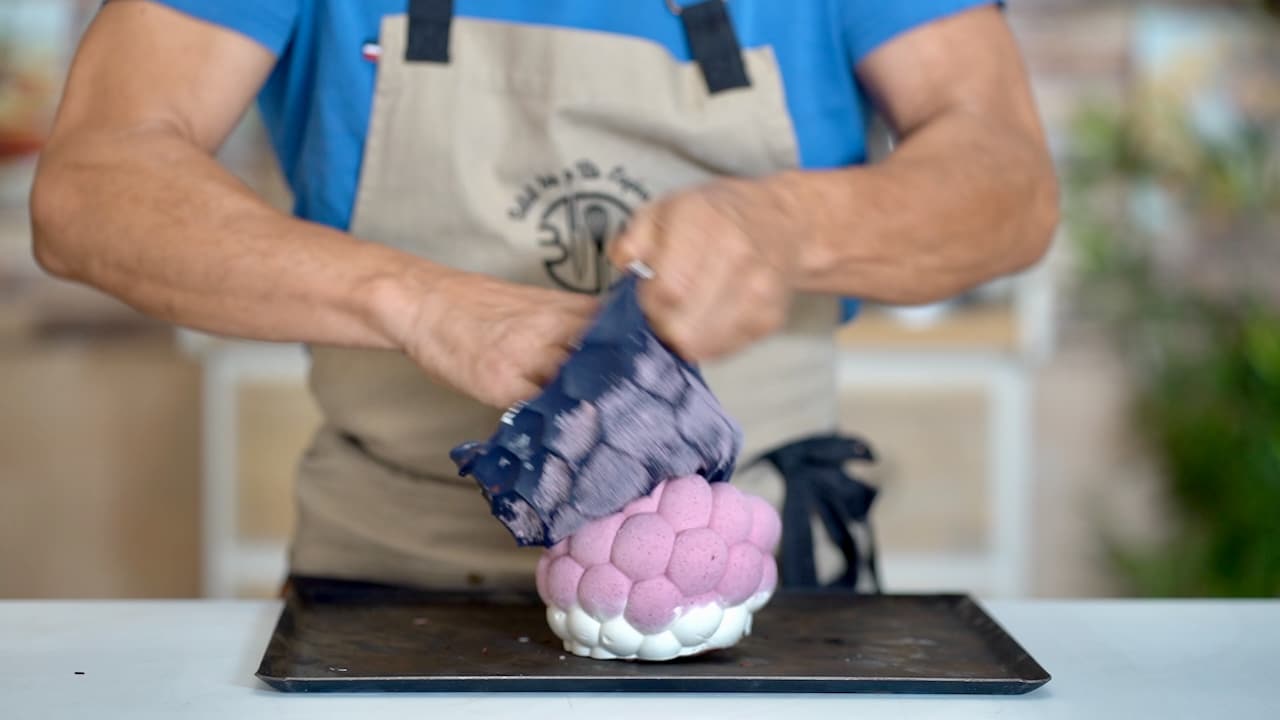

The Finishing Touch
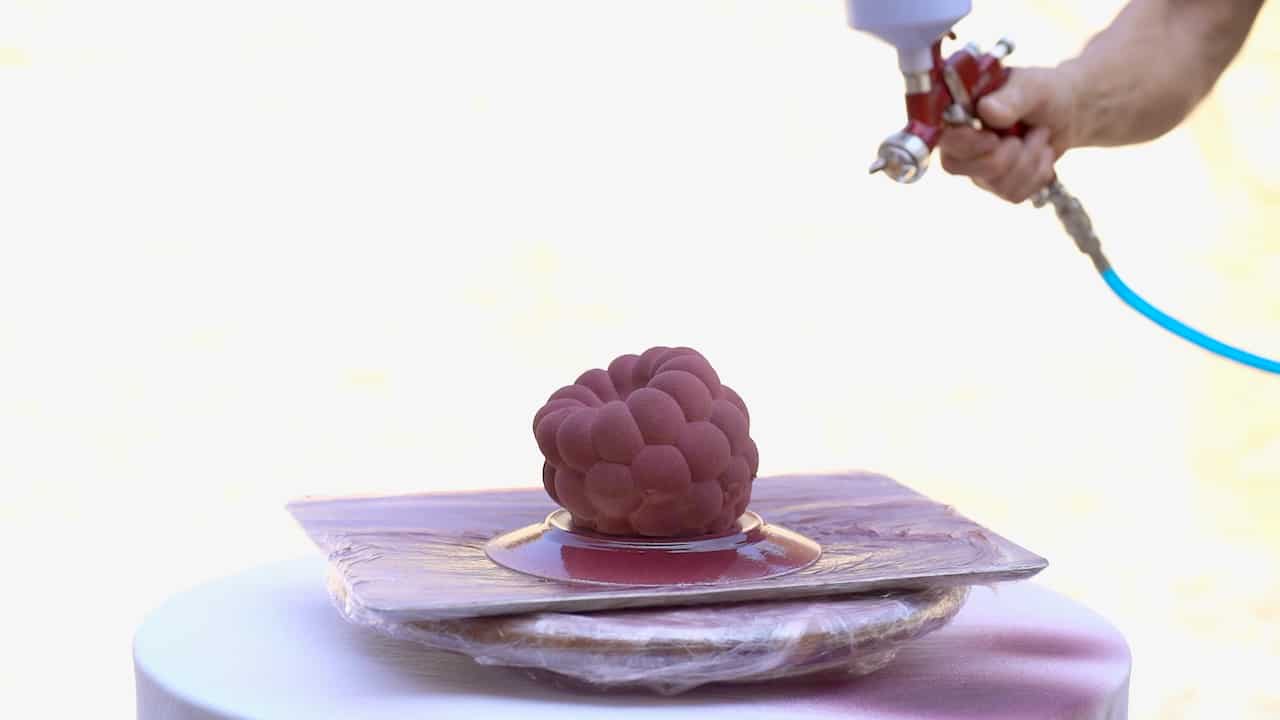
- To finish the cake, follow the chocolate spray tutorial. To mimic the color of a blackberry, add black food coloring until you reach the desired tone, and add a touch of red food coloring to enhance the effect.

This content is part of the PREMIUM SECTION

This recipe requires a All-content access subscription. The Premium section includes more than 50 essential recipes from French pastry and a special section for mastering artisanal bread.
The Premium section is only accessible with "A year at the table" subscription. Discover it with special first year discount.