Please note that the full access to this content needs a "Year at the table" subscription: please sign up.
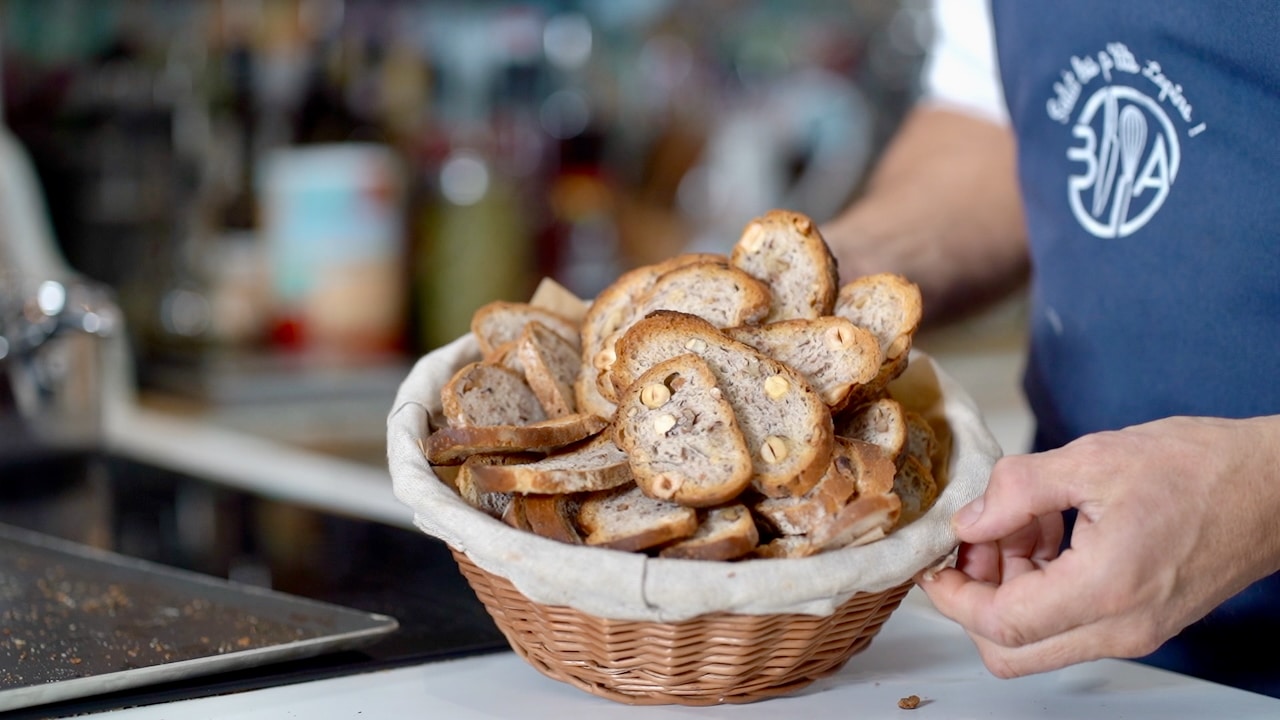
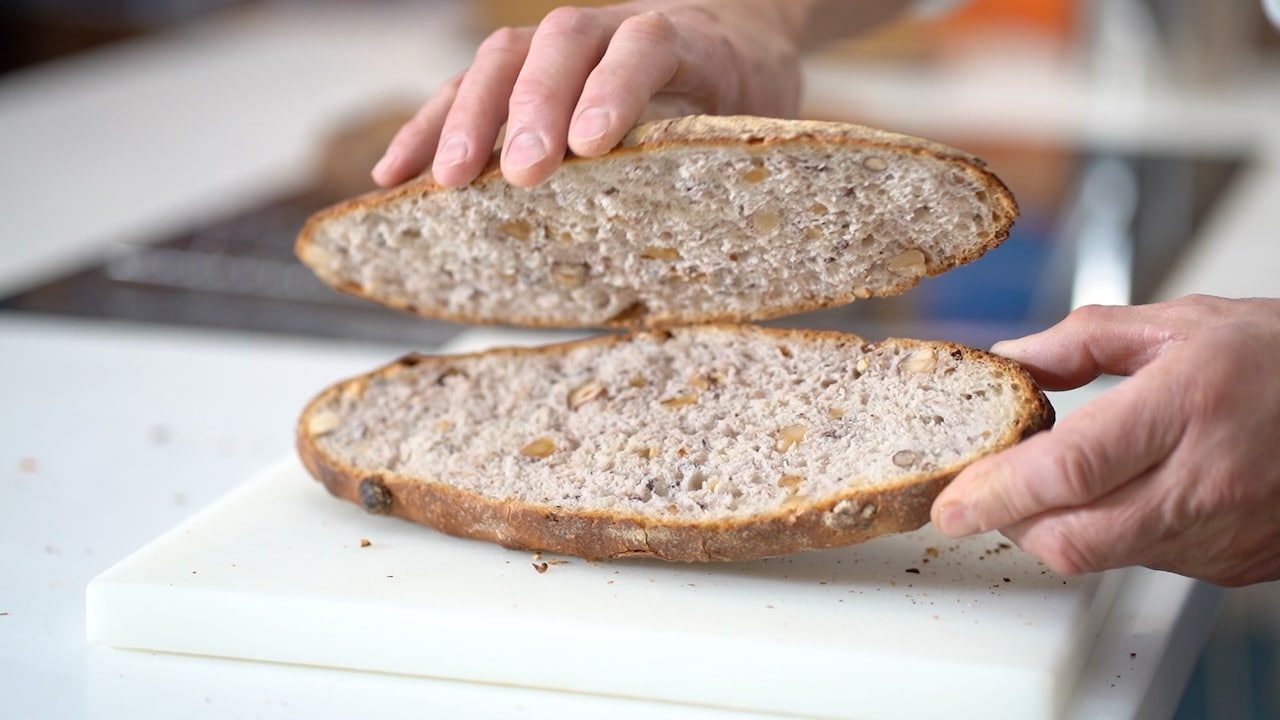
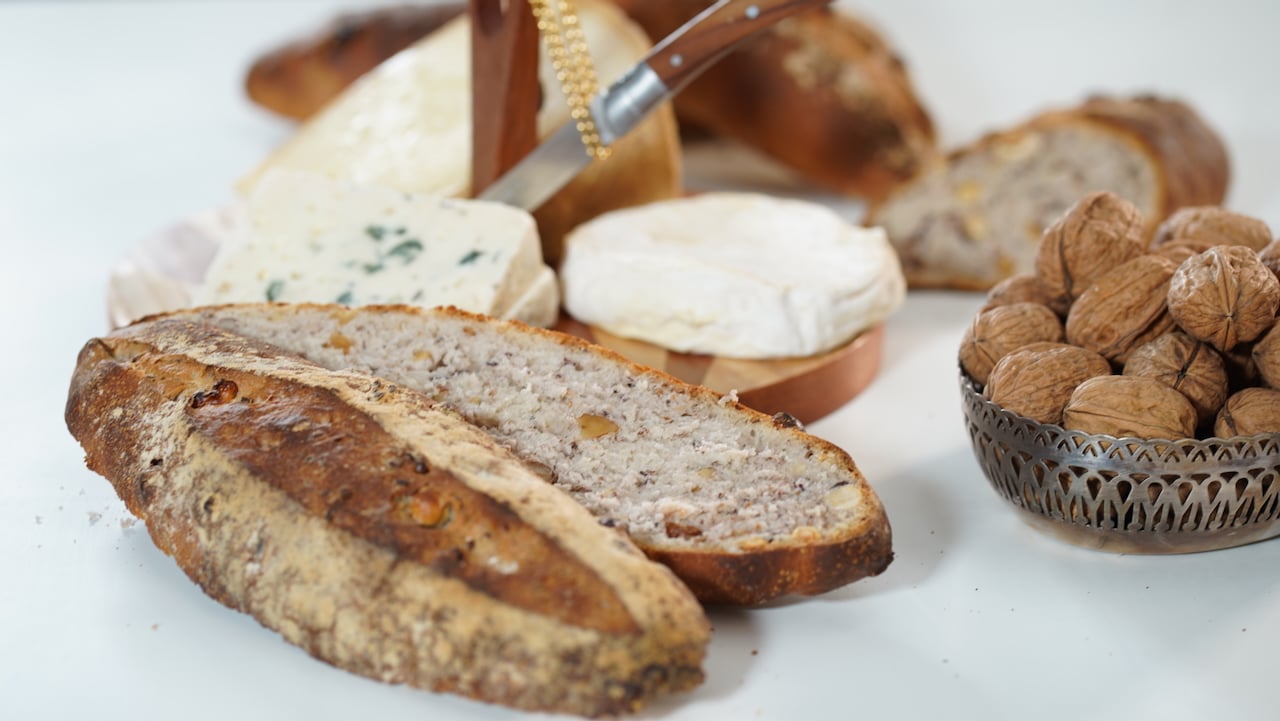
The kind of bread you want to toast and spread cheese on...
This recipe is a protected and only available for paid members. To obtain the full step by step recipe and detailed ingredients list, please sign up.
Preview the recipe
- Walnut bread is a fantastic choice for both cheese and foie gras, as its nutty and earthy notes complement the richness of both.

*Quick Starter
- A starter made from commercial yeast is known in baking as pâte fermentée (fermented dough). This technique involves reserving a piece of bread dough from one batch to incorporate into the next day's recipes, where it acts as a flavor and texture enhancer. Although it is an alternative to a natural sourdough leaven, it serves a different primary purpose.In the bowl of a stand mixer fitted with the dough paddle attachment (use the hook if the amount is doubled), combine the water, yeast, flour, and salt. Mix on low speed for about 4 minutes until the ingredients come together into a shaggy mass, stopping to scrape down the sides of the bowl as needed. Increase the speed to medium and continue mixing for about 5 more minutes, until the dough is smooth, and pulls cleanly away from the sides of the bowl.
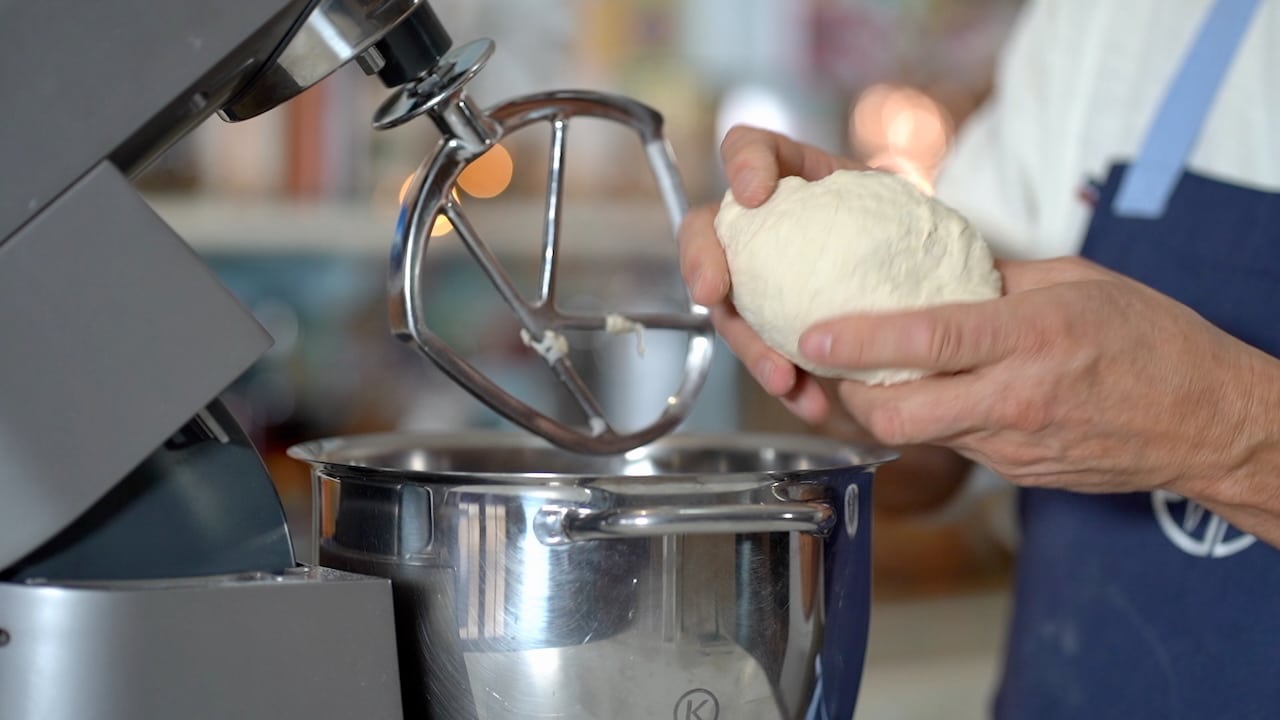
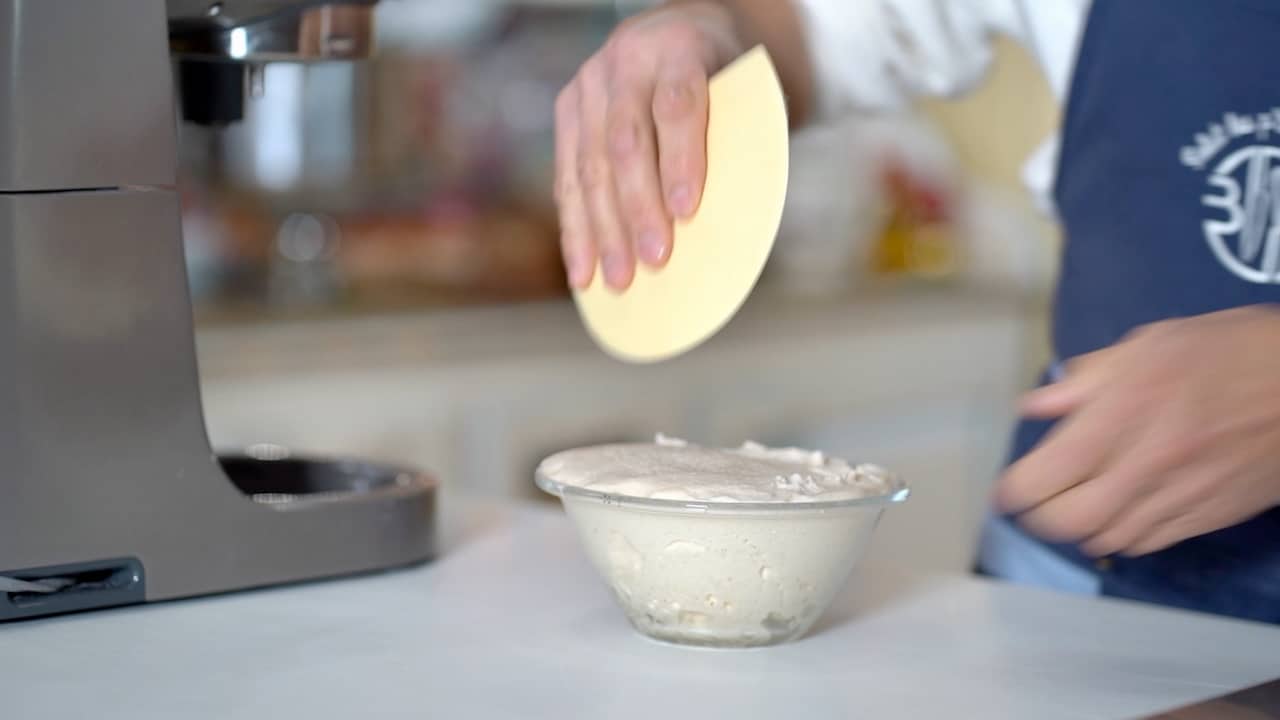
- Transfer the dough to the countertop and form into a tight, smooth ball (no extra flour should be needed). Place the ball into a lightly oiled bowl. Cover the bowl tightly with plastic wrap, poke a small vent hole in the plastic, and let the starter rest at room temperature for 1 hour. Then, transfer it to the refrigerator to ferment overnight. Then split starter, and save half for the walnut bread and save the other as a backup (keep it in the fridge for up to 3 days.


*Quick Starter vs Natural
- This bread can be enhanced by using a natural sourdough starter. To do this, substitute the quick starter with a natural leaven, and use only 2 grams of fresh yeast in the walnut bread dough. Keep in mind that both the bulk fermentation and proofing times may double.

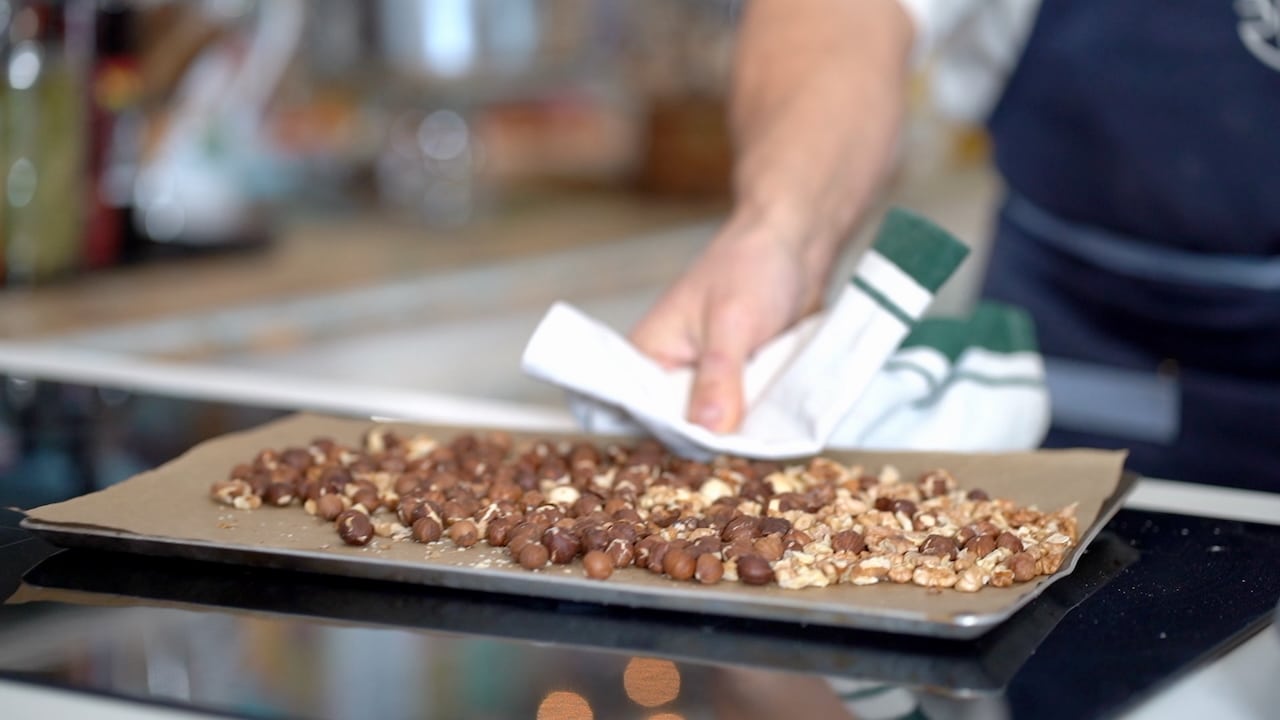
Toasted Nuts
- Toast the nuts at 330ºF (160ºC) in a fan oven for about 10 minutes. Be careful not to over-toast them, as they will darken a little more when the bread bakes. Let the nuts cool completely before adding them to the dough. Nuts can be used whole or lightly crushed, according to preference.

Mixing Walnut Bread Dough
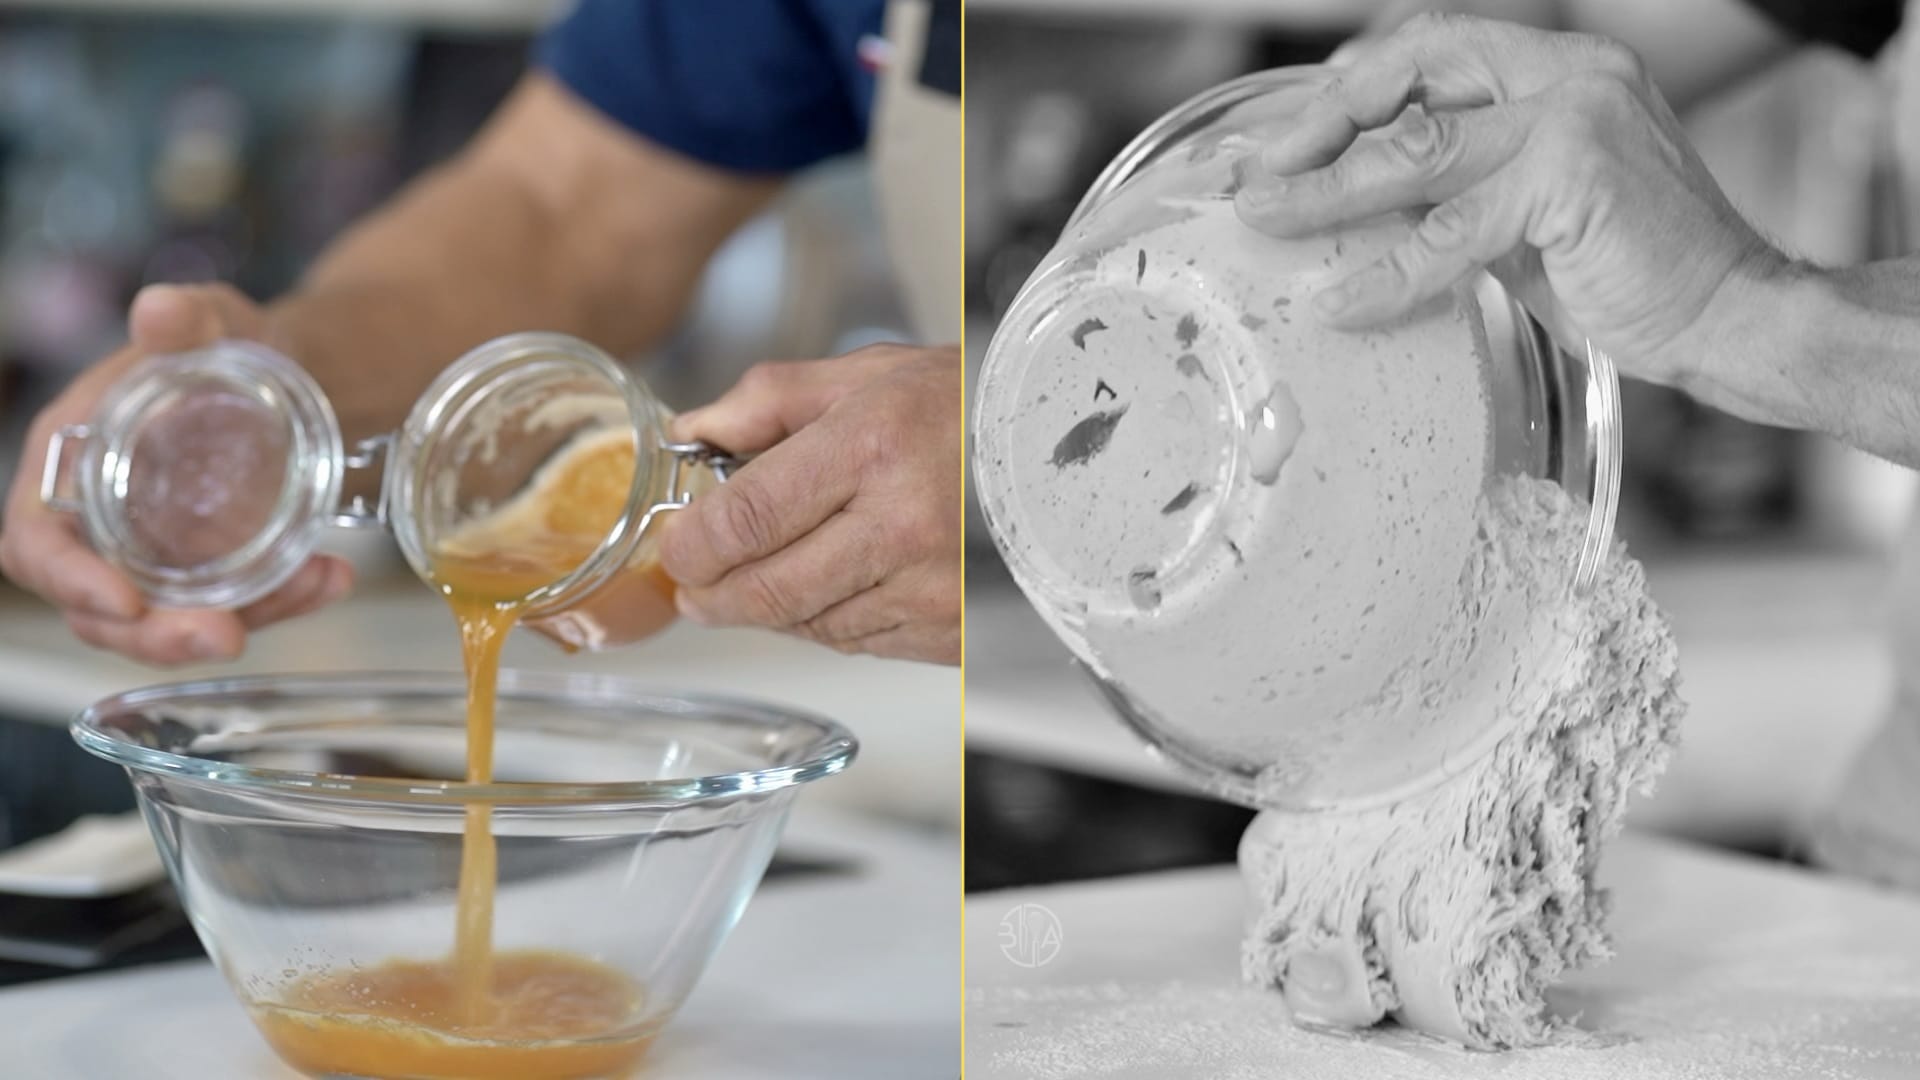
- Remove starter from the refrigerator an hour before mixing. In the bowl of a stand mixer, whisk together the water, fresh yeast, and honey. Add the starter, flours, and salt. Fit the mixer with the dough hook and mix on medium-low speed until the ingredients come together and form a rough dough. Scrape down the sides of the bowl as needed to ensure thorough mixing.

- Add the butter, increase the speed to medium-high, and knead for about 7 minutes, until the dough is elastic and pulls cleanly away from the sides of the bowl.
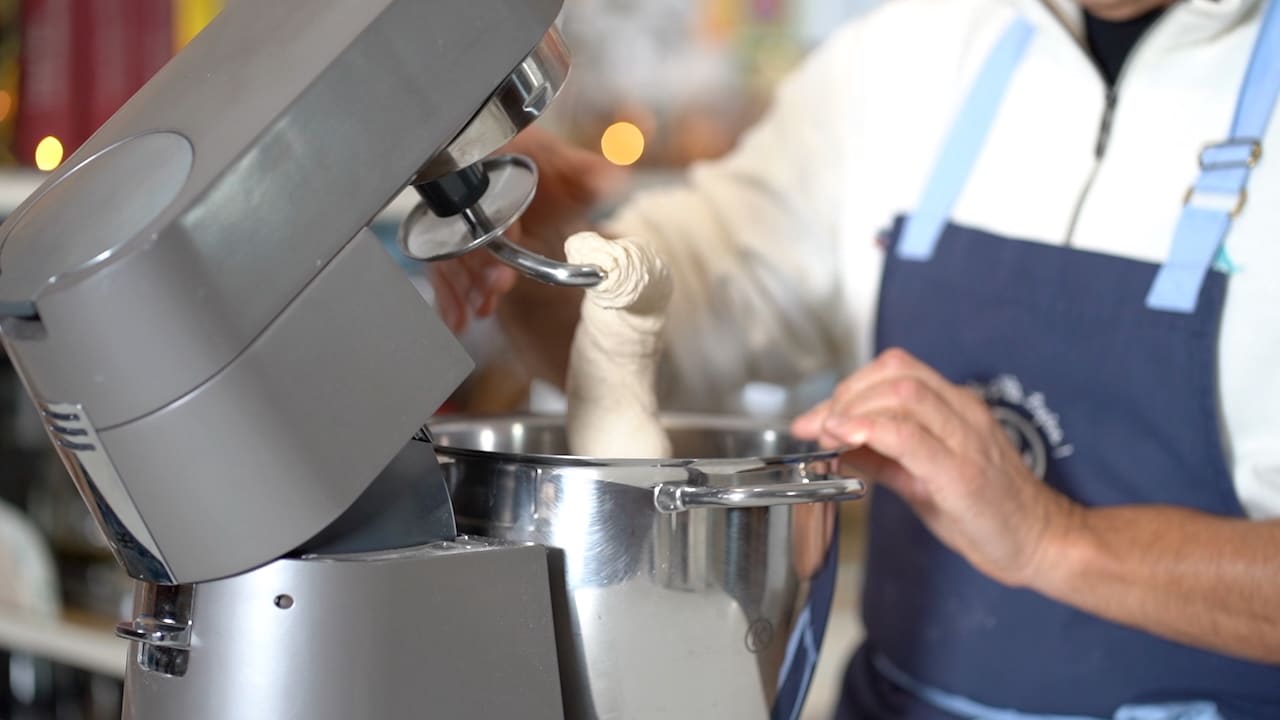
- Add the walnut oil and knead for a further 6 to 7 minutes, until the dough is smooth, supple, and clears the sides of the bowl. The finished dough should have an internal temperature of 24–25°C (75–77°F).

- Add the nuts and mix for 2 more minutes, just until they are evenly incorporated.


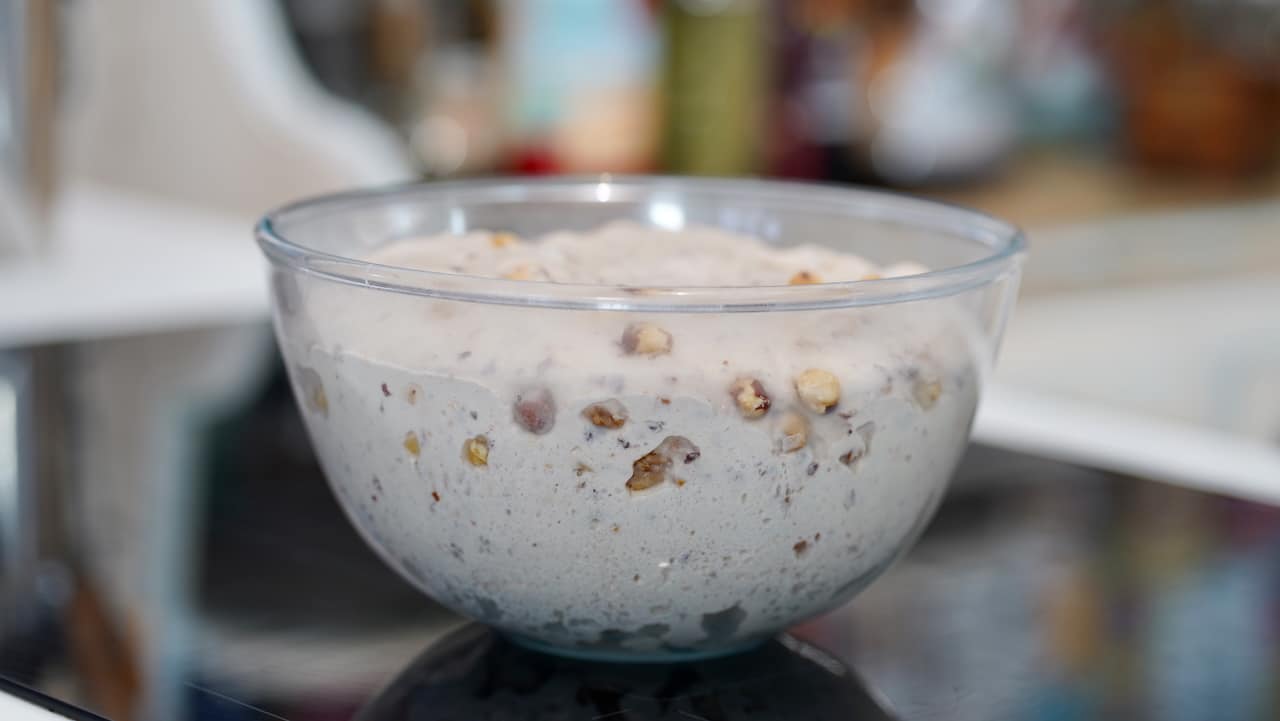
Bulk Fermentation
- Transfer the dough to a clean work surface (no flour needed) and shape it into a tight round.
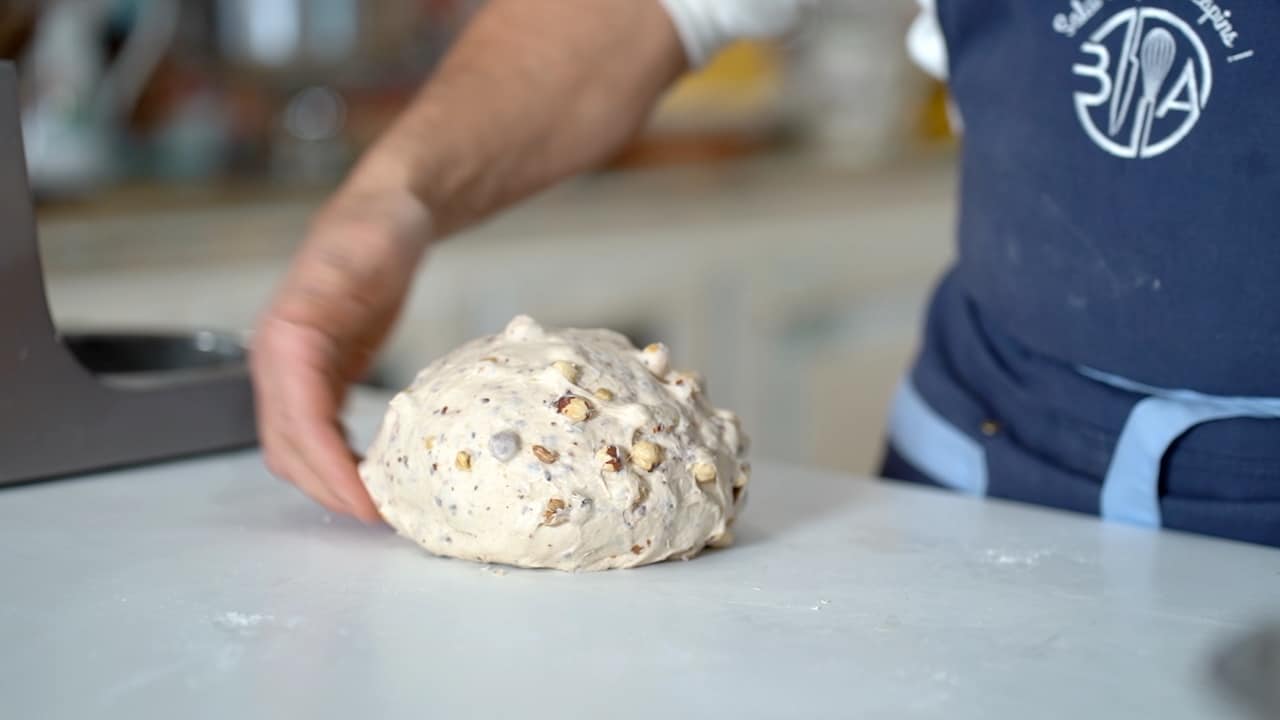
- Place it in a lightly oiled bowl, cover with plastic wrap, and let it ferment for about an hour in a warm area (about 25°C/77°F) until tripled in size. Fermentation time will vary with temperature; cooler conditions will slow the rise. For example, at 21°C (70°F), this will take approximately 2½ hours.


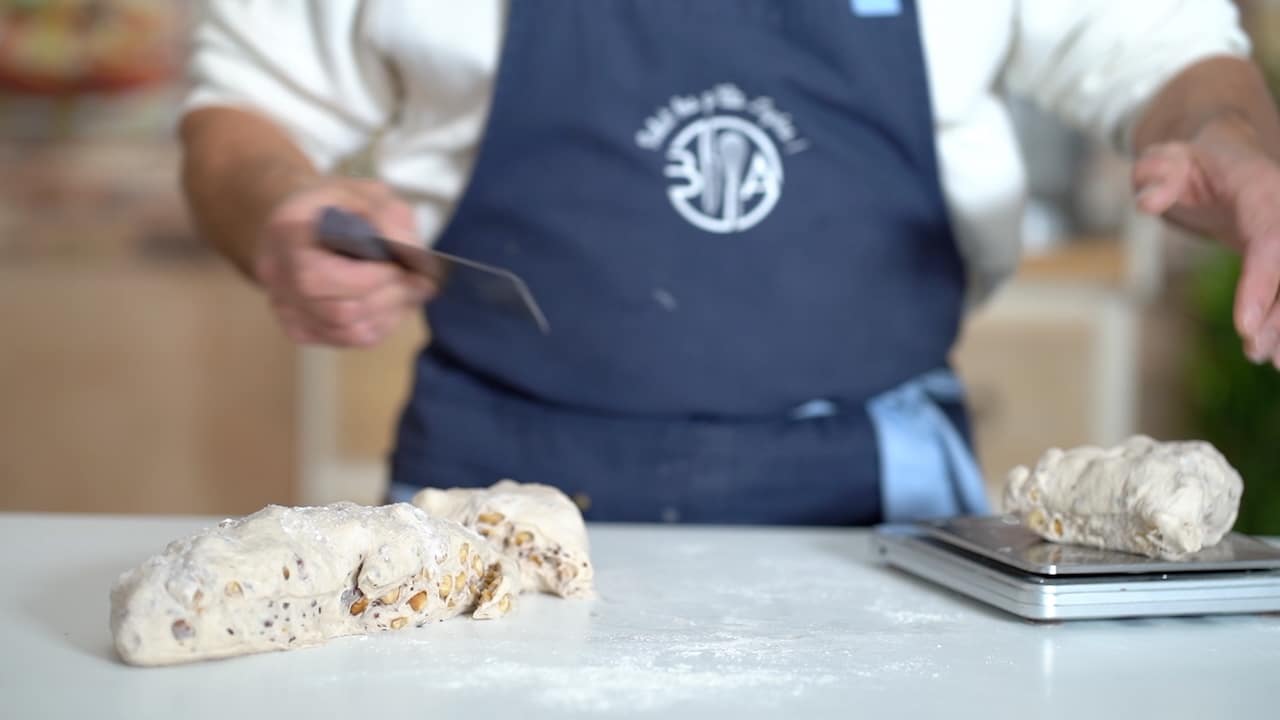
Scaling & Resting
- Transfer the dough to a lightly floured surface. Do not flatten it. Divide the dough into four equal portions, each weighing approximately 330g.
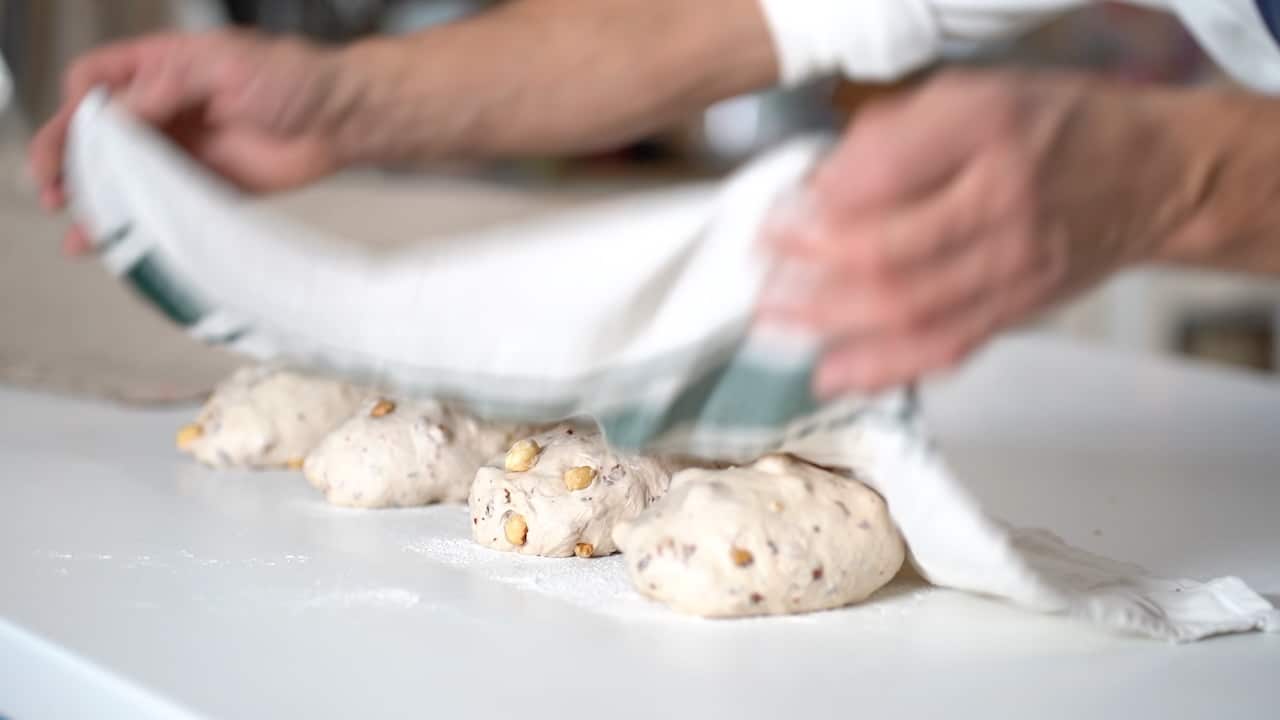
- Using as little extra flour as possible, gently shape each portion into an oval.

- Cover the loaves and let them rest for 20 minutes. This step relaxes the gluten, making the dough more extensible.


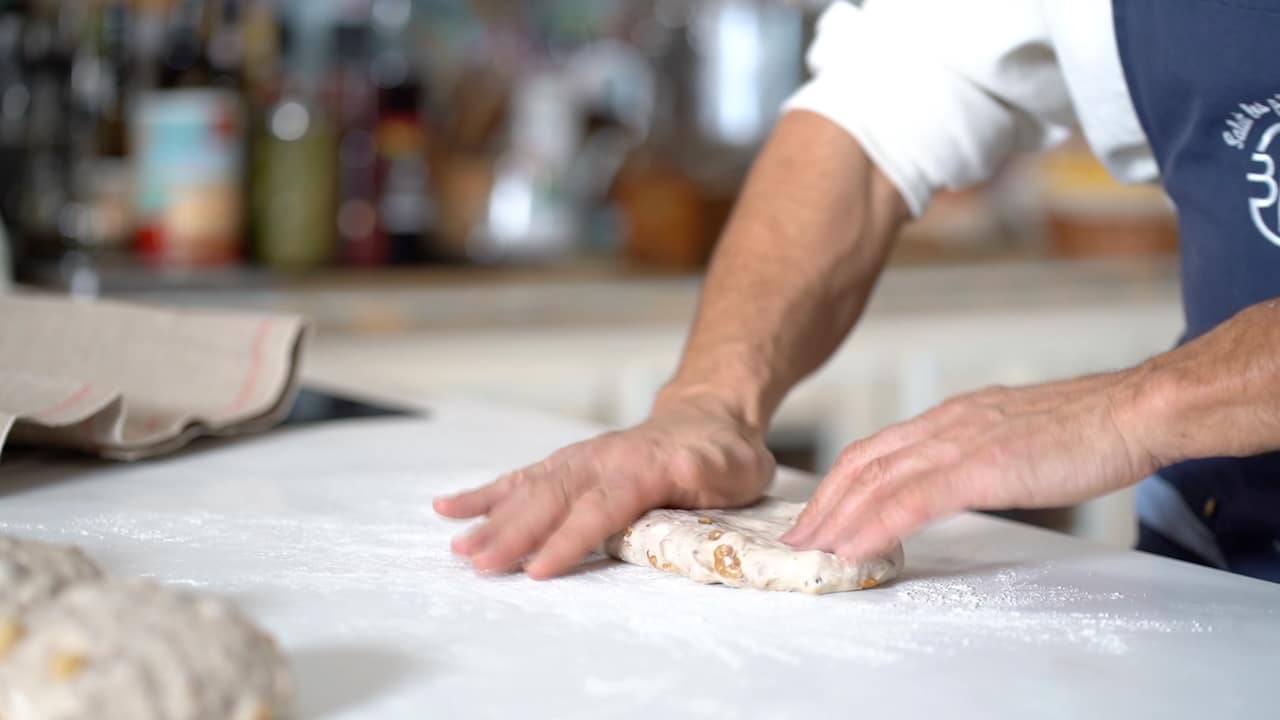
Half-Moon Baguette
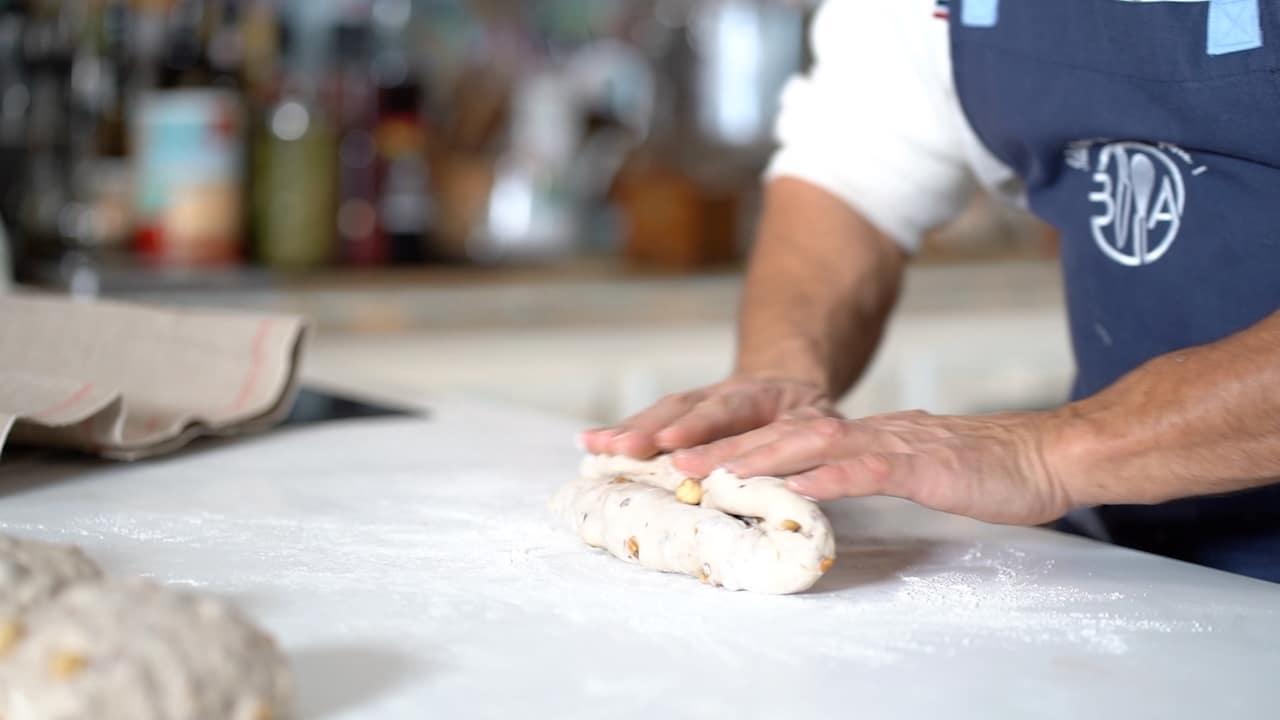
- Bread shaping takes practice and has a scientific basis. For some breads, like traditional French baguettes and sourdoughs, careful shaping is essential to develop an open crumb with large holes. Other types, such as Pullman loaves or breads with dried fruit and added fat, are meant to have a tighter, more uniform crumb. The goal is to create slices that are ideal for toasting and spreading. To shape the loaf, begin with the dough seam-side up. On a lightly floured surface, gently flatten the relaxed dough.
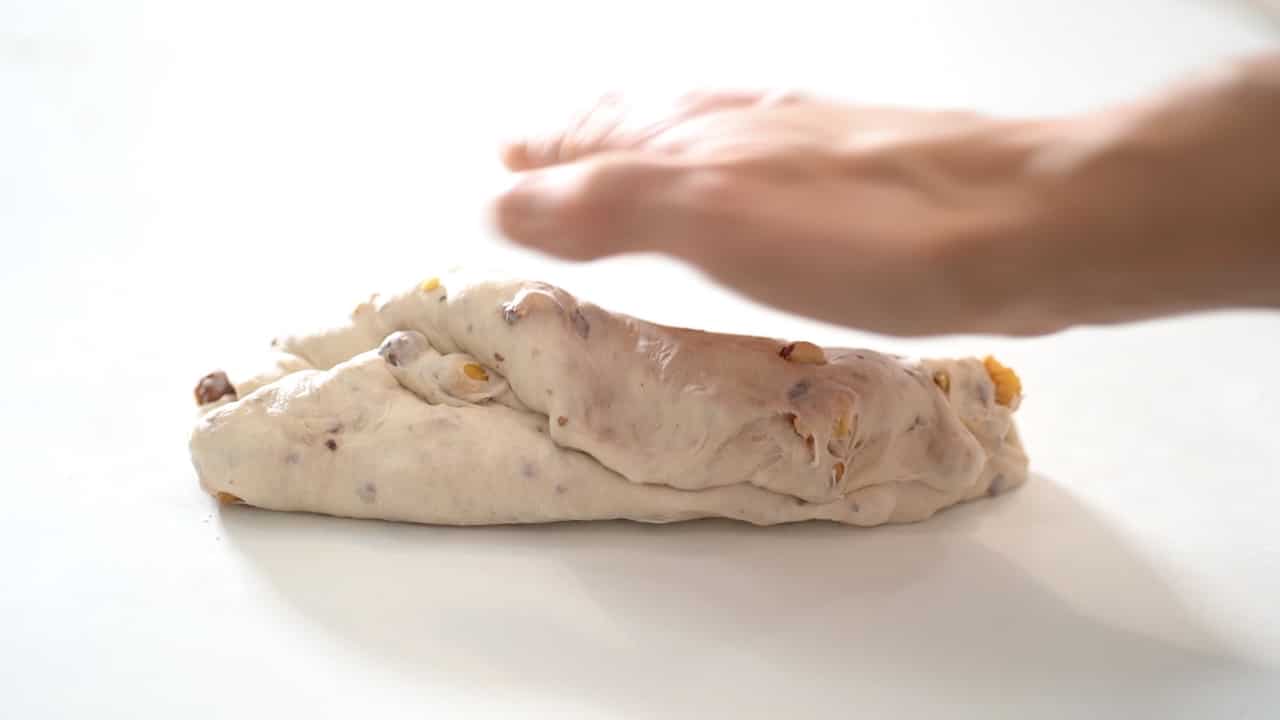
- Fold the top third down toward the center and press gently to seal.
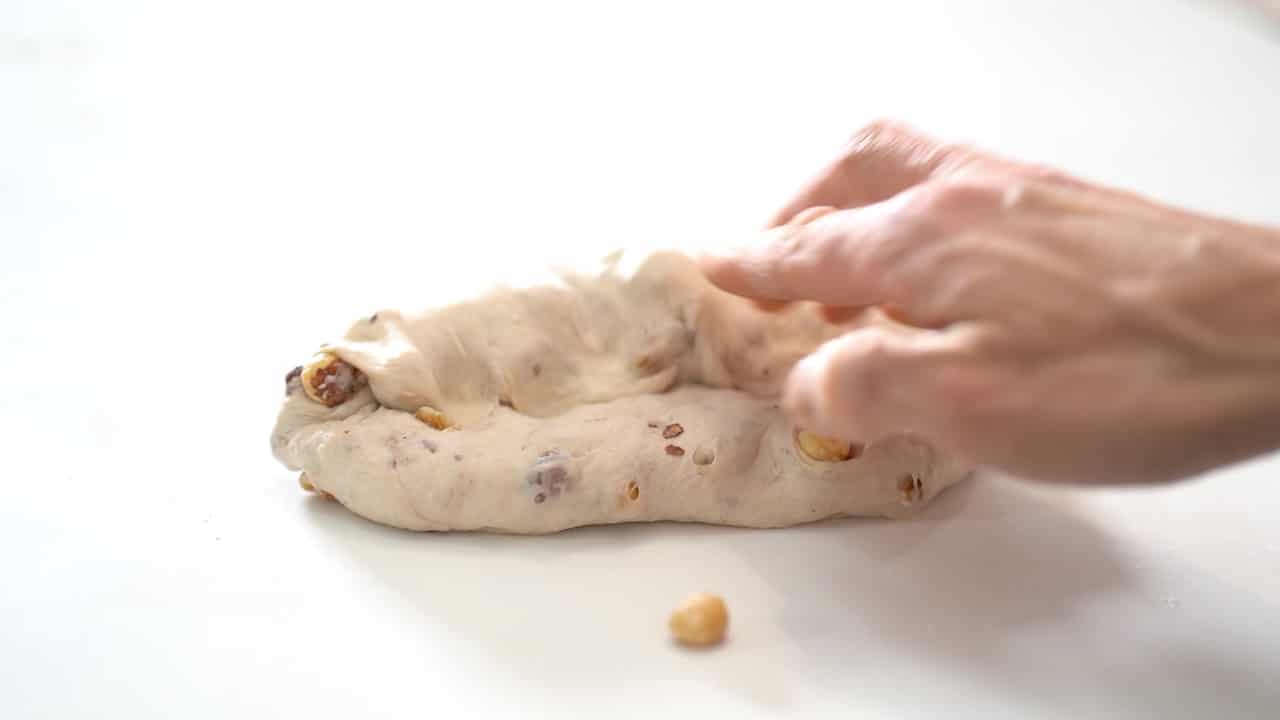
- Fold the bottom third up over and seal to create a rough log shape.
- Fold the top toward the end, and press along this new seam with the heel of your hand to secure it.
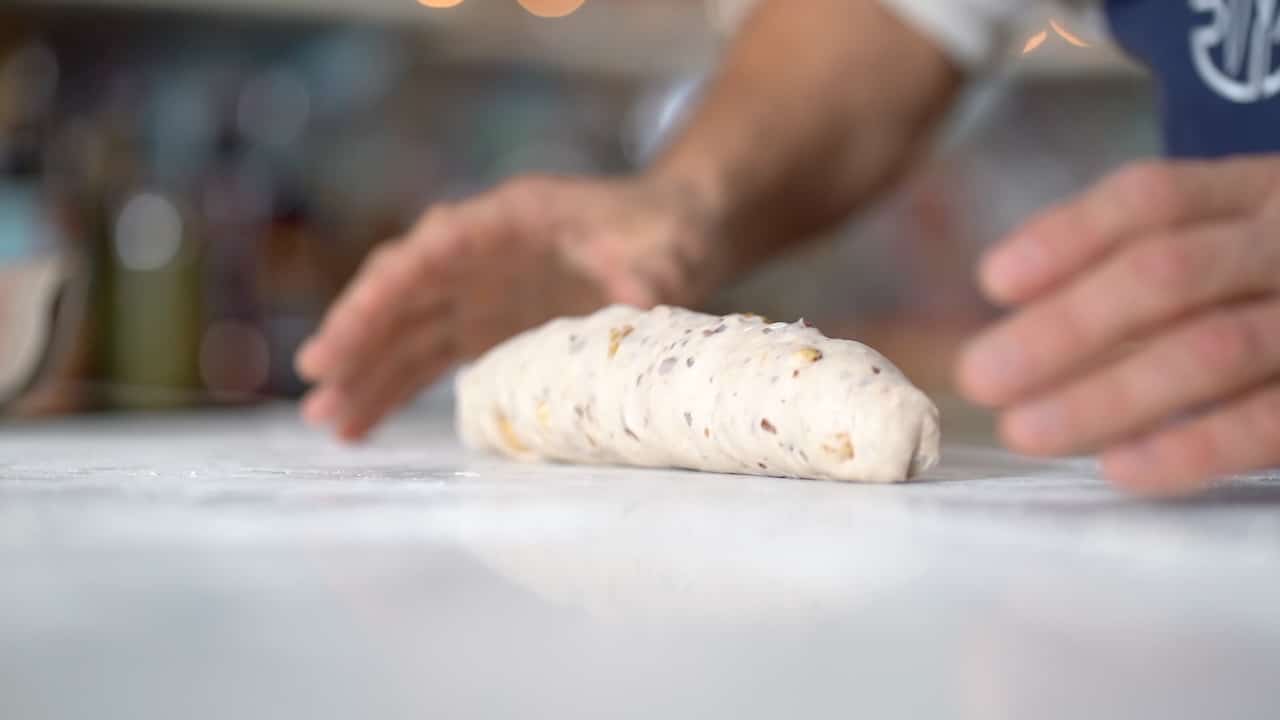
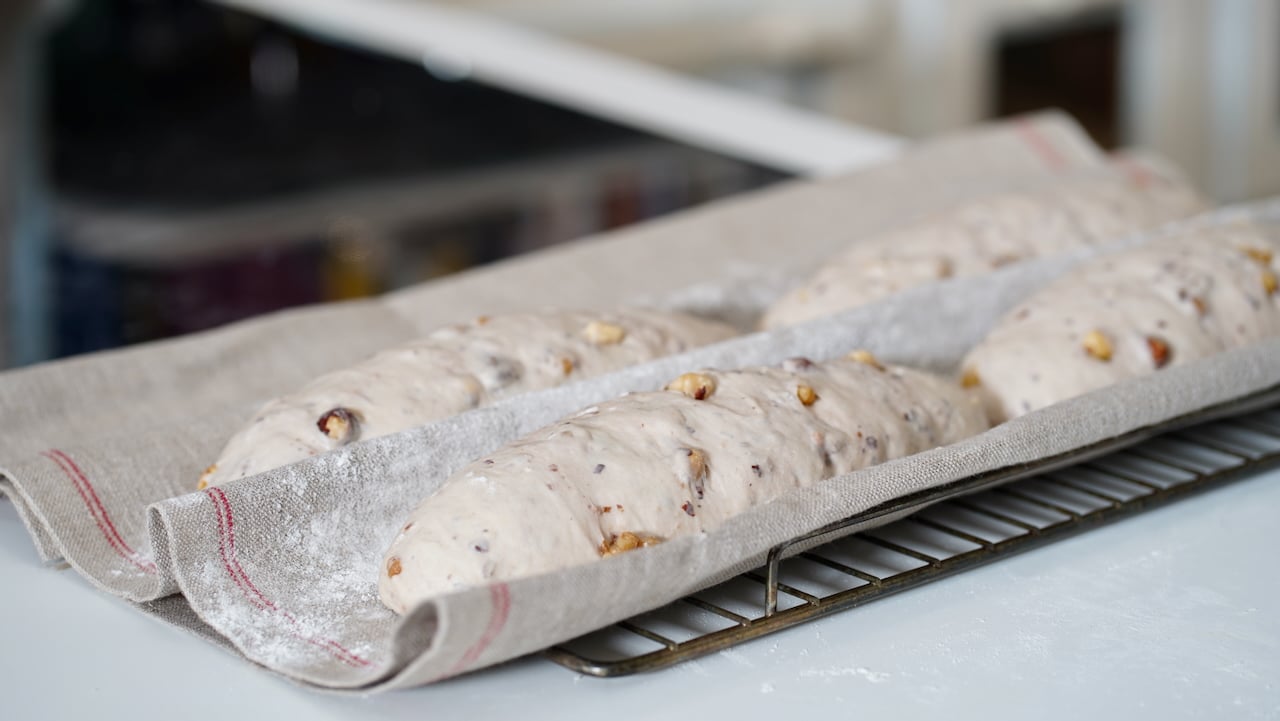
- Position your hands at either end of the loaf and gently roll it back and forth to form a taut half-moon baguette. This surface tension is key to achieving good oven spring.
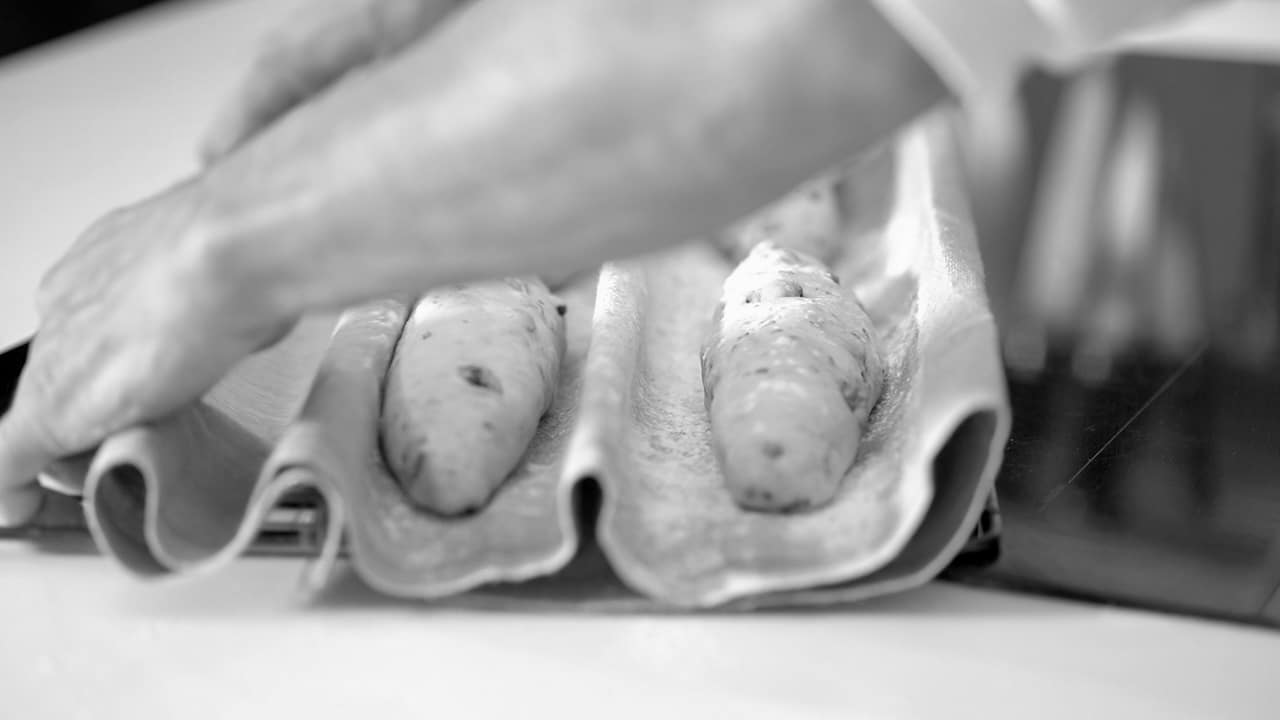
- Lightly flour the bakers couche (professional bakers couche is an untreated, unbleached linen cloth). Arrange walnut bread seam side down. Repeat with the remaining dough.


Proofing
- Cover the loaves with a damp kitchen towel, or place them uncovered in your controlled fermentation chamber. Let them proof for about 1 hour, or until doubled in size.

Baking Bread
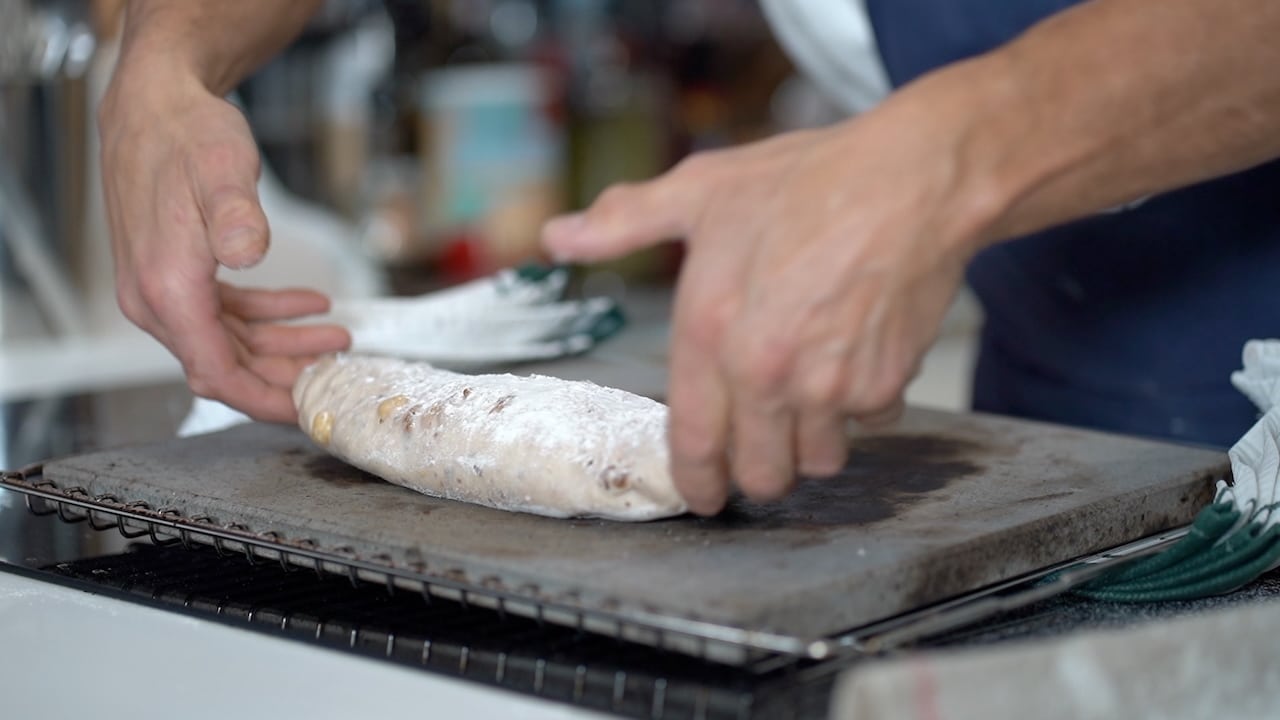
- To bake at home without a professional oven, use this method with a pizza stone. At least 30 minutes before baking, place a pizza stone on the middle rack of your oven. Preheat the oven in conventional mode to 480°F (250°C).Once the loaves are proofed, dust the tops lightly with flour. Carefully transfer two loaves onto the hot pizza stone or use a floured baker’s peel or the back of a baking sheet.
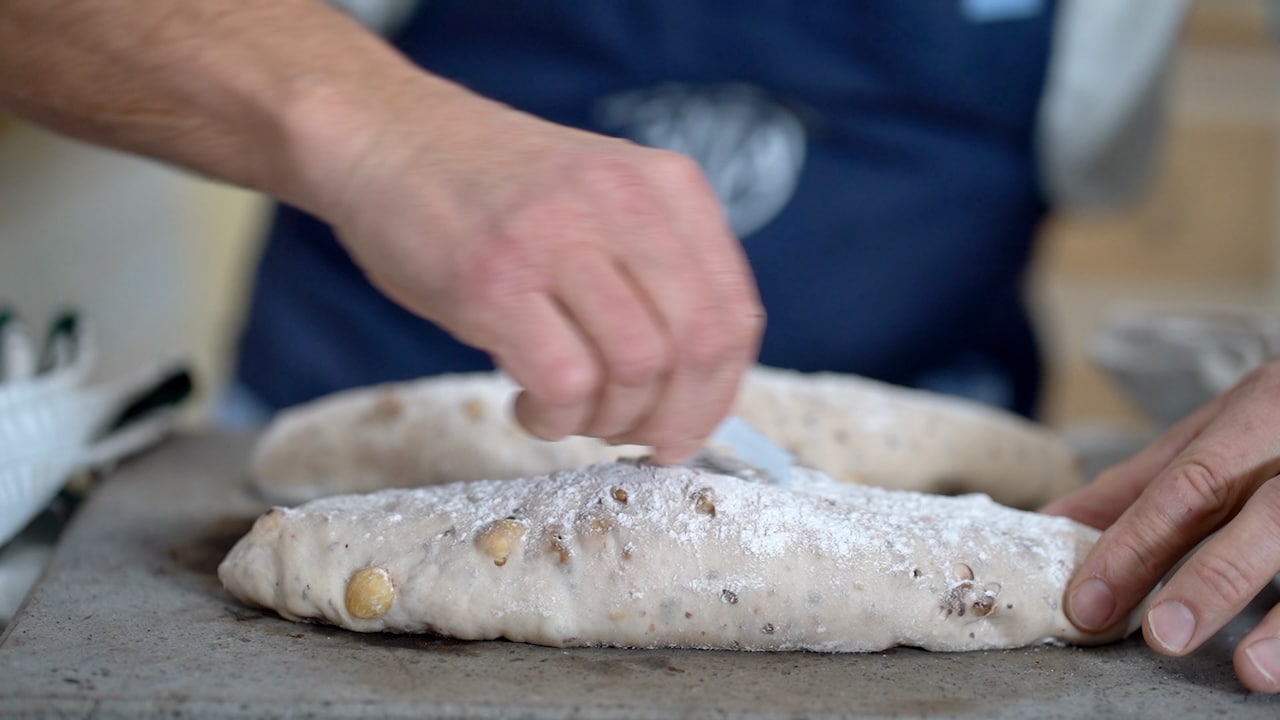
- Score the bread. Keep the remaining loaves in a cool place or in the refrigerator. Working quickly, open the preheated oven. Transfer the loaves from the peel onto the hot stone. Immediately spray water (3 shots) into the oven chamber to create steam and shut the door.
- Bake at 480°F (250°C) for 15 minutes. Reduce the oven temperature to 400°F (200°C) and bake for 10 minutes more. Then, turn the oven off, leave the door slightly ajar, and let the bread rest inside for 5 to 8 final minutes. Remove the bread and let it cool completely on a wire rack.Repeat: Reheat the oven with the stone for 15 minutes and repeat the process with the remaining loaves. Enjoy!


Storage
- Walnut bread will keep for up to 2 days if wrapped in parchment paper or stored in a paper bag. It can also be frozen for up to a month.

This content is part of the PREMIUM SECTION

This recipe requires a All-content access subscription. The Premium section includes more than 50 essential recipes from French pastry and a special section for mastering artisanal bread.
The Premium section is only accessible with "A year at the table" subscription. Discover it with special first year discount.


