Making exceptional ice cream is not just about combining good ingredients. It’s about mastering a precise process that transforms raw materials into a smooth, stable, and flavorful frozen dessert. As a chef, I rely on a structured approach that leaves no room for improvisation once production begins. In this article, I’ll take you through every step of the professional fabrication process, from weighing your ingredients to packaging the final product, including the key techniques and best practices that elevate quality and consistency.
Notice: This article is part of a comprehensive series dedicated to the craft of ice cream and frozen dessert making. We recommend reading the articles in the suggested order. You can find all eight articles in this series listed at the bottom of the page.
Weighing and scaling: precision starts here
Everything begins with accuracy. Weighing your ingredients is the first step toward consistency. In professional glacerie, even small variations in quantities can result in dramatic changes in texture, freezing behavior, and sweetness.
Use a precision scale, and double-check each component against your formulation. Organize your mise en place in deli containers or serving bowls, each labeled and portioned ahead of time. I also recommend pre-chilling any sensitive ingredients, such as cream or fruit purée, especially in a warm kitchen environment.
Batch sheets or production records are essential. They help track quantities and identify errors if something goes wrong during processing. In a production setting, this is also vital for traceability and HACCP compliance.
Pasteurization: safety and structure
Pasteurization is both a food safety requirement and a technical opportunity. By heating the mix to around 185ºF/85°C and holding it briefly, we eliminate pathogens while also activating proteins and fully hydrating stabilizers.
The process unfolds in stages. First, we combine the milk and cream and heat them gently. Once the temperature reaches around 95ºF/35°C, we add our sugars and stabilizer blend (which should have been mixed dry beforehand). Egg yolks, if used, go in around 113ºF/45°C.
Cook to 185ºF/85°C. Immediately after, the mix must be cooled rapidly, using either an ice bath, blast chiller, or a dedicated heat exchanger. The faster the chill, the better the flavor and microbiological safety.
Homogenization: unifying texture
While optional in small-scale operations, homogenization is critical in larger settings or premium production. It breaks down fat globules into micro-sized particles, improving emulsion stability, mouthfeel, and resistance to separation.
This can only be achieved using a professional ice cream turbine machine.
Maturation: resting for better structure
Once the mix is pasteurized and homogenized, it needs time to rest. Maturation allows the proteins, fats, and stabilizers to fully interact. The result is better emulsification, improved whipping ability during churning, and a more stable structure.
Store the base at 4°C for 4 to 12 hours, ideally overnight. This is also when flavors meld and deepen, especially for infusions like vanilla or spices. Be sure to cover the mix to prevent oxidation and contamination.
Skipping maturation is one of the most common mistakes I see among beginners. It might save time, but the texture and overrun suffer as a result.
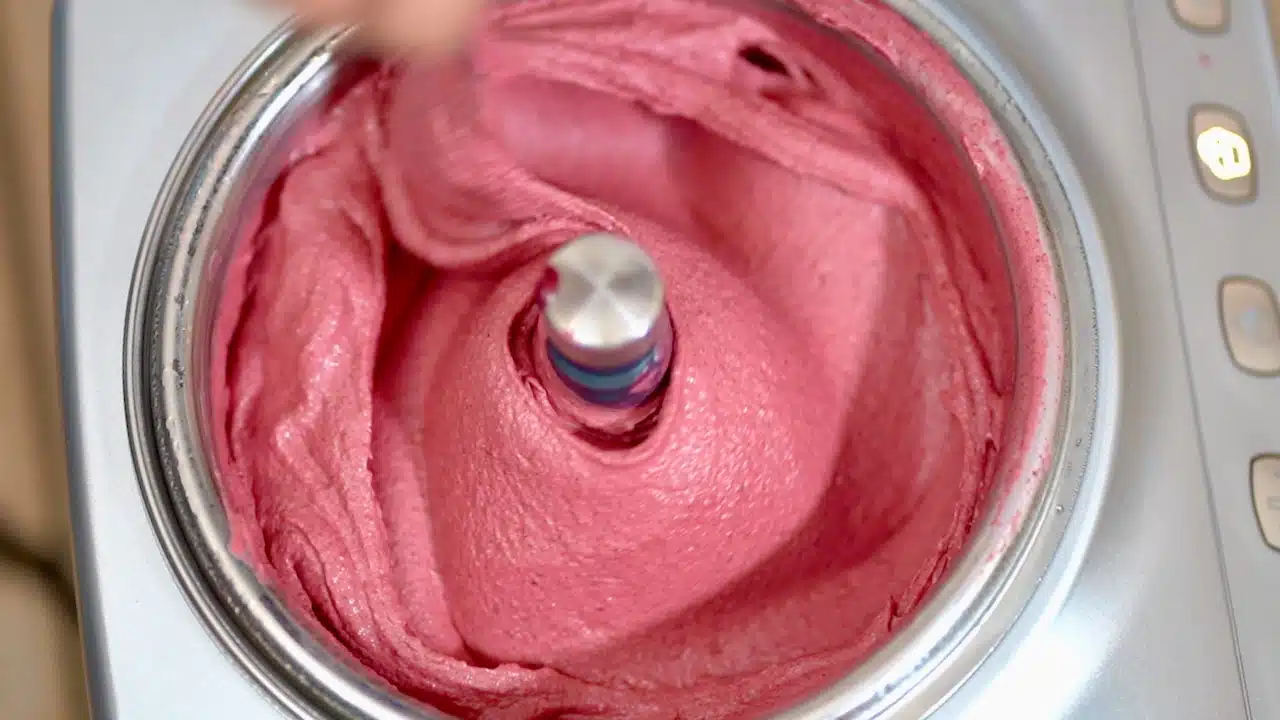
Churning and freezing: aeration meets crystallization
Now the transformation begins. In the turbine or ice cream maker, the base is churned while being frozen. This introduces air (called overrun) and creates the microstructure of ice crystals and fat networks.
Different machines produce different textures. Compressors and batch freezers give you more control, while pre-frozen bowl models are more variable.
A good churning cycle takes 25 to 50 minutes depending on ice cream or sorbet mixture, volume and machine. Aim for a texture that holds its shape but is still soft enough to spread.
Hardening: locking in quality
Freshly churned ice cream is still too soft for service. It needs to be hardened rapidly to stabilize its structure. This step is often overlooked, but it is crucial for long-term texture and preservation.
Transfer the product into pre-frozen containers. Cover the surface with parchment or freezer-safe bag in direct contact with the ice cream. Then place the containers in a blast freezer or deep freezer set between -30°C and -40°C for several hours.
Once hardened, ice cream can be stored at -18°C.
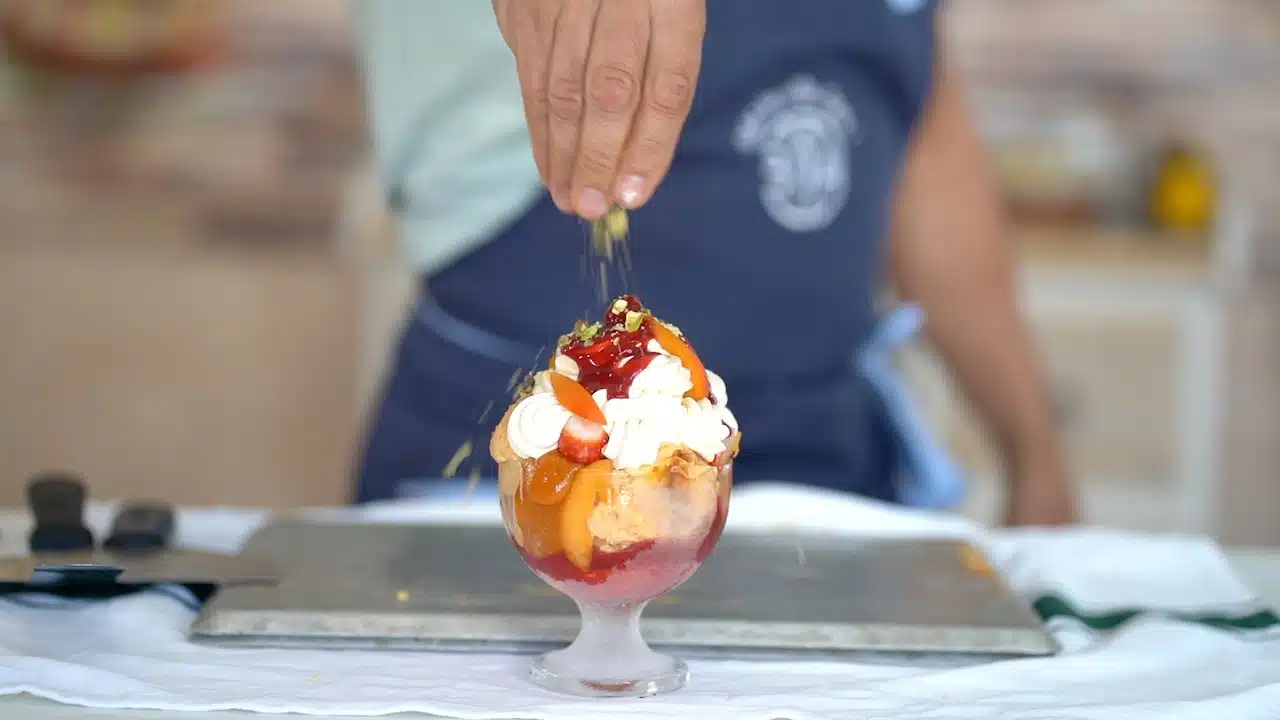
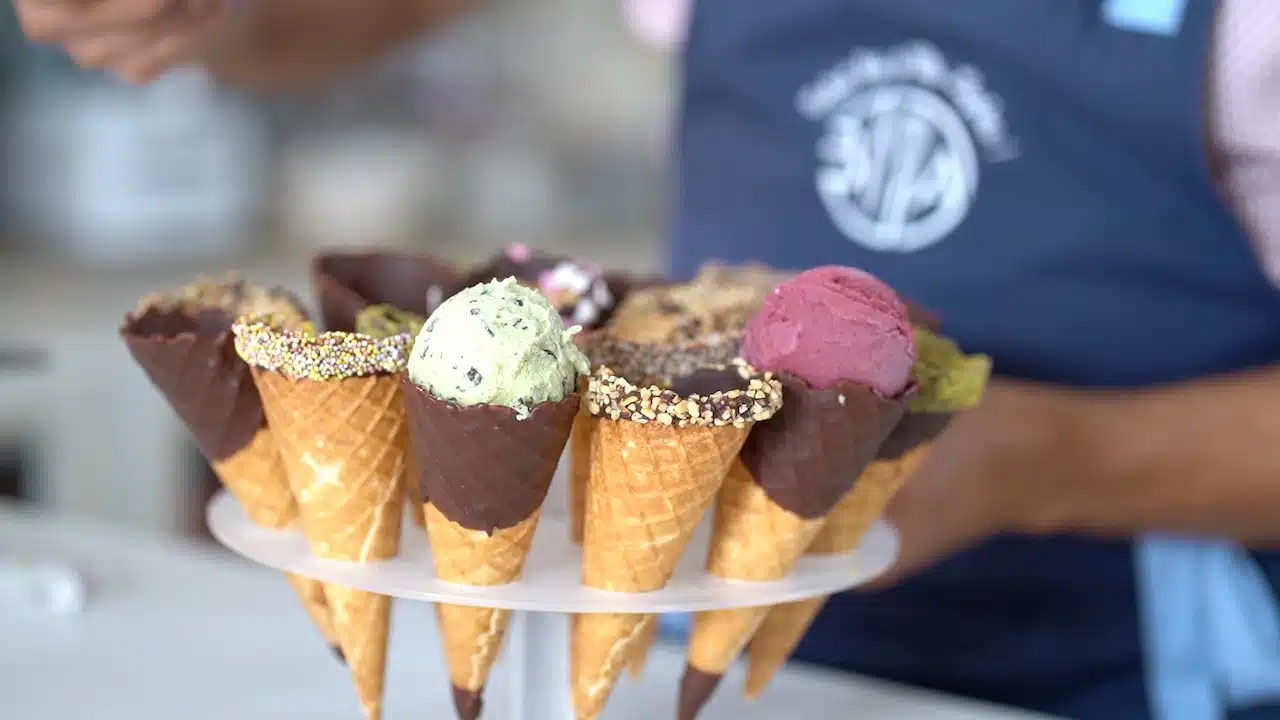
Storage and serving: from freezer to spoon
Proper storage practices are key to preserving flavor and texture. Always store ice cream in sealed, dated containers. Avoid temperature fluctuations, which lead to texture degradation.
Before serving, allow the ice cream to temper slightly in the refrigerator for 15 to 30 minutes. This softens the texture and enhances scoopability without melting the product.
Use dedicated scoops or portioning tools, and avoid cross-contamination between flavors. In boutique settings, display freezers should be set around -12°C to balance texture and longevity.
Balancing your recipe: a fundamental skill
While the fabrication process is essential, it all depends on one thing: the balance of your base. A properly formulated mix freezes faster, churns smoother, and tastes better.
The ideal balance includes 36 to 40 percent total solids, 10 to 12 percent fat, and a controlled freezing point via a calculated mix of sugars. Stabilizers and emulsifiers must be dosed with precision, and fruit content adjusted for acidity and pectin.
Tools like a refractometer and freezing point tables are invaluable. With practice, you’ll learn how to tweak every element, sugar, dairy, stabilizer, fruit, to achieve the exact texture and melting profile you desire.
Discipline, control, and passion
Making ice cream at a professional level is about discipline. Every step, from scaling to hardening, contributes to the final experience. It’s a blend of science and craft that rewards precision with perfection.
Follow this process carefully, and your ice creams and sorbets will not only taste great, they’ll look, feel, and perform like the work of a true artisan. In the next article, we’ll explore the different styles of ice creams and sorbets and how to apply this process to fruit, dairy, and gelato preparations.