Please note that the full access to this content needs a subscription: please sign up.
Are you ready to discover the secrets behind this stunning masterpiece?
This recipe is a protected and only available for paid members. To obtain the full step by step recipe and detailed ingredients list, please sign up.
Preview the recipe
Soft Caramel
- To start off, gather your ingredients: cream, milk, sugar, corn syrup, salt, vanilla, sugar, glucose, and butter. Begin by heating up the cream, milk, sugar, corn syrup, salt, and vanilla in a saucepan. Keep the mixture hot while you move on to making the caramel. In a separate pan, create a caramel using sugar and glucose. Once the caramel reaches the perfect consistency, carefully turn off the heat and slowly pour the hot cream mixture into the caramel in a thin stream. Be cautious and wear gloves to avoid any burns. Turn the heat back on and cook the caramel mixture until it reaches 221ºF/105ºC. Once it reaches the desired temperature, pass the mixture through a sieve to remove any lumps and let it cool to 158ºF/70ºC. Add in the butter and blend everything together until smooth and velvety.
Caramel For Inserts
- Mix the soft caramel with milk and keep refrigerated.
Hazelnut Butter
- In a food processor, blend until it turns to paste.
Praliné
- Start by toasting nuts in a 350ºF/180ºC oven for about 12 minutes until they are golden brown and fragrant. Allow them to cool before proceeding to the next step. Next, in a hot saucepan, carefully cook sugar until it reaches the caramel stage. The sugar should have a rich amber color and a fragrant aroma. Be sure to watch the sugar closely to avoid burning it. Once the sugar has caramelized, quickly toss in the toasted nuts, coating them evenly in the caramel. Transfer the mixture onto a silicone mat or greased surface to cool. After the caramelized nuts have cooled completely, break them into small pieces and transfer them to a food processor. Add a pinch of salt to enhance the flavors and begin processing the mixture. As the food processor runs, the nuts will break down into a smooth and luscious nut paste.
Hazenut Mousse
- To start, you will need to soak gelatin sheets in cold water to soften them. Meanwhile, heat up milk and add toasted hazelnuts to infuse the milk with their nutty flavor. After letting it sit for 20 minutes, strain the mixture and save the solids for later use if desired. Next, add a portion of heavy cream to the hazelnut-infused milk and heat it up until almost boiling. Then, add in white chocolate and blend until smooth. Mix in the softened gelatin and hazelnut paste, blending well to incorporate all the flavors. Finally, add the remaining chilled heavy cream and blend until the mixture is smooth and creamy. Chill hazelnut mixture overnight to allow the flavors to fully develop. Before using, whip the chilled mixture to soft peaks to give it a light and airy texture.
Hazelnut Sponge
- Beat butter and hazelnut paste together; set aside. Separately, beat yolks and sugar and incorporate the butter-hazelnut paste. Meanwhile, make a stiff meringue with the egg whites and sugar. Fold meringue into the egg-hazelnut mixture, and then fold in the sifted powders. Spread over a small baking tray lined with a greased parchment. Top evenly with crushed hazelnuts and bake at 350ºF/180ºC for about 18 minutes.
Hazelnut Praliné Insert
- Cut the hazelnut sponge into disks using a 1.18-inch/3cm cookie cutter. It's essential to save any leftover sponge for future use, as we want to minimize waste in the kitchen. Next, we will pipe a dollop of hazelnut praliné inside each mini half-sphere silicone mold. We will then sandwich the hazelnut sponge disks together to encase the praliné. After assembling the layers, we will add more hazelnut praliné on top of the sponge disks and smooth it out with an offset spatula. Once the hazelnut praliné inserts are assembled, we will freeze them to allow the filling to harden. Freezing is crucial to ensure that the inserts hold their shape when removed from the molds. After the praliné inserts are frozen solid, we can carefully remove them from the molds. It's essential to keep the inserts frozen until ready to use to maintain their integrity and prevent any melting.
Montage
- To start, you'll need to fill each half sphere mold with the whipped hazelnut mousse and place it in the freezer for about 30 minutes. This step will help the mousse set and take shape. Next, using a small ice cream scoop, create a cavity in each mousse-filled mold that matches the size of the half mini-sphere silicone mold. Fill these cavities with the soft caramel inserts and freeze for an additional 30 minutes. The caramel inserts will add a gooey and sweet element to the cake, complementing the nutty flavor of the hazelnut mousse. After the caramel has set, top each mold with a frozen praliné insert and enclose them with the silicone mold lid. Once the praliné is in place, fill up each cavity with the remaining hazelnut mousse and return the molds to the freezer. It's essential to let the cake freeze for at least 6 hours, or preferably overnight, to ensure that it holds its shape when removed from the mold. When you're ready to serve the Hazelnut Mousse Cake, carefully remove it from the mold and shave off a bit of the bottoms to stabilize each cake. Pipe out a dollop of hazelnut mousse on top of each cake and carve it out to mimic the shape of a hazelnut before freezing to set. Wearing gloves, smooth out the surface of each cake to create a flawless finish before serving.
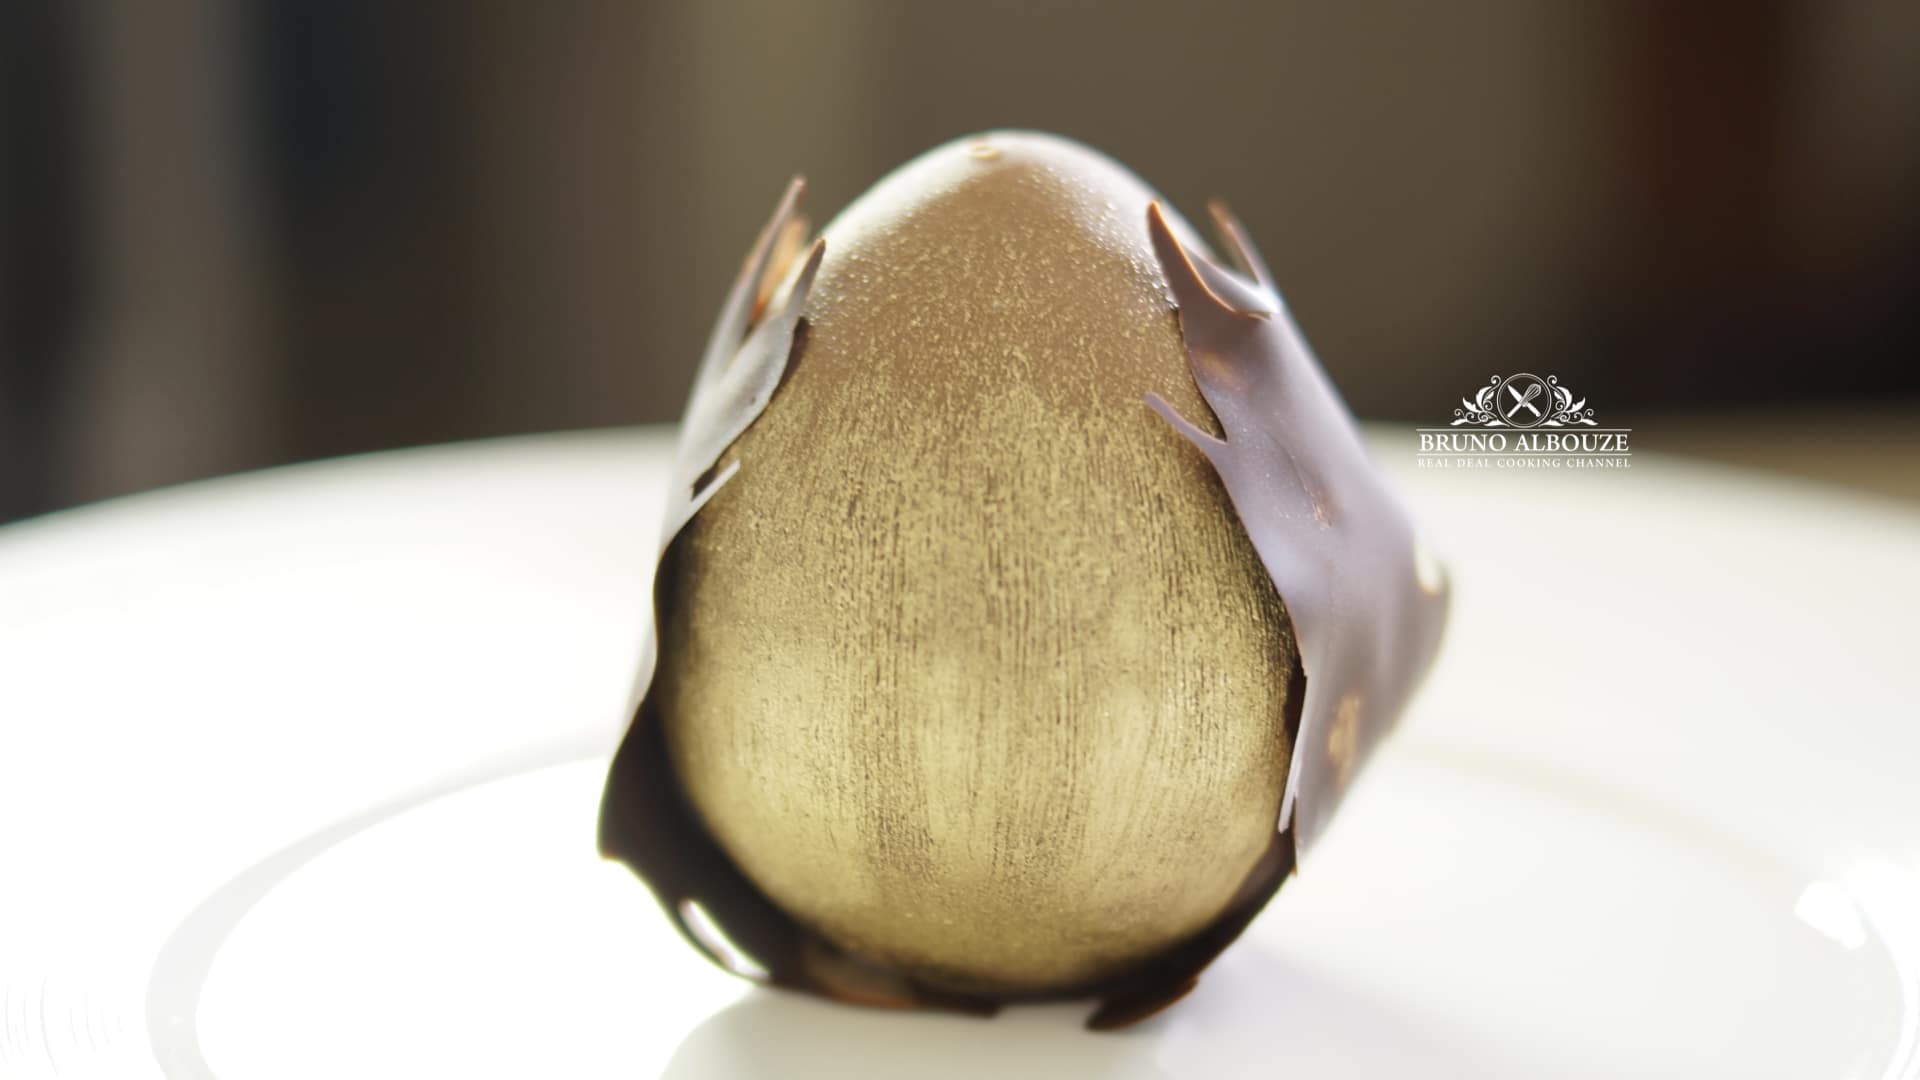
Chocolate Shell Glaze (Enrobage)
- Melt cocoa butter to 175ºF/80ºC. Add milk chocolate, mix with the immersion blender and pass through a sieve. Use at 113ºF/45ºC. Insert the tip of a bamboo skewer in each frozen hazelnut cake (keep them frozen and glaze one cake at the time). Immerse cake in the milk chocolate shell glaze downward. Lift and rotate cake upward until the chocolate begins to set. Create stripes all around the base of the cake using the wire brush. Remove bamboo skewer. Dust gold powder and refrigerate the glazed cake. Repeat with remaining cakes.
Hazelnut Chocolate Leaf
- To begin, you will need to cut out plastic acetate sheets into 10 each 7.5X2-inch/20x5cm strips. These strips will serve as the base for your hazelnut leaf decorations, providing a sturdy surface for the chocolate to set on. Next, it's time to temper your dark chocolate couverture. Tempering is a crucial step in chocolate work that ensures a glossy finish and a satisfying snap when the chocolate is set. Start by melting the dark chocolate over a water bath until it reaches 122ºF/50ºC. Once melted, remove the chocolate from the heat and refrigerate it for a few minutes until it reaches 79ºF/26ºC. This cooling process is essential for setting the correct crystalline structure in the chocolate. After the chocolate has cooled to the desired temperature, carefully rewarm it to 87.8ºF/32ºC max. Now, it's time to assemble your hazelnut leaf decorations. Spread a thin layer of dark chocolate onto each plastic strip, making sure to brush off any excess chocolate from the sides. Mimic the shape of a hazelnut leaf by gently shaping the chocolate on the strip. Once you are satisfied with the leaf shape, gently place the finished hazelnut cake in the center of the chocolate and wrap it in contact with the chocolate-covered strip. Be sure to do this step carefully to avoid any excessive pressure that could distort the leaf shape. Once all your hazelnut leaf decorations are assembled, place them in the refrigerator to set. The cooling process will ensure that the chocolate hardens and holds its shape, creating a beautiful and edible decoration for your cakes. When you are ready to serve your cakes, remember to thaw the hazelnut leaf decorations for at least 6 hours in the refrigerator. Enjoy!
Ready to discover this recipe? You're only 1 step away.
This recipe is only accessible to registered members!
Create your account to access all recipes and content of my website.
Join us now and enjoy more 800 recipes (Mostly French with European Influences, American Classics and Asian fusion)
Already register? Sign in


Appetizers
Beetroot Red Cabbage Mango Salad

Free Recipes
How To Prepare Red Cabbage Raw


Free Recipes
Apple Pie Traybake

Cakes
Olive Oil Chocolate Cake

Desserts
Spicy Chocolate Bar

Entrees
Deboning A Poularde Leg
Free Recipes
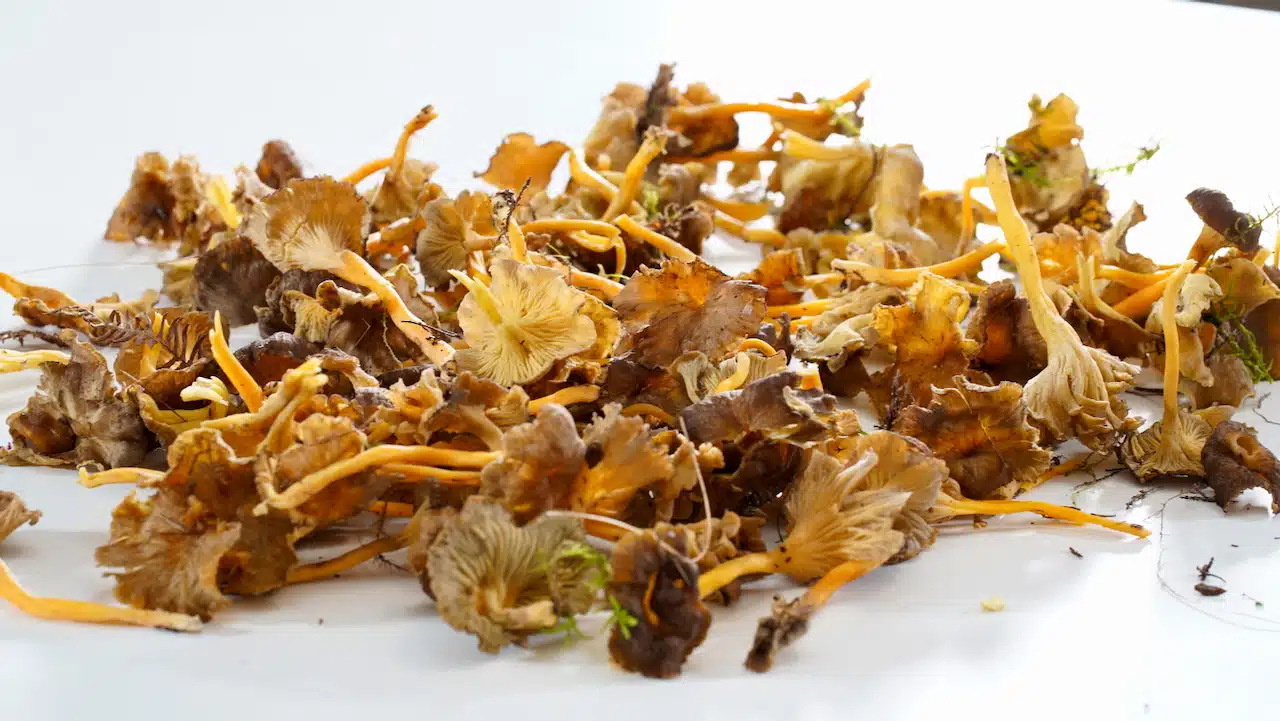
Chanterelle

Bread
Panettone Perdu

Free Recipes
Mustard Fig Spread

Free Recipes
Poularde Demi-Glace
