
Please note that the full access to this content needs a "Year at the Bruno's table" or a "Life at Bruno's table" subscription: please sign up.
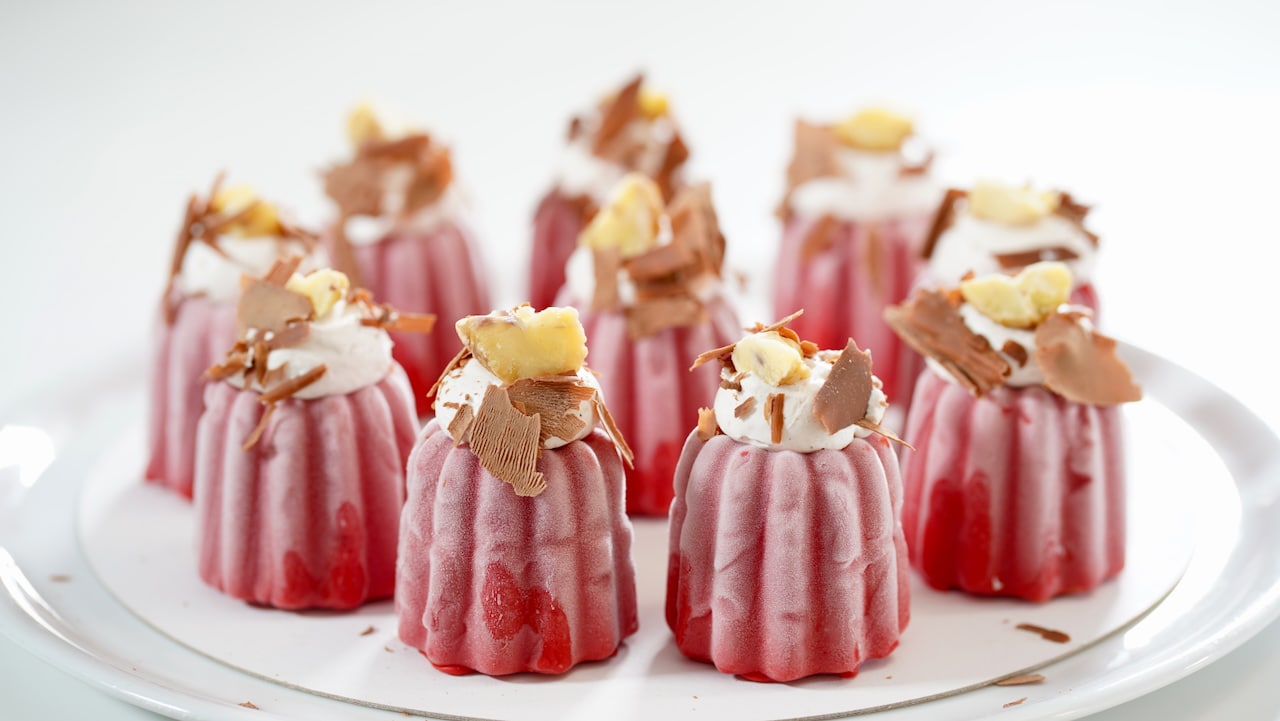
A fanciful dessert for the holiday...
This recipe is a protected and only available for paid members. To obtain the full step by step recipe and detailed ingredients list, please sign up.
Preview the recipe
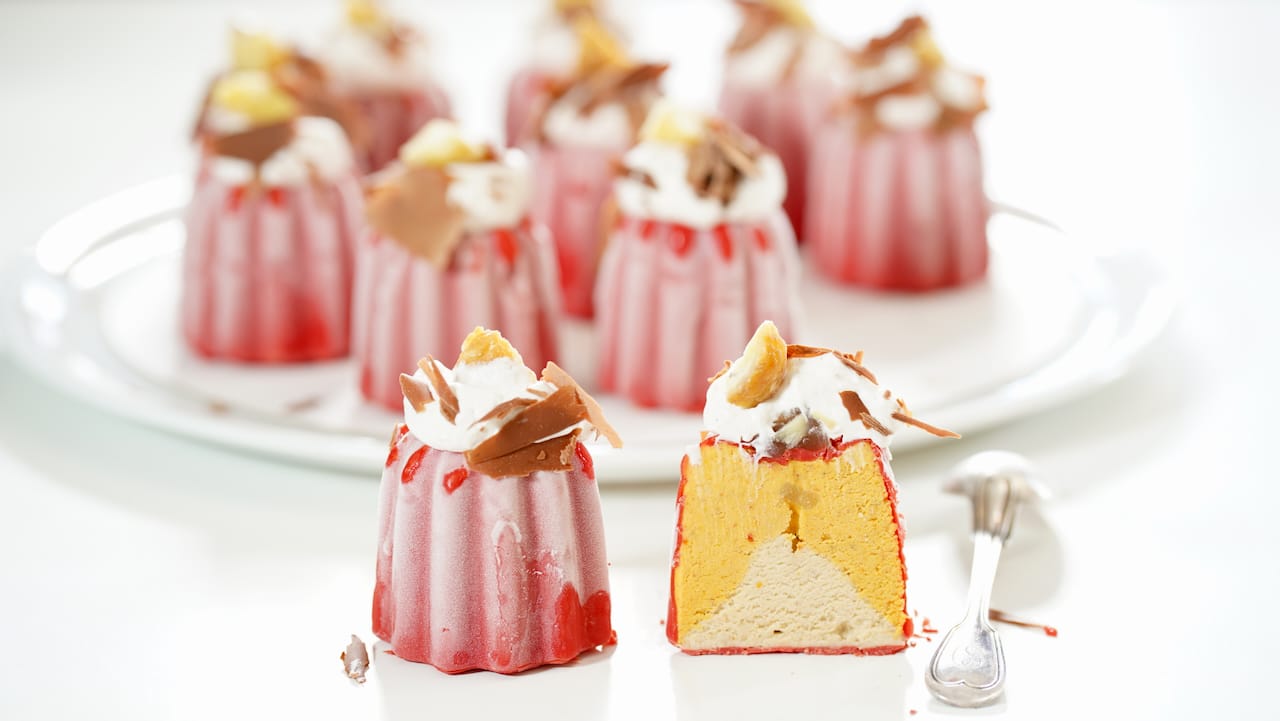
- An hour at least before serving, place these beautiful pumpkin-chestnut ice cream canelé cakes in the refrigerator. You want the whipped cream to soften completely before digging into it. No worries — the ice cream is encapsulated in the chocolate shell; it won't melt.. not yet. Enjoy!

Before You Start
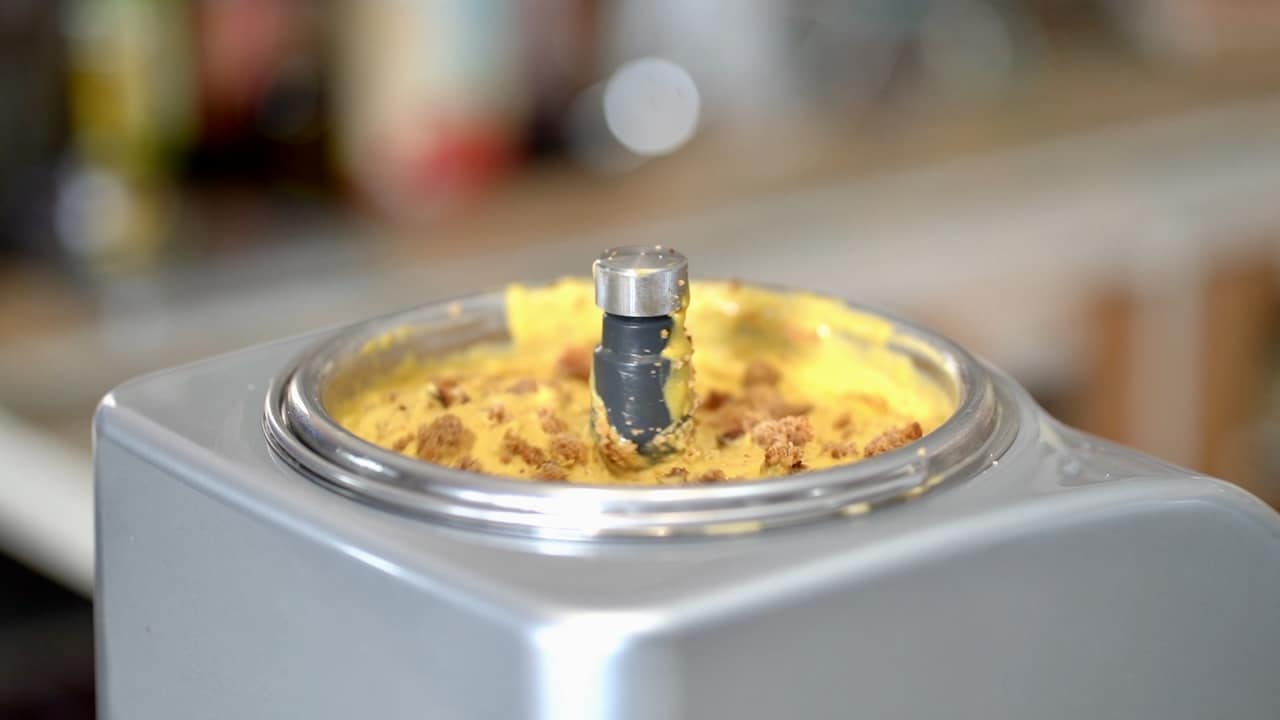
- When building up ice cream-based desserts, freshly churned ice cream is always the best option. Otherwise, ice cream made in advance or leftovers can be put in the fridge for a couple of hours until soft enough, and then your ice cream can be re-churned according to the ice cream manufacturer's instructions. Put molds and utensils in the freezer an hour before using them.

Ice Cream Canelé Assembly
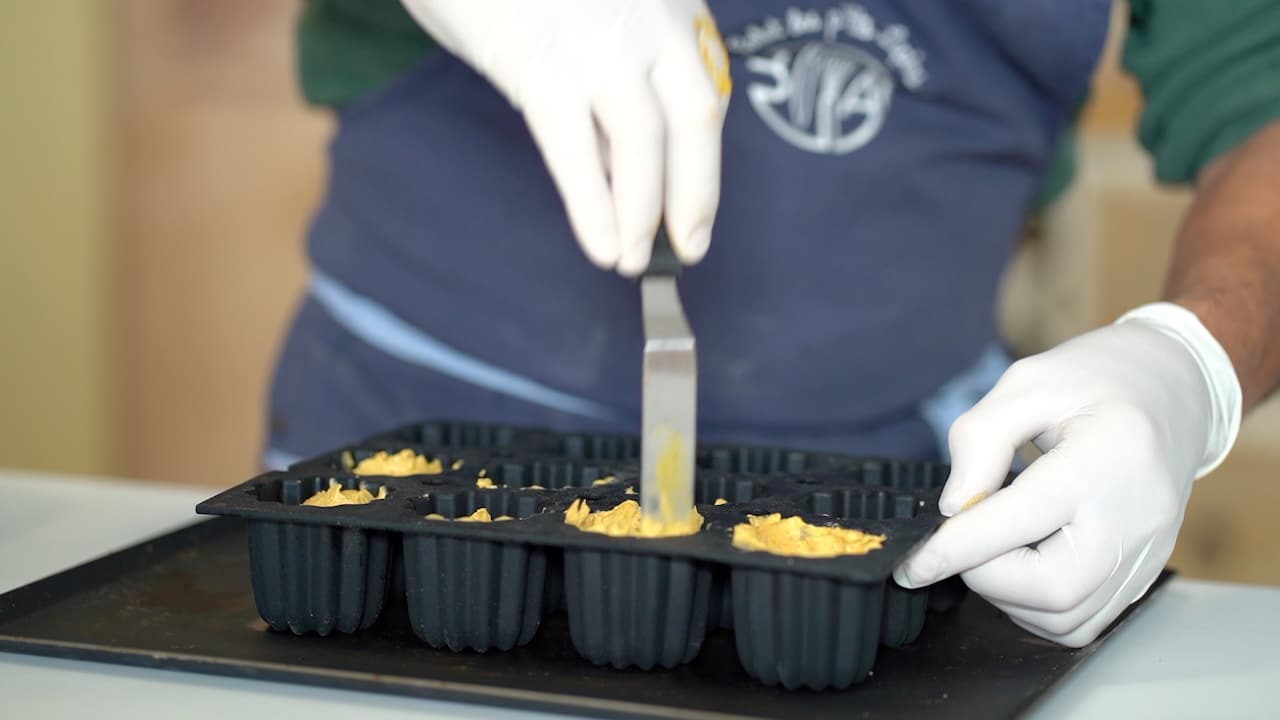
- With the help of an ice cream scoop, fill the cavities two-thirds full with the pumpkin ice cream. Tap the mold a few times against the countertop. Immediately, using a frozen spoon or spatula, push the ice cream up against the sides of each cavity, ensuring the pumpkin ice cream is evenly spread, forming a crater where the next ice cream flavor will be added. Freeze for an hour or longer before adding the next ice cream.
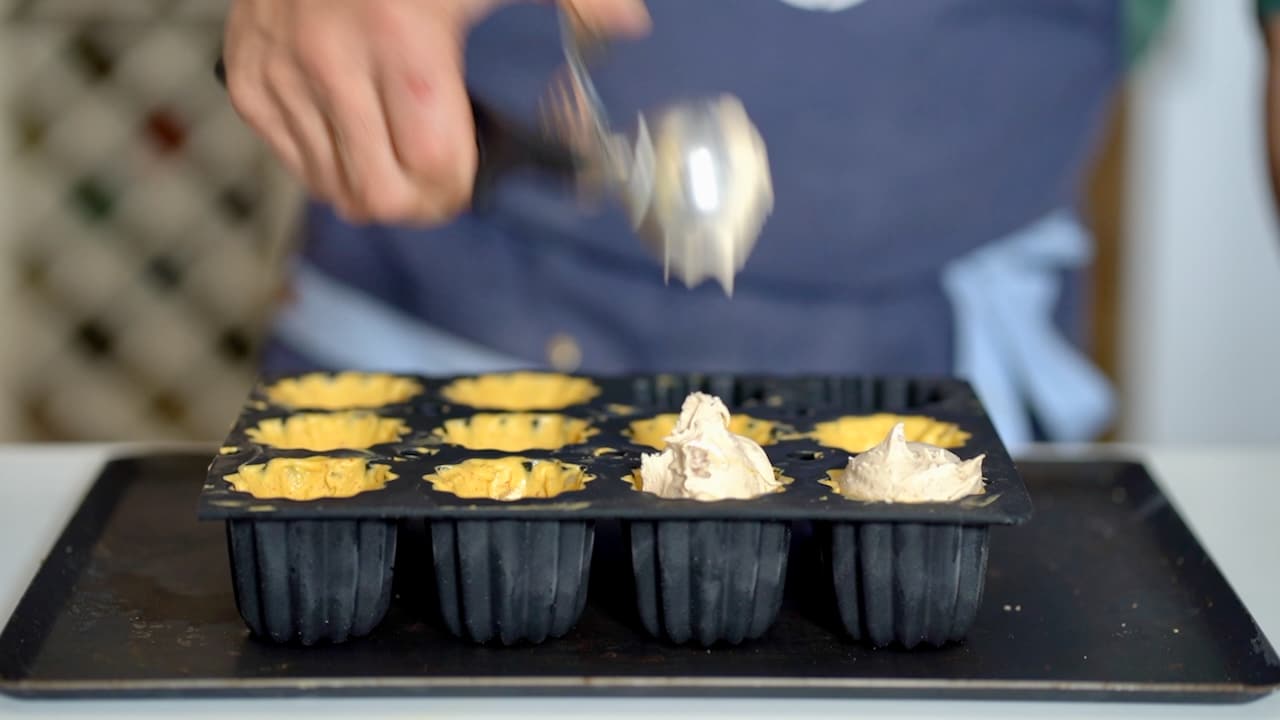
- Churn the chestnut ice cream for about 40 minutes. Scoop it into each crater to fill the gap completely.
- Immediately, spread the ice cream evenly and freeze overnight. Now, if you plan to serve these desserts later on, once frozen, cover the top with parchment and flip the silicone mold over onto the tray. They can be kept in their molds for up to 6 months.
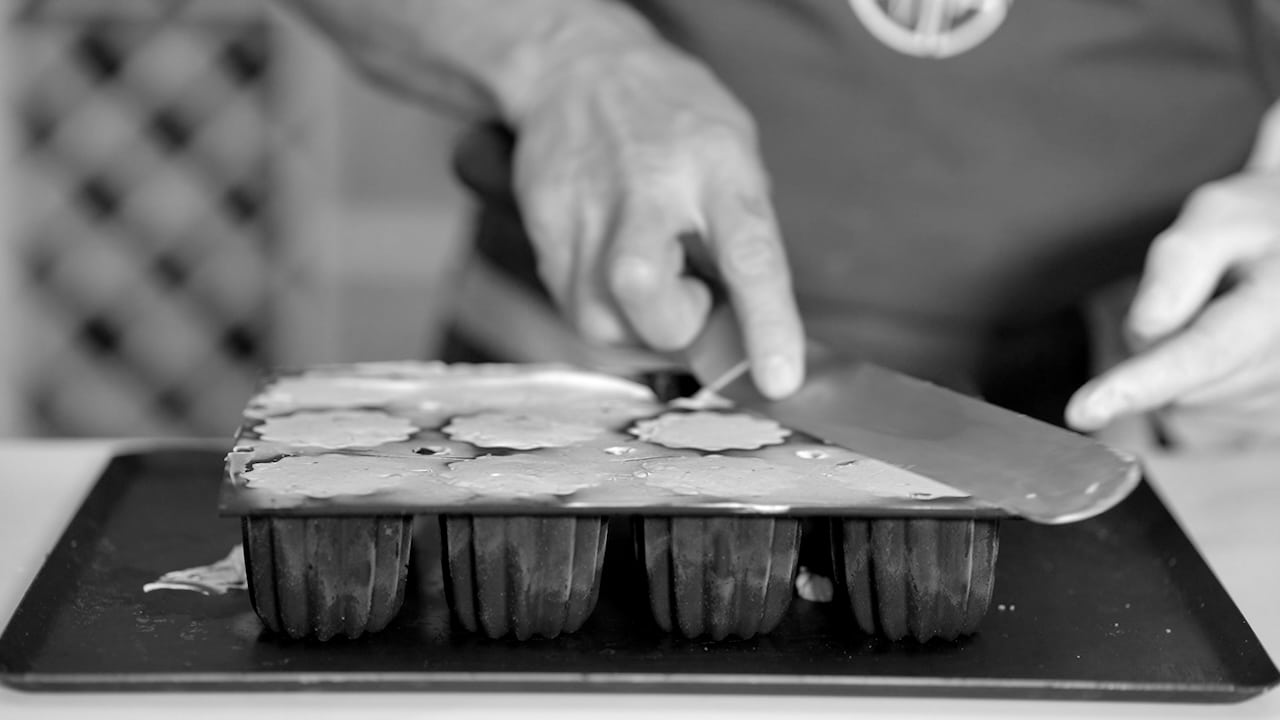


Demolding Ice Cream Canelé Cakes
- Quickly unmold frozen canelé cakes onto the frozen baking tray. Put them back in the freezer.
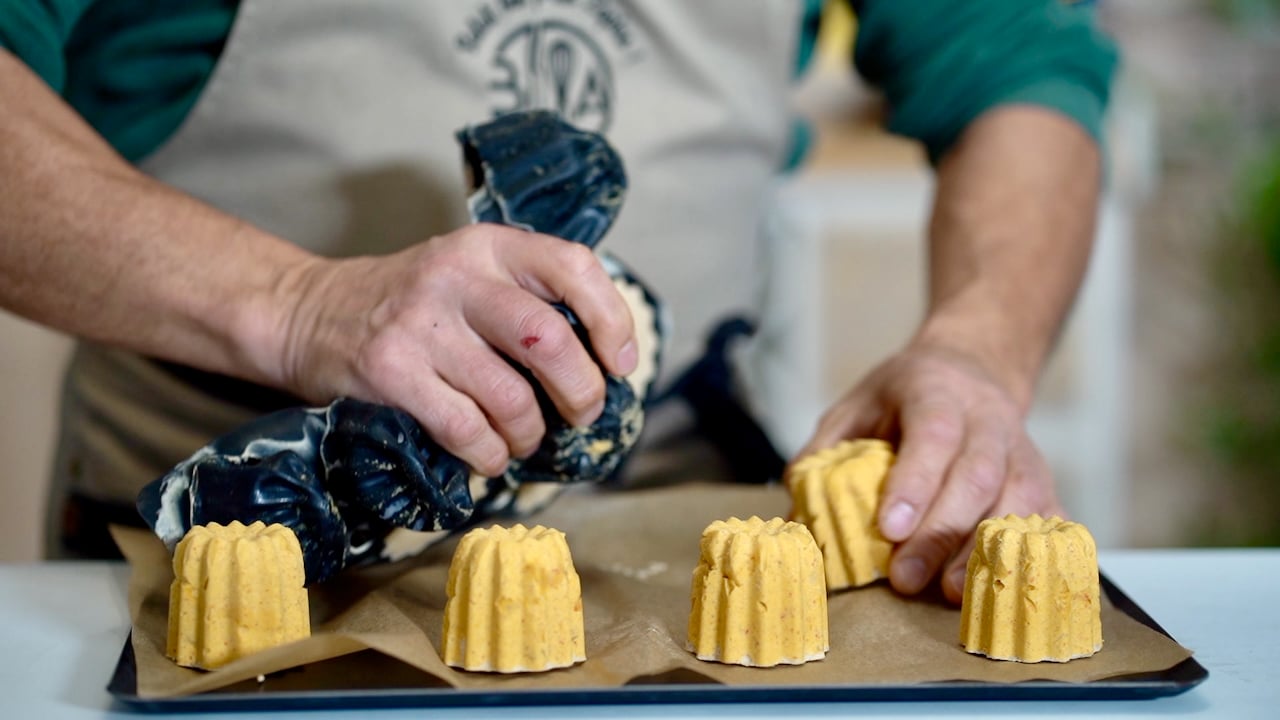

Chocolate Shell
- Rewarm the chocolate enrobage to 40ºC. Line parchment onto a frozen baking tray. Grab one cake from the freezer at the time. Insert the tip of a bamboo skewer and dip the frozen canelé inside the tempered cocoa butter-chocolate mixture.
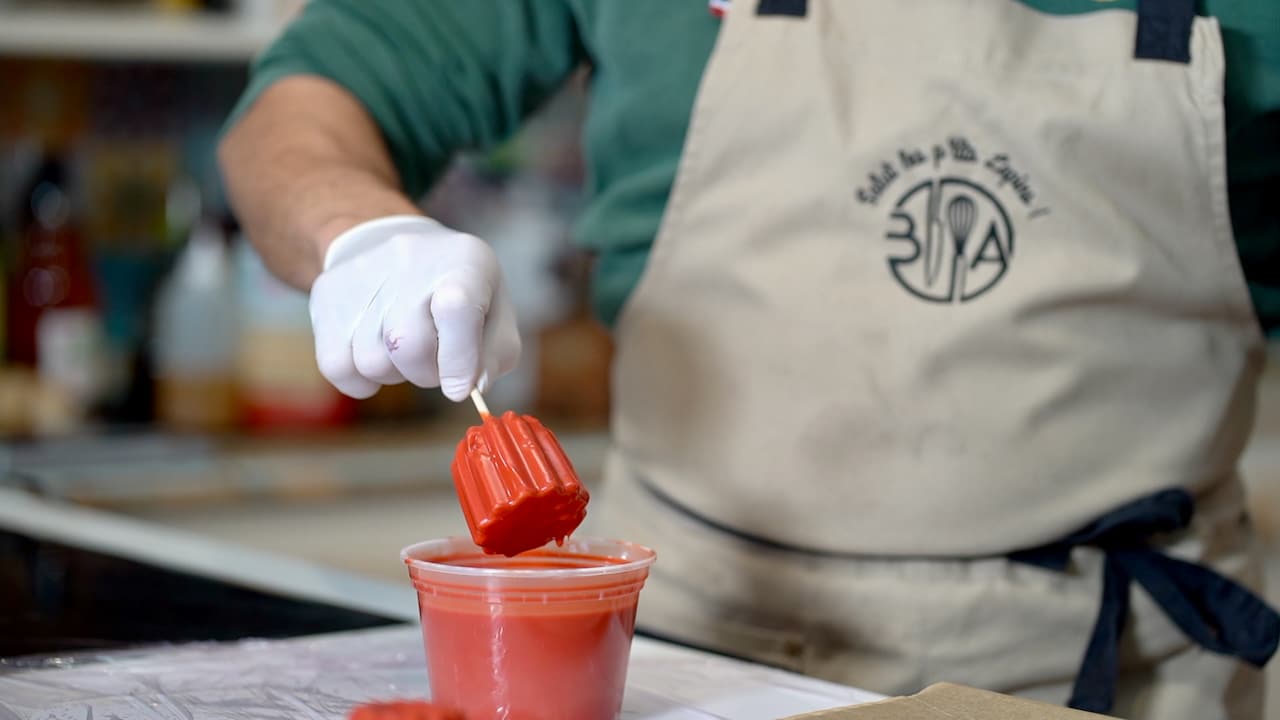
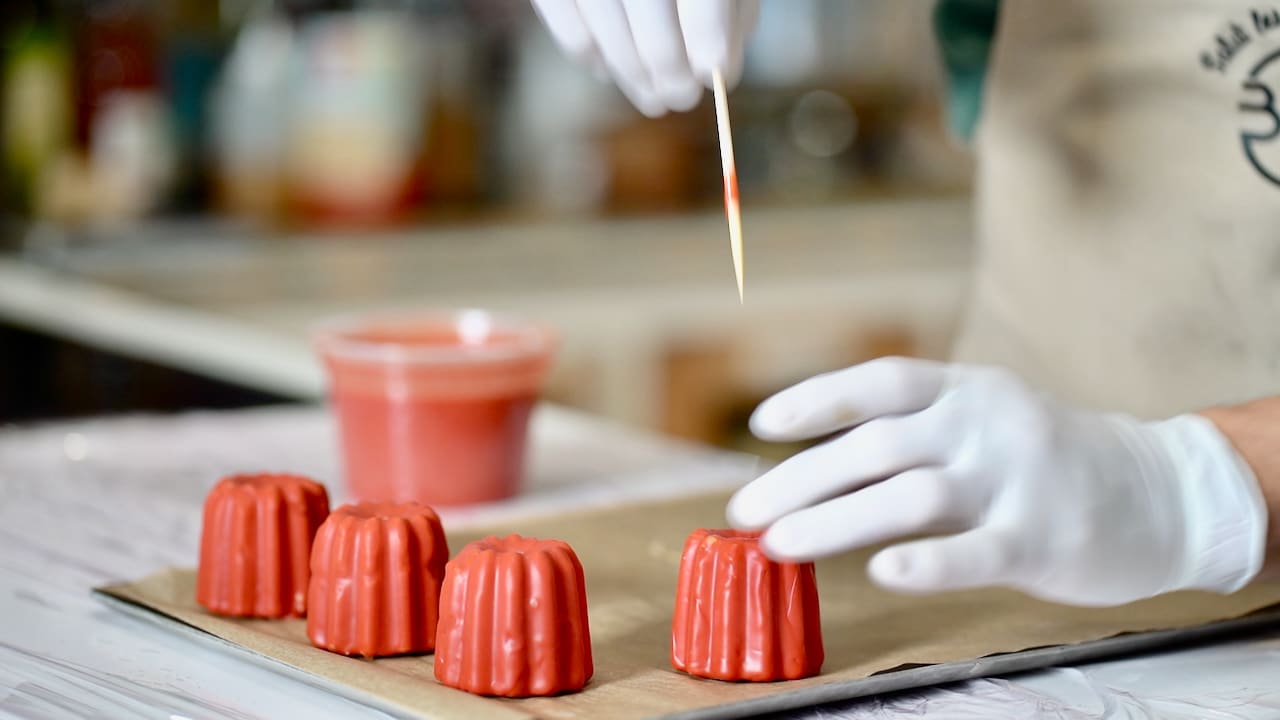
- The chocolate shell should take less than 20 seconds to set. Arrange the glazed cake onto the prepared frozen tray. Remove the bamboo skewer and repeat with the 11 remaining cakes. Keep them frozen.


Toppings
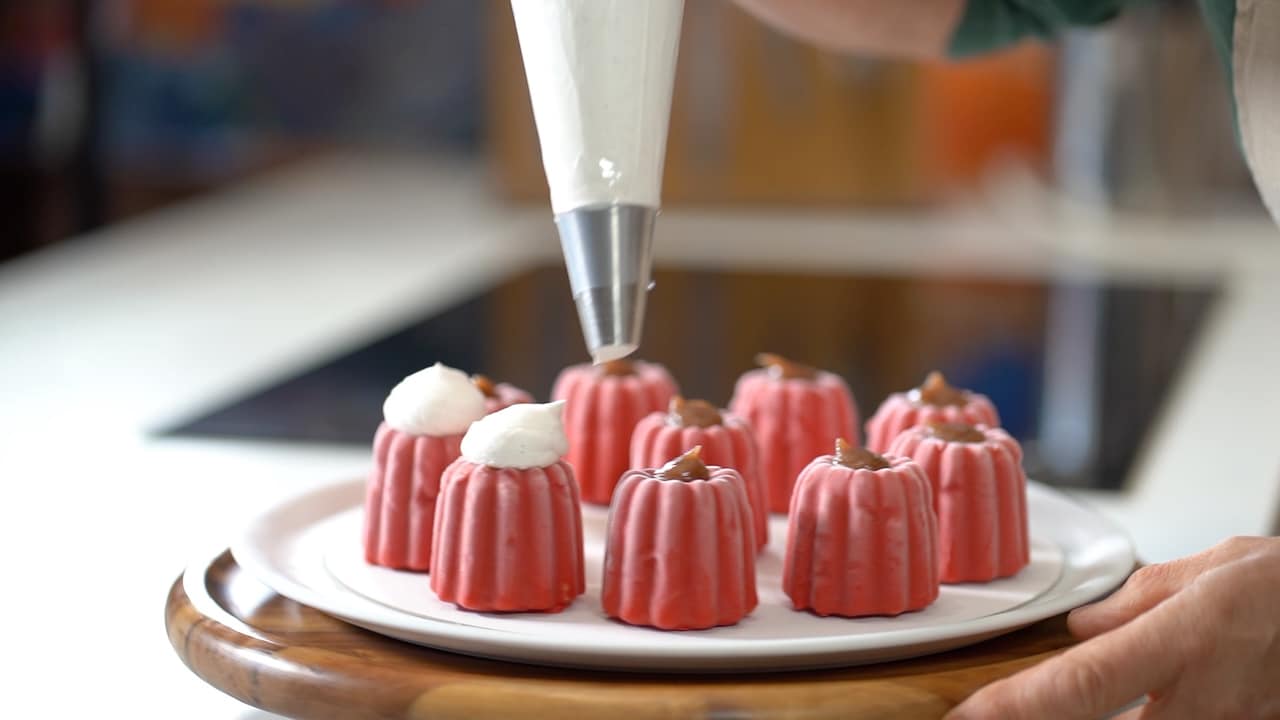
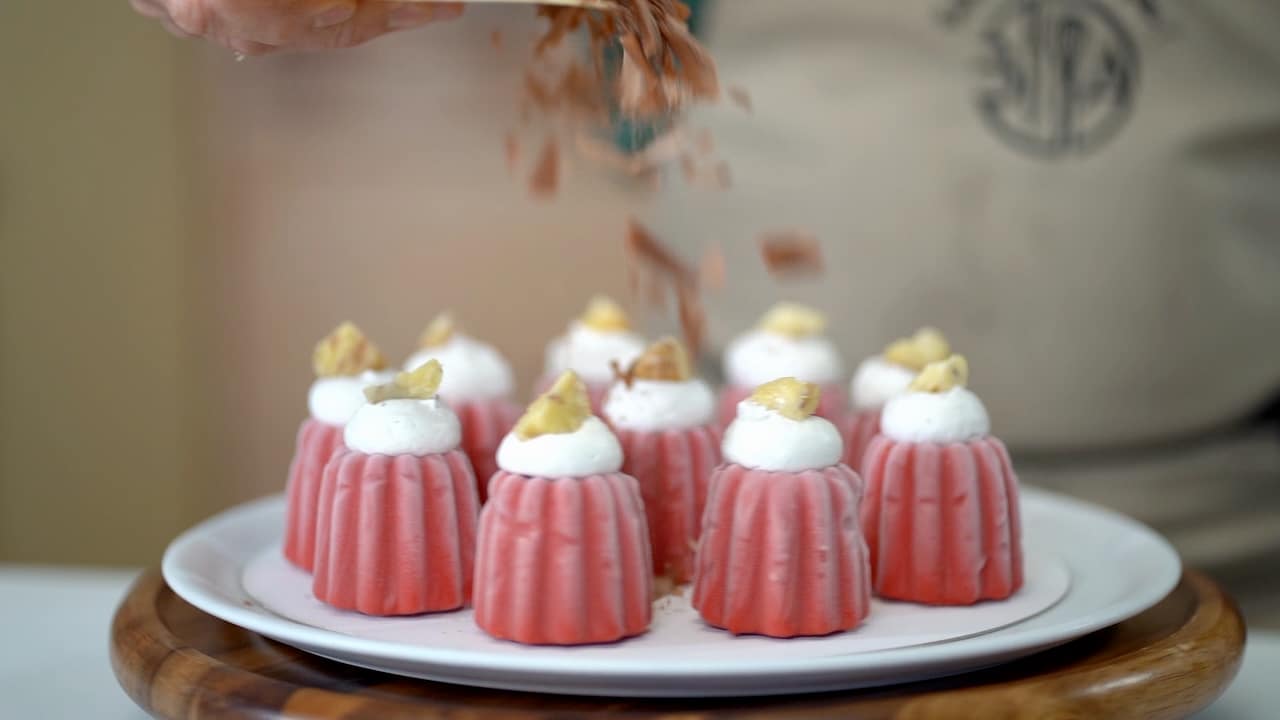
- Pipe a dollop of of chestnut cream inside each curve, and cover with a generous rosette of chestnut whipped cream. Add a small piece of cooked chestnut.
- Finish by sticking chocolate shavings all over the Chantilly. Serve the cakes immediately, or freeze for later use. Transfer the finished ice cream canelé cakes to the refrigerator an hour before serving: you want the whipped cream to soften completely before digging into it.


This content is part of the PREMIUM SECTION

This recipe requires a All-content access subscription. The Premium section includes more than 50 essential recipes from French pastry and a special section for mastering artisanal bread.
The Premium section is only accessible with the following subscriptions: "A year at Bruno's table" and "A life at Bruno's table". See the plans here