Please note that the full access to this content needs a "Year at the table" subscription: please sign up.
The ultimate raspberry cake
This recipe is a protected and only available for paid members. To obtain the full step by step recipe and detailed ingredients list, please sign up.
Preview the recipe
👉 The recipe is not finished yet! Full video coming shortly!
Chef's Tips
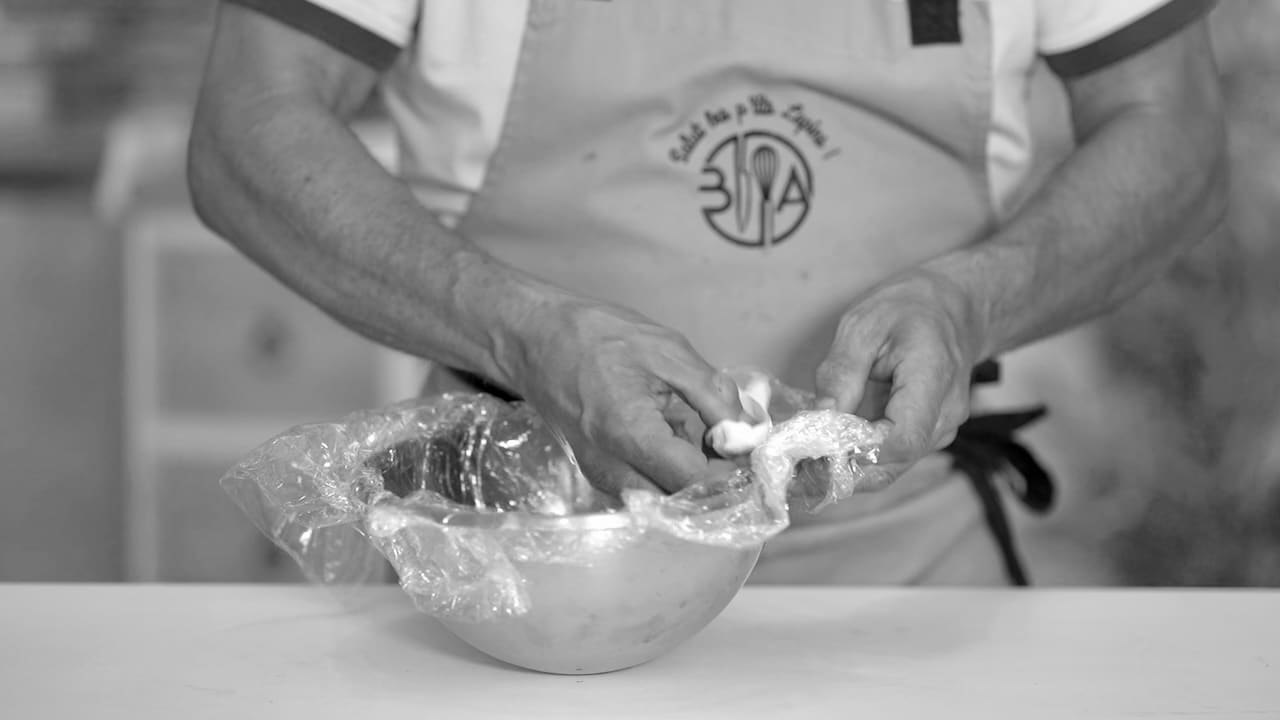
- Keep your freezer organized and make substantial space before starting this cake project. Also, this raspberry cake concept can be built using raspberry silicone molds; however, they are not available in large sizes. To mimic the shape of a raspberry, use a large stainless steel or plastic pastry bowl (avoid glass), and 2.1L/qt max capacity. To ensure easy unmolding once frozen, the bowl must be lined with plastic wrap. To do so, lightly grease the bowl with cooking spray, wipe off any excess fat, and line it with two sheets of plastic wrap. Use a ball of paper towel to press the wrap from the bottom upward, chasing out any air so that the plastic film adheres well to the bowl.

Matcha Pain de Gênes
- Grease and flour a cake ring. Melt the butter and set aside. In a food processor, pulse together the sugar, almond meal, matcha powder, flour, and baking powder. Transfer the dry mixture to a mixing bowl, add the eggs, and beat on high speed for 10 minutes or longer, until the mixture becomes pale and fluffy.
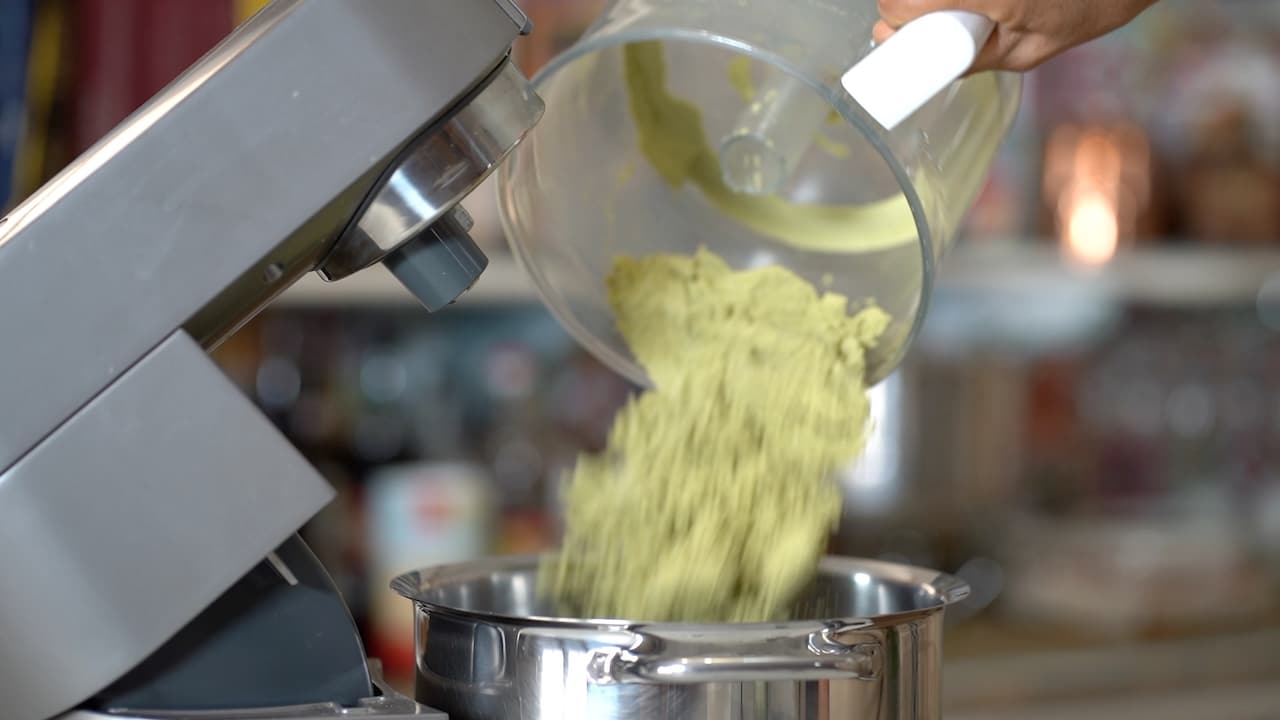
- Fill the prepared cake ring.


Baking
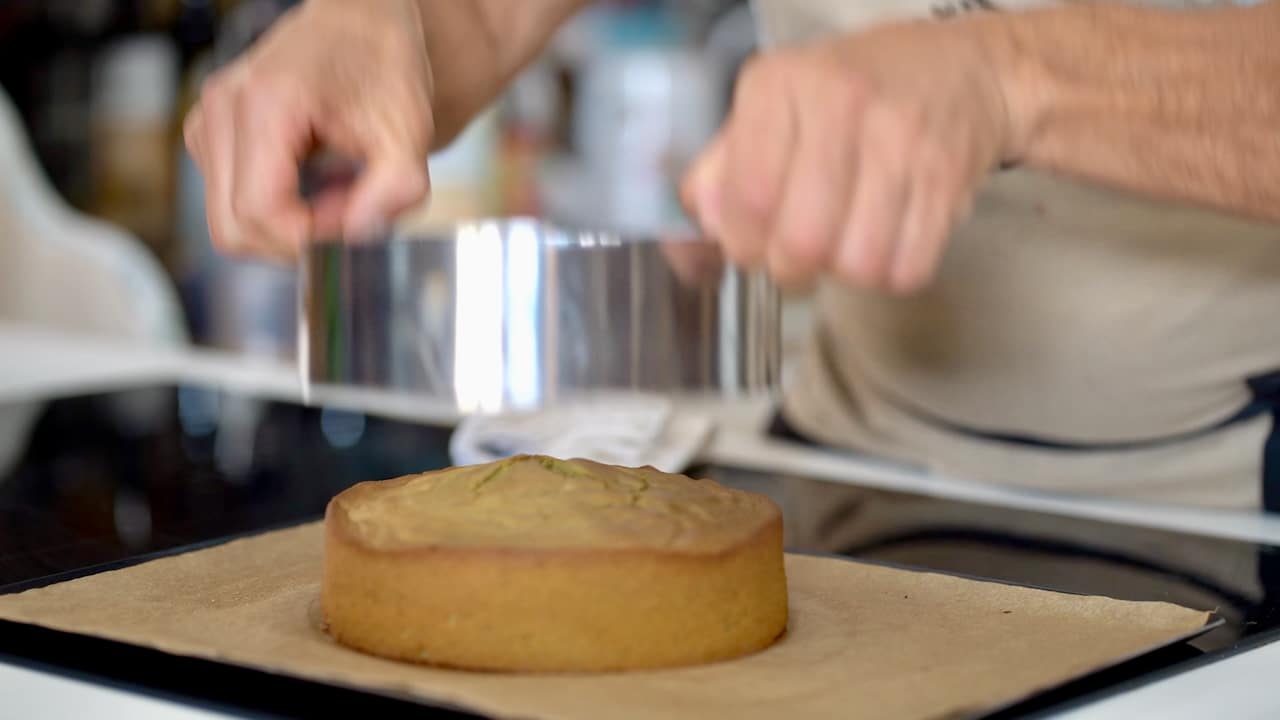
- Preheat a fan oven to 310°F (155°C). Pour the green batter into the prepared cake ring and bake for 40 minutes. Remove from the oven and let cool for 10 minutes, then demold and slide it over a wire rack to cool completely. Once at room temp, place it in the refrigerator overnight before slicing.

Cutting Pain de Gênes
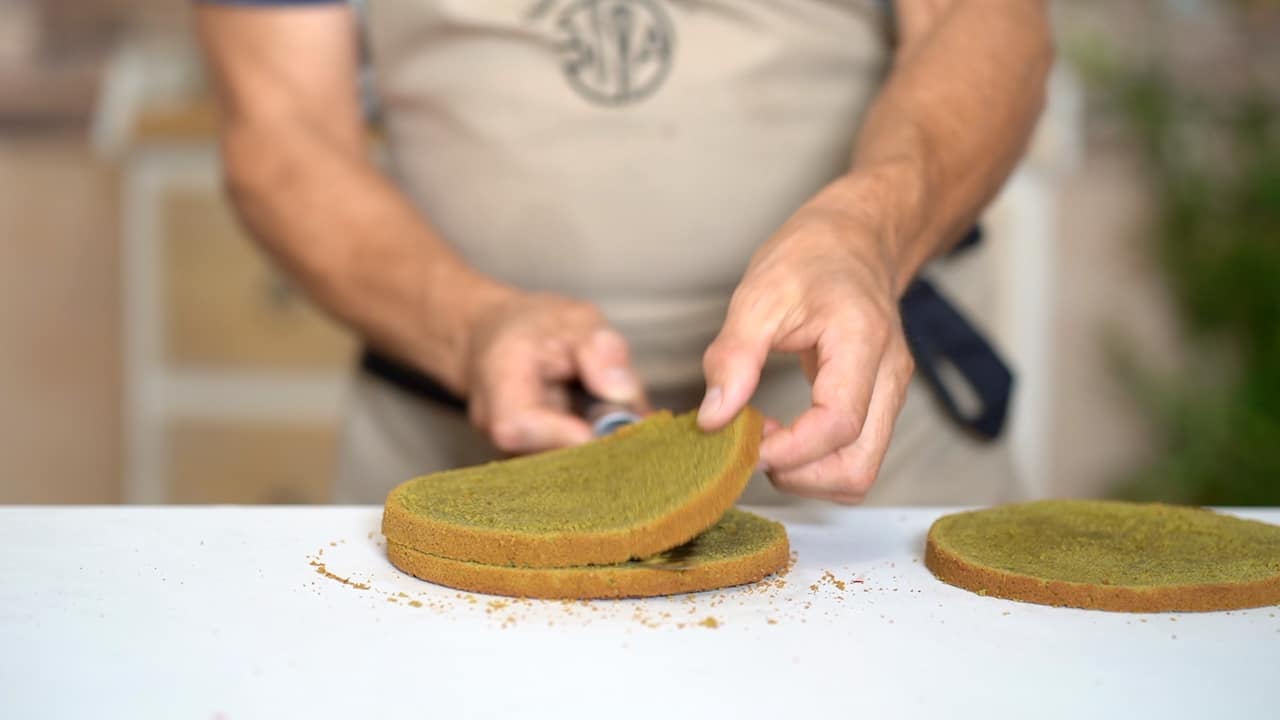
- Scrap off the brown part of the pain de gênes to even it out. Cut the cake into 3 same thickness discs.

Soft Raspberry Insert
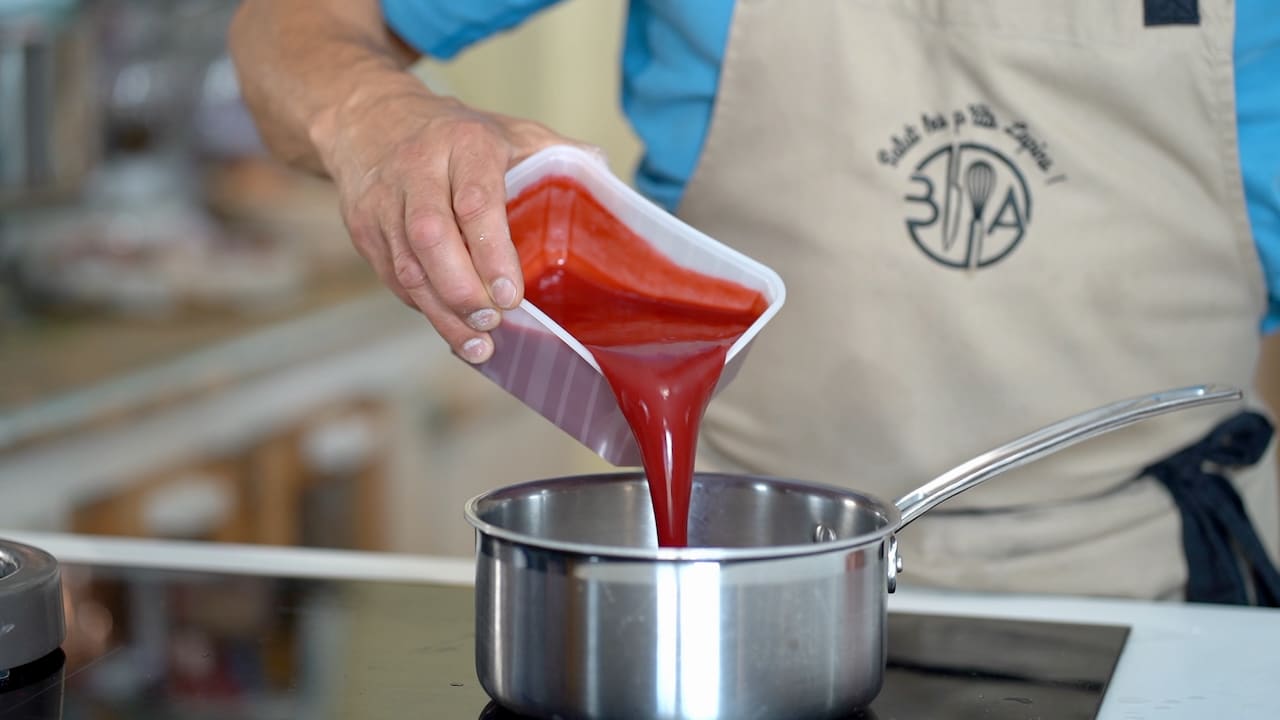
- Soak the gelatin sheets in ice water until softened, then drain and squeeze out the excess water. In a medium size saucepan, heat the raspberry purée and water over low heat. Combine the sugar and pectin, then add it to the fruit purée. Whisk to incorporate, bring to a boil, and cook for 2 minutes over medium-low heat. Remove the coulis from the stove and gently swirl in the bloomed gelatin and lemon juice. Transfer to a bowl, let cool, and refrigerate overnight.
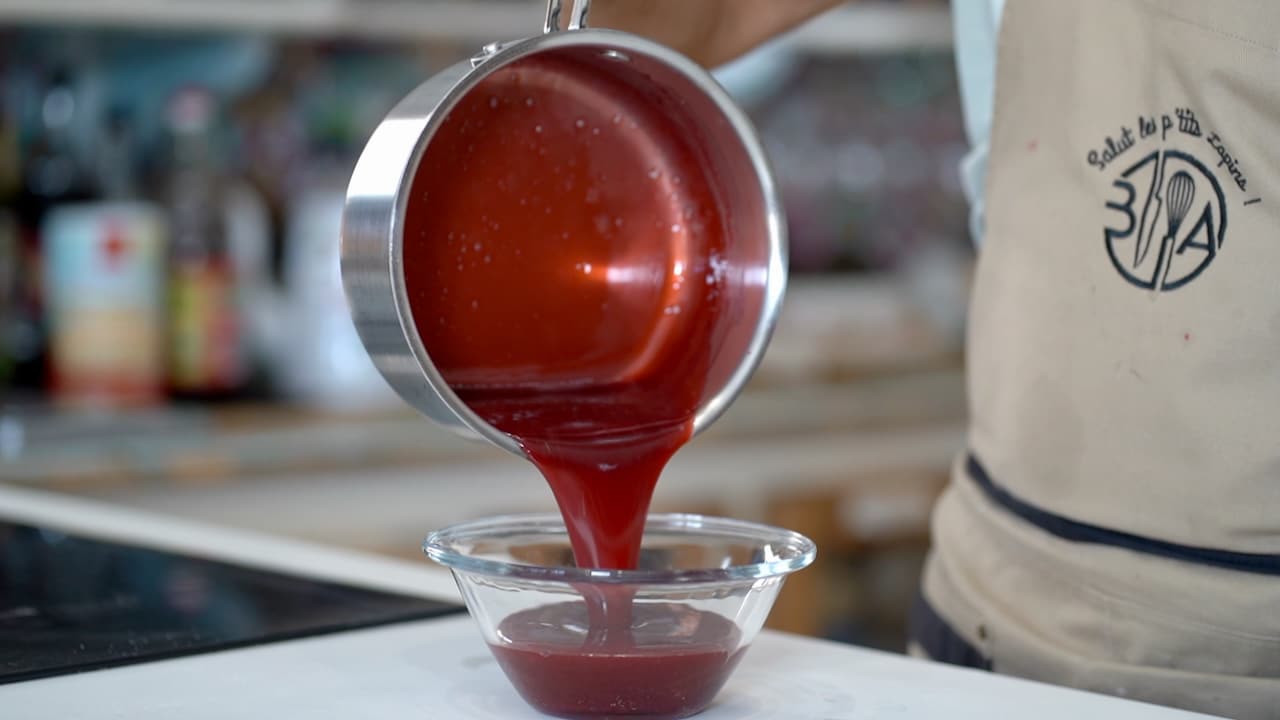
- Once chilled and set, smooth the coulis with an immersion blender.
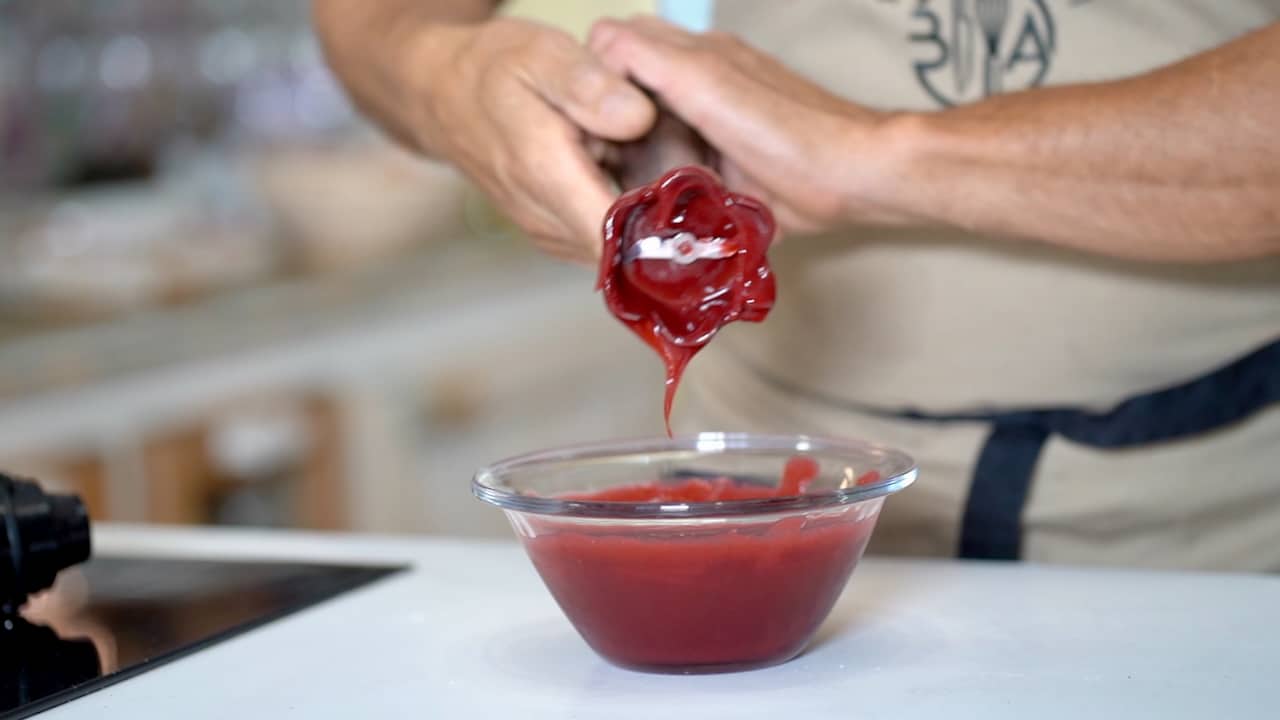
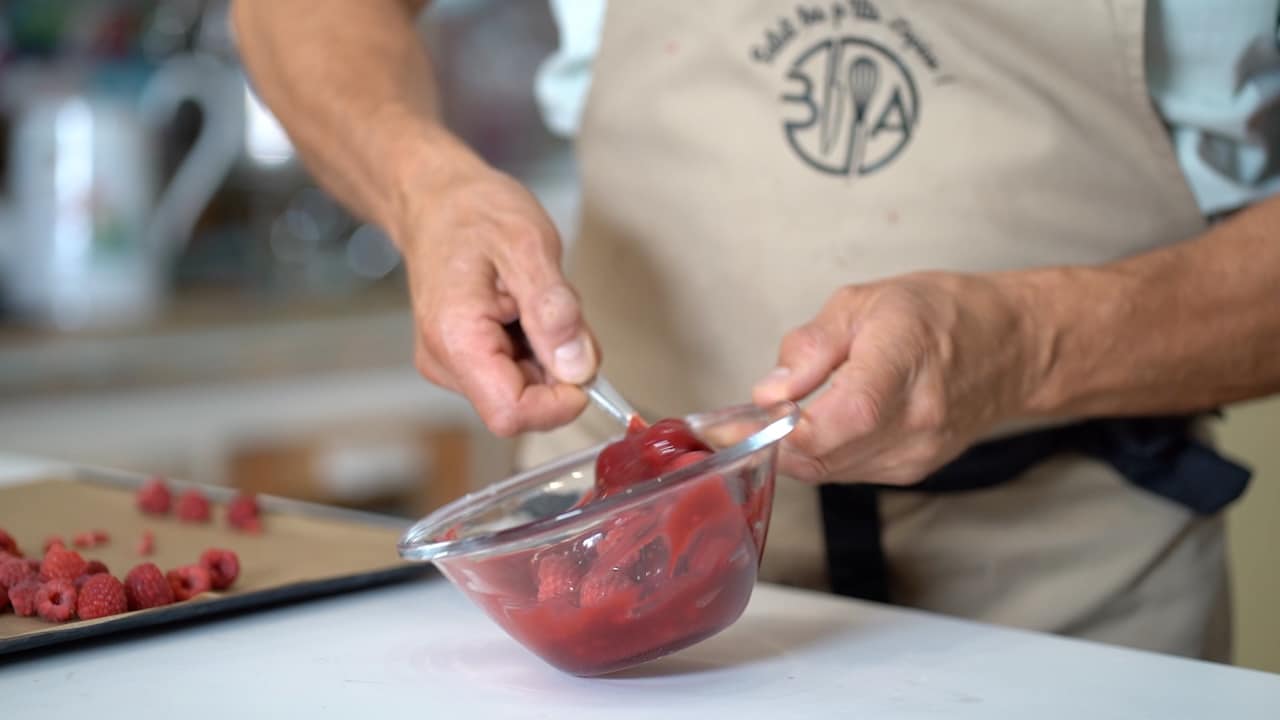
- Use 300g of the raspberry mixture (reserve this wonderful raspberry spread remainder for later use), and fold in the frozen raspberries.
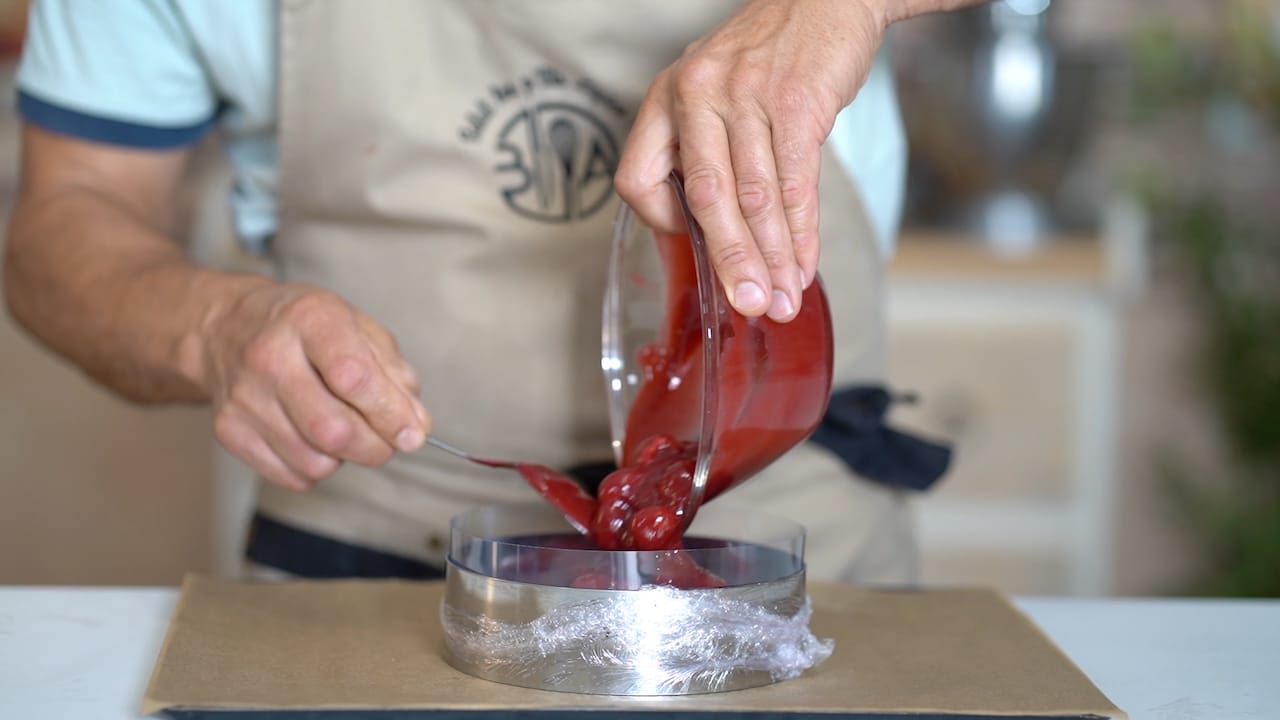
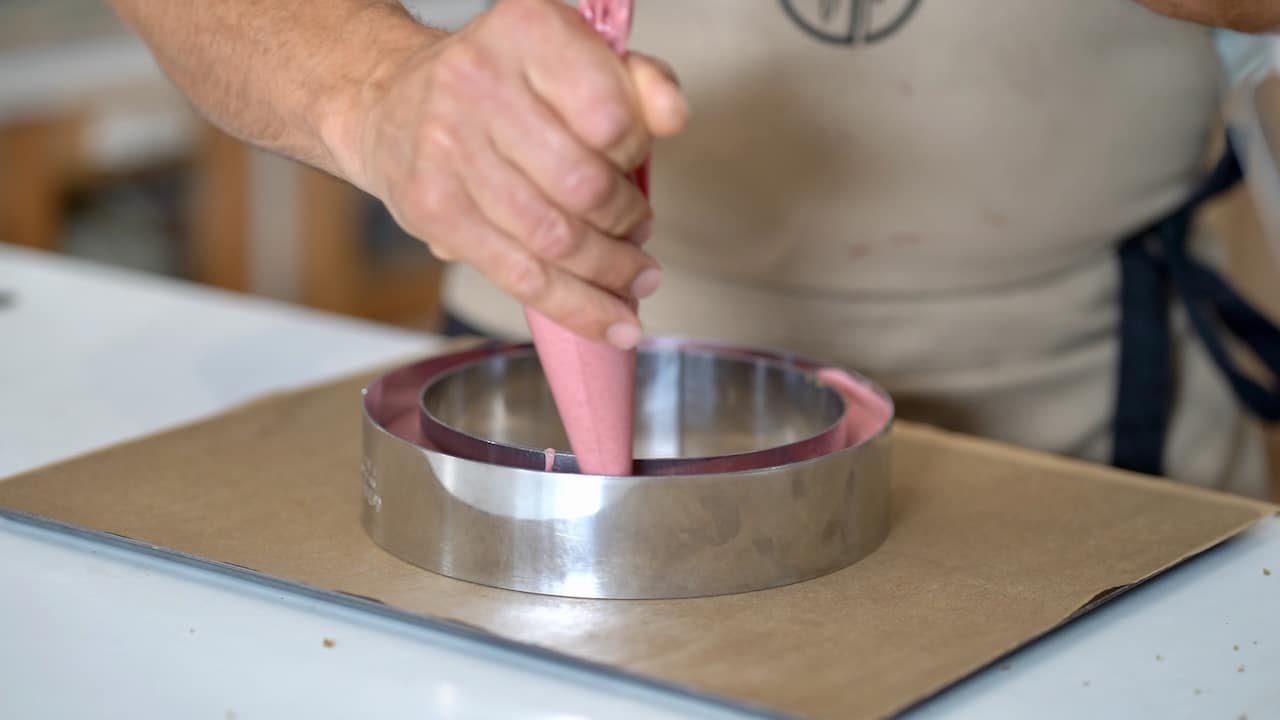
- To prepare the insert, lightly moisten the outside of the cake ring and seal the bottom with a piece of plastic wrap, stretching it tightly like a drumhead. Place the ring on a flat baking tray. (A silicone cake pan mold can be used instead). Pour the mixture into the prepared cake ring.
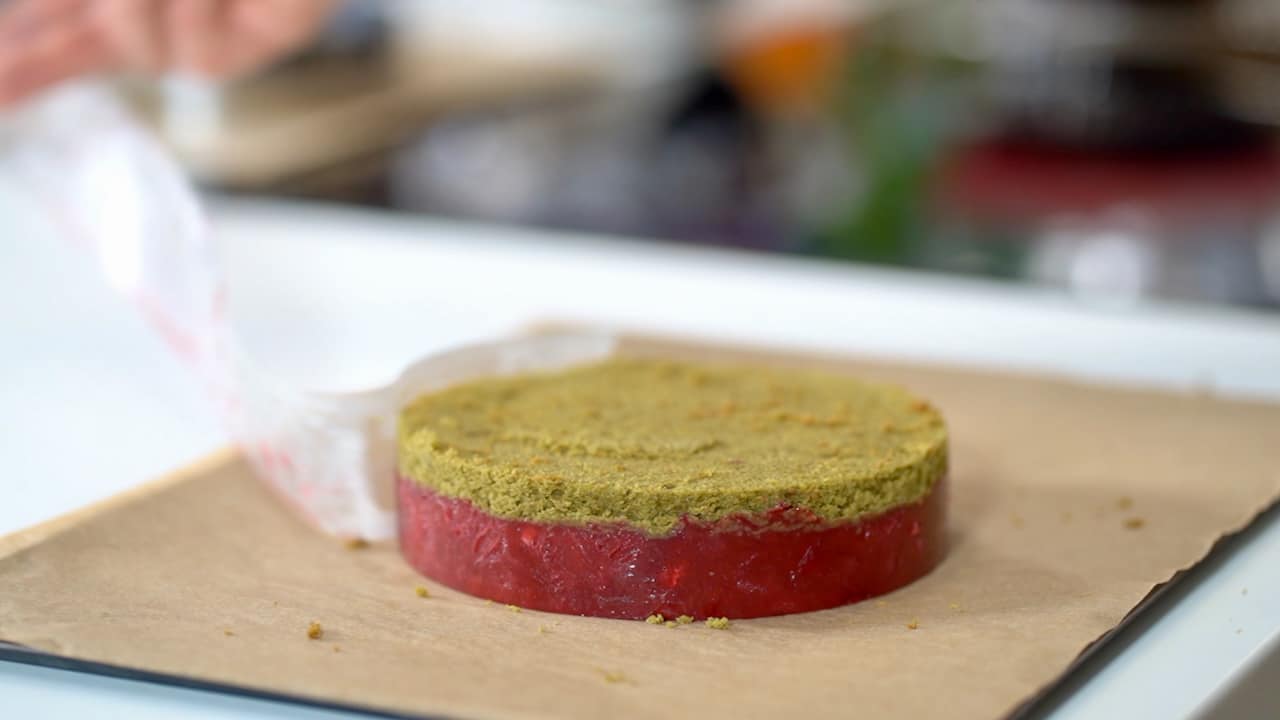
- Place a disc (trim it first) of matcha pain de genes in direct contact. Freeze the soft raspberry insert overnight.
- Unmold it and keep frozen until you are ready to assemble your cake.


Verbena Infused Ganache Montée
- A day before, soak verbena in the chilled heavy cream and refrigerate to infuse overnight. Soak the gelatin sheets in ice water to soften, then drain and squeeze out the excess water. Meanwhile, melt white chocolate over a bain-marie on a gentle heat. Remove from the heat once just melted.
- In a saucepan, bring to a quick boil the verbena infused heavy cream and pass through a sieve over the melted white chocolate. Blend with the an immersion blender. Discard verbena leaves.
- Add in the bloomed gelatin, blend and then add the remaining chilled heavy cream. Mix well and refrigerate the ganache montée overnight to set completely before whipping.


Raspberry Mousse
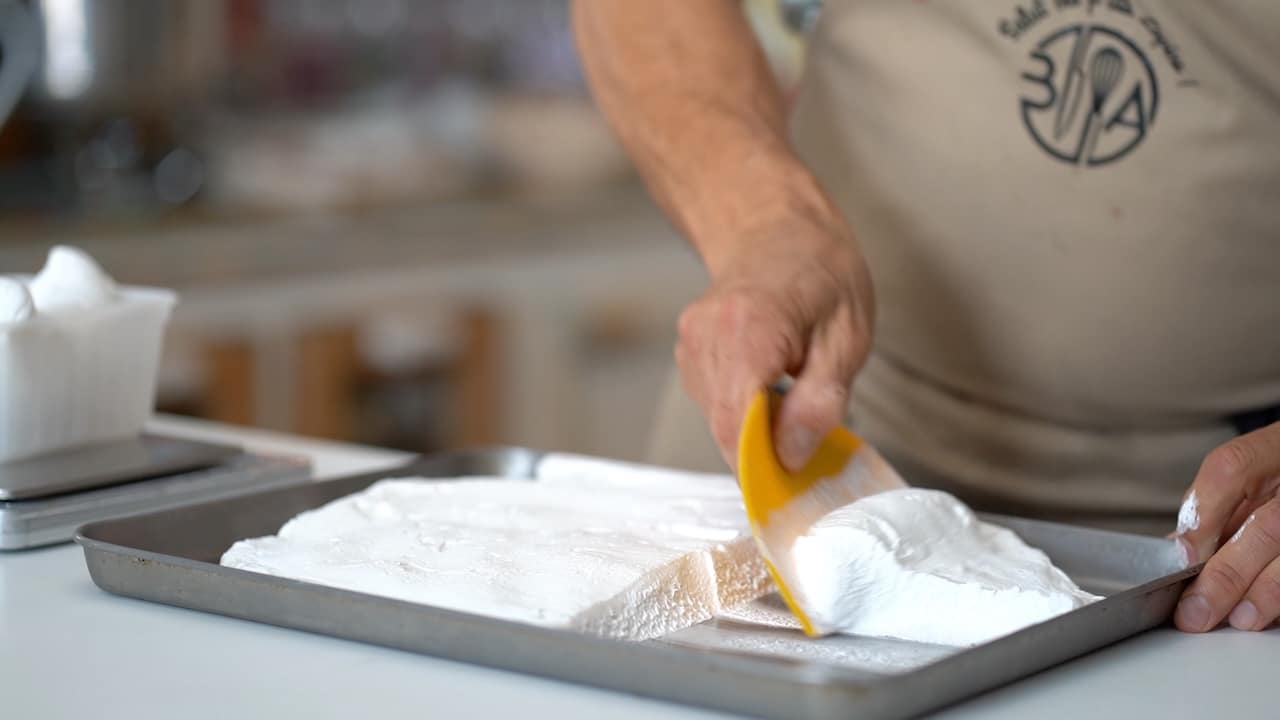
- Italian meringue can be made ahead of time. Spread meringue onto a tray lined with plastic wrap. Keep it frozen.
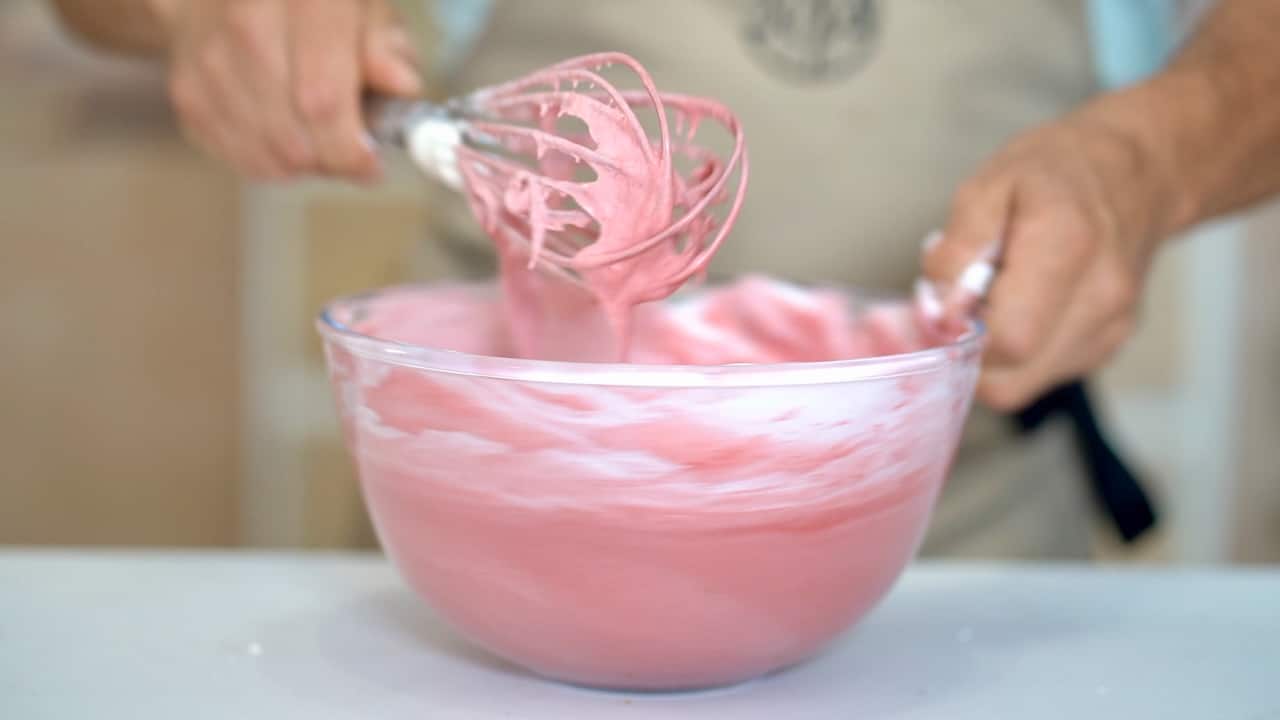
- Soak the gelatin sheets in ice water until softened, then drain and squeeze out the excess water. Heat the raspberry purée with the sugar to about 140°F (60°C). Remove from the heat and whisk in the bloomed gelatin. Transfer the raspberry purée to a large pastry bowl and let it cool to 86ºF (30°C).
- Whip the chilled heavy cream to medium-soft peaks (keep it supple). Fold the whipped cream into the chilled Italian meringue.

- To finalize the mousse, using a whisk, fold one-third of the whipped cream–meringue mixture into the tempered raspberry mixture, then incorporate the remainder. Finish folding scraping the edges of the bowl with the rubber spatula.


Cake Assembly
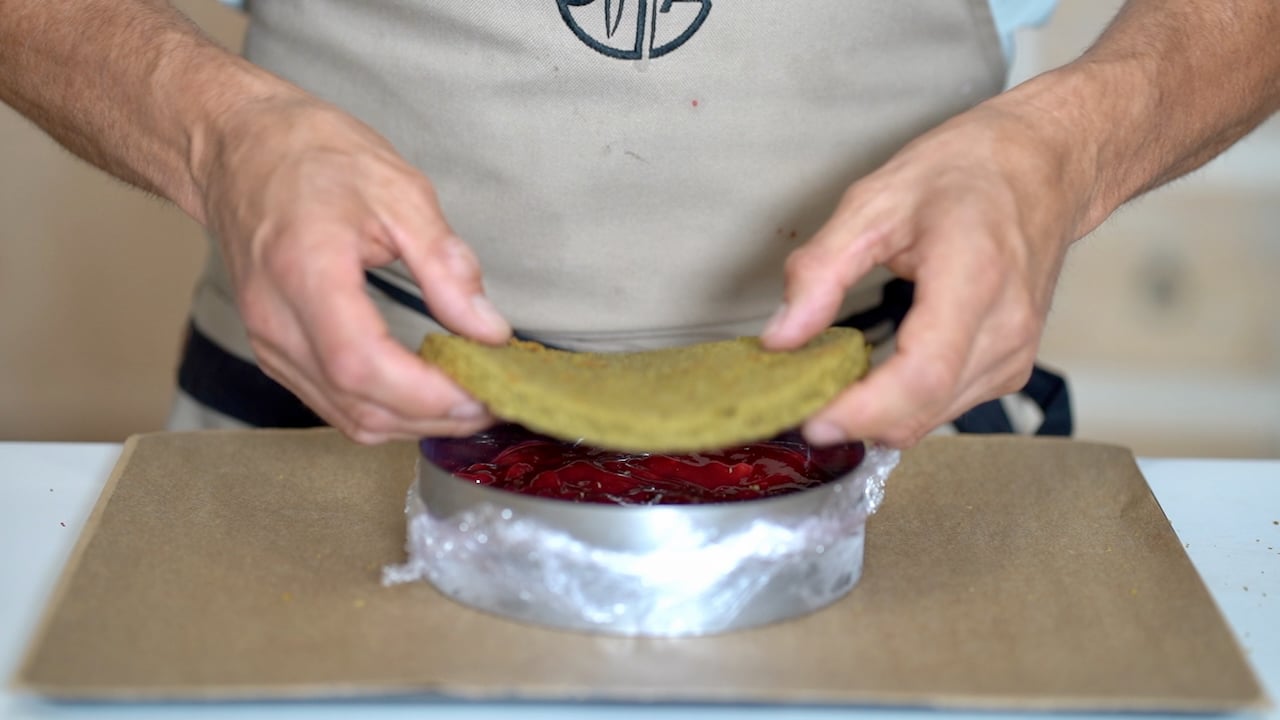
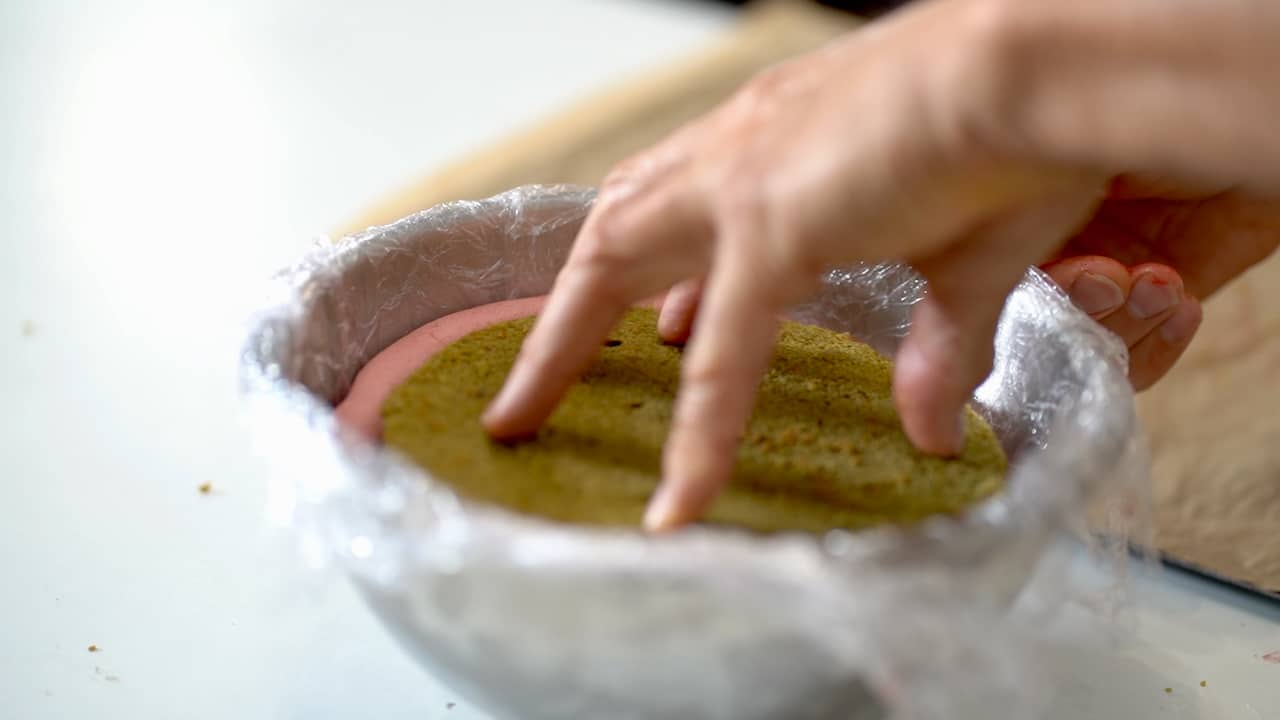
- Trim one matcha disc into a 12cm diameter round and place it in the bottom of the bowl. Fill the bowl halfway with the raspberry mousse.
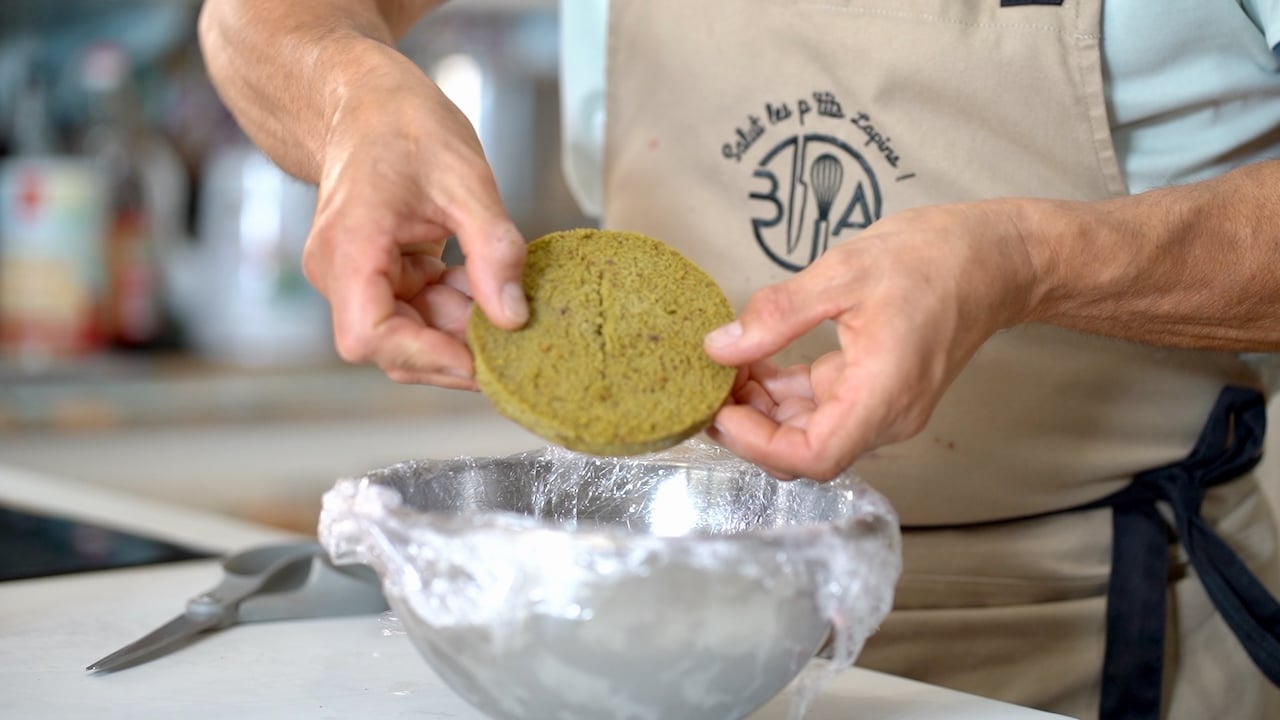
- Gently press down the frozen raspberry insert until it touches the sides of the bowl.
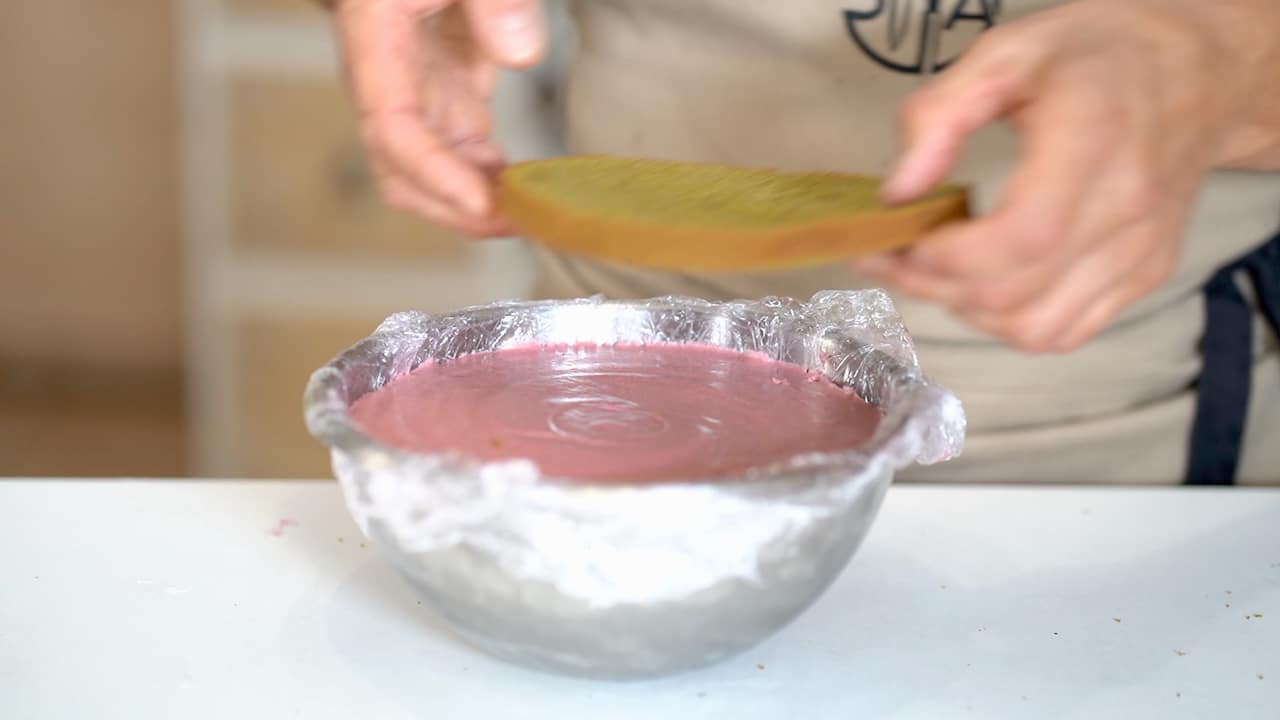
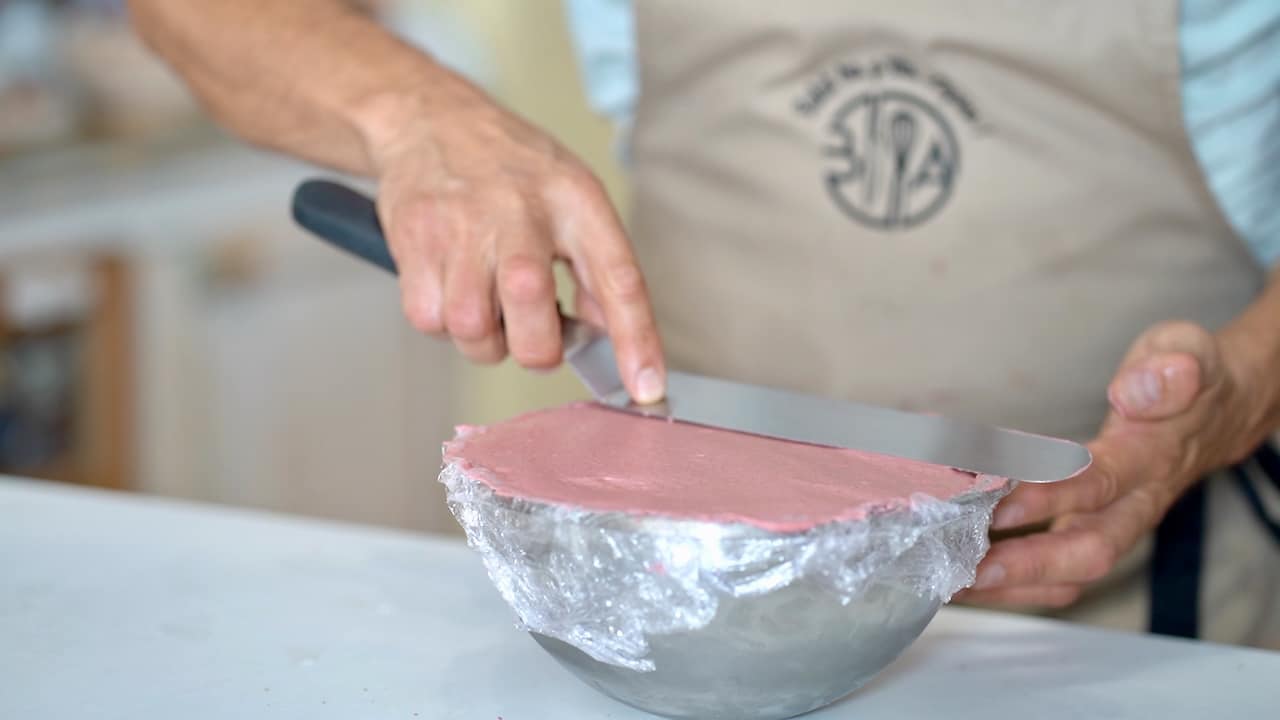
- Add more mousse, then place the last matcha pain de Gênes on top and cover evenly with more mousse.
- Place the filled bowl in the freezer and leave it there for at least 12 hours before unmolding.
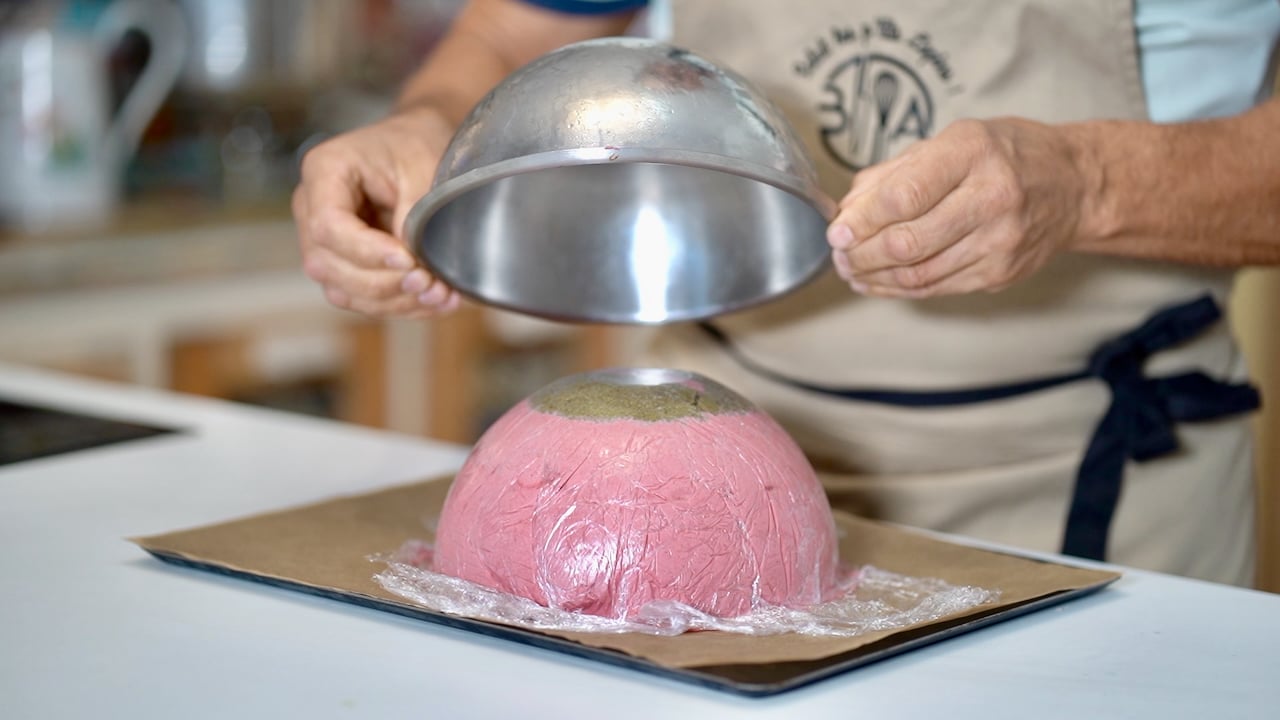
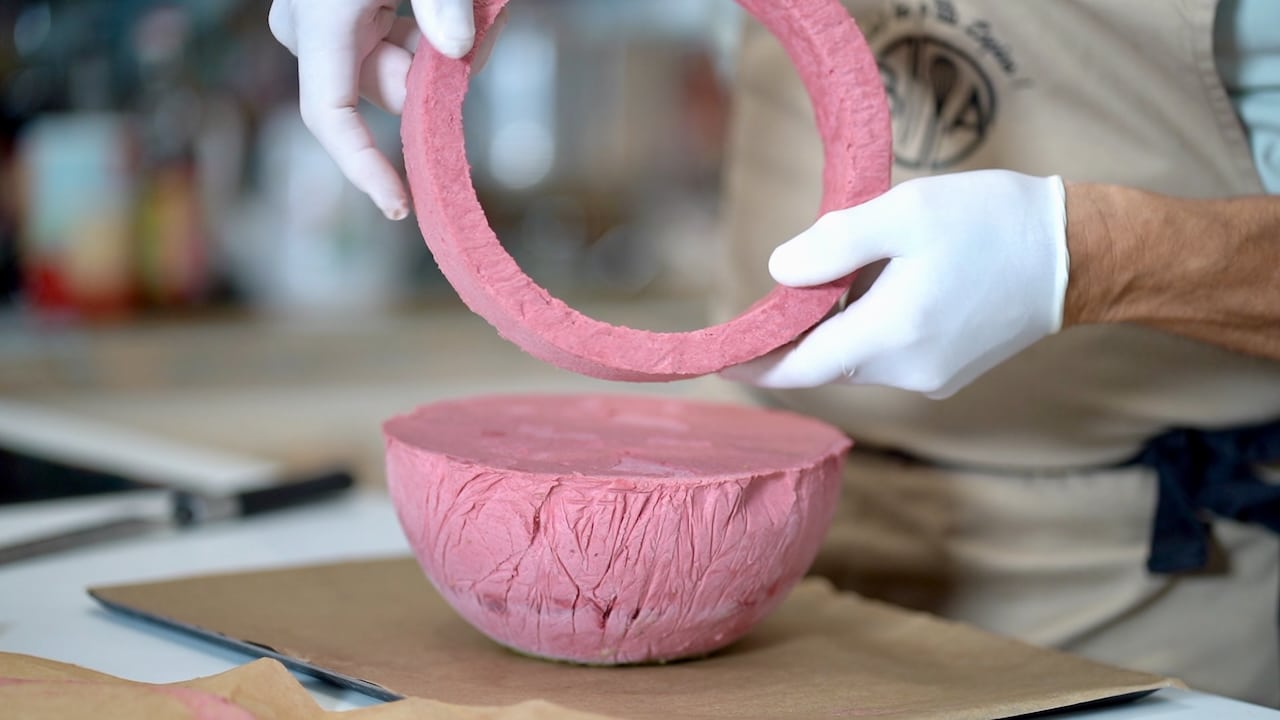
- Flip the cake upside down onto a frozen baking tray. Warm up the bowl with your hair dryer. Remove the bowl and the plastic wrap. Keep the raspberry cake the freezer.


Raspberry Mousse Ring
- This will create a straight rising edge to emphasize the raspberry-like appearance. Line both rings with plastic acetate collar, and place them onto a flat baking tray. Fill the created space halfway with the raspberry mousse, and freeze. Demold and keep frozen for 2 hours before adding it to the cake.
- Like you would shape a clay bowl, top the cake with the raspberry mousse ring. Keep the cake frozen for 3 hours before proceeding to the next step.


Whipping Ganache Montée
- In the chilled mixing bowl, whip ⅔ of the verbena flavored ganache montée to medium-soft peaks. Avoid over whipping otherwise the final texture will be compromised. So, stay close to your stand mixer! Fill piping bag fitted with the large plain open tip. Keep the remaining ganache montée in the mixing bowl with the whisk in the refrigerator. It'll be whipped later on.


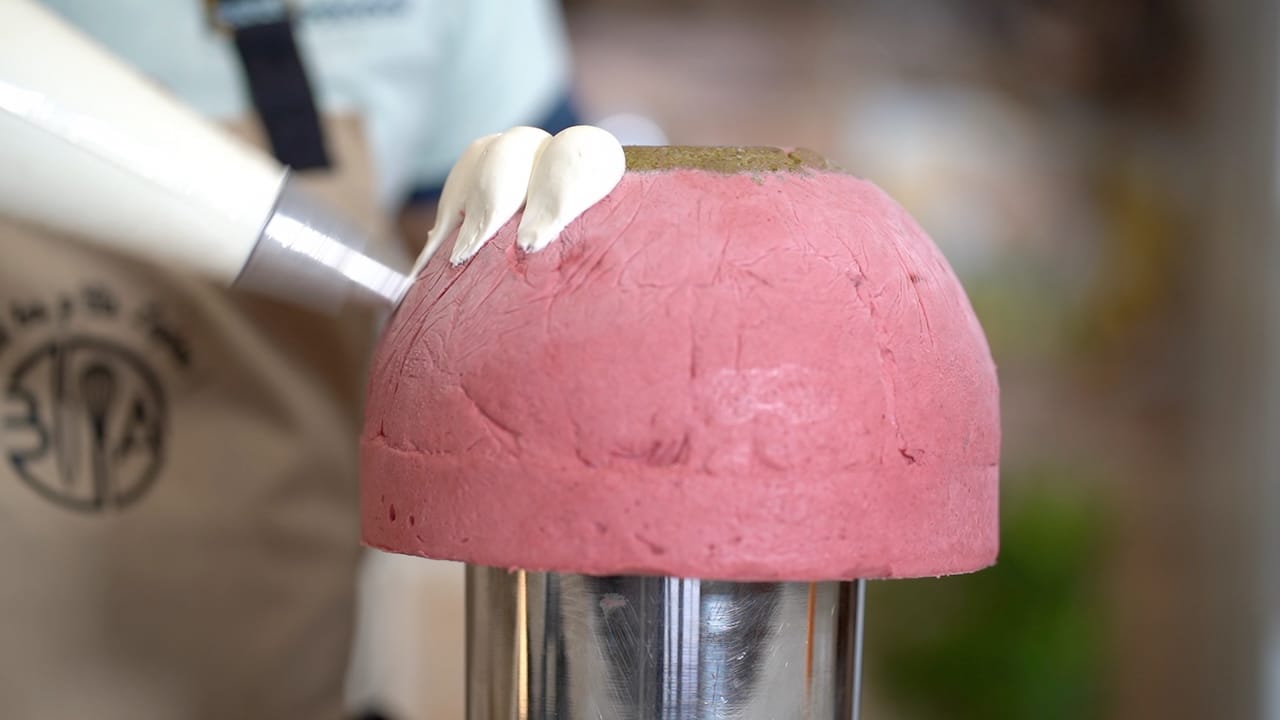
How to Pipe Drupelets
- To easily replicate the bumps—known as drupelets—place the cake dome upright on top of a tall, stable device.
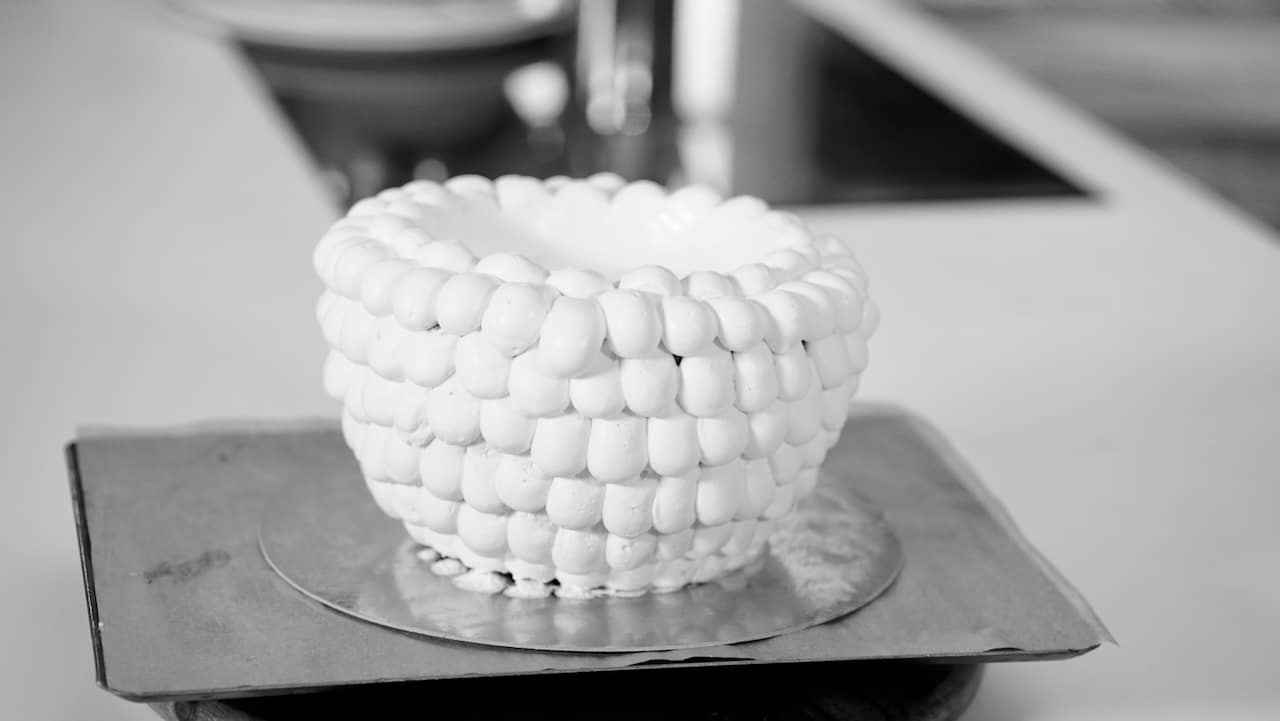
- Continue until about ninety percent of the dome is covered. Place a cake board on top, then carefully flip the cake. Freeze the cake for 3 hours before moving on to the next step.
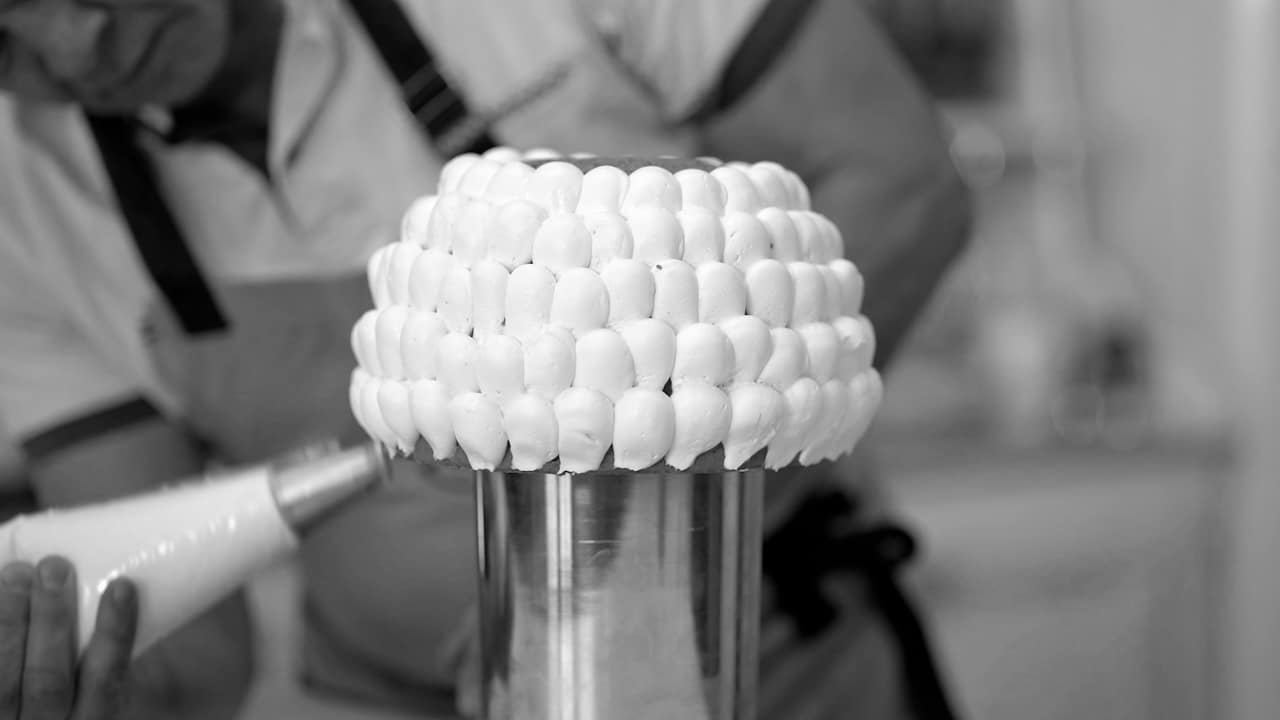
- Whip the remaining ganache montée and pipe additional drupelets to completely cover the ring.
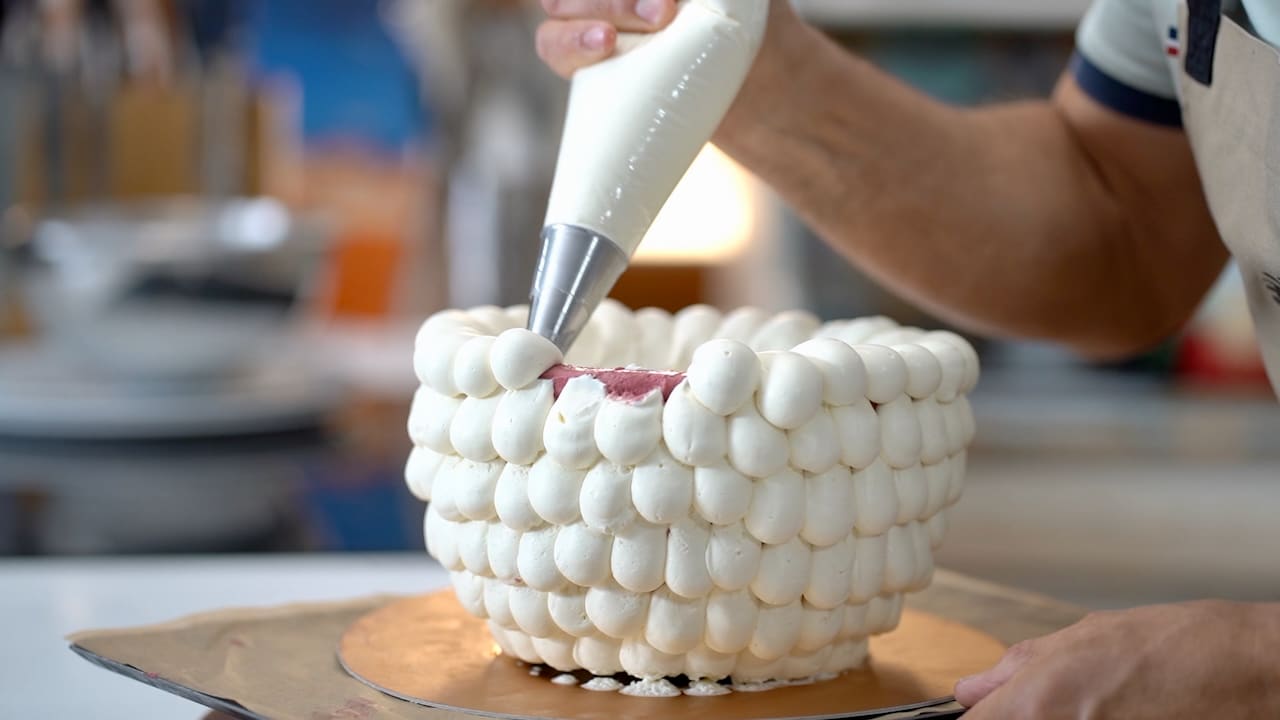
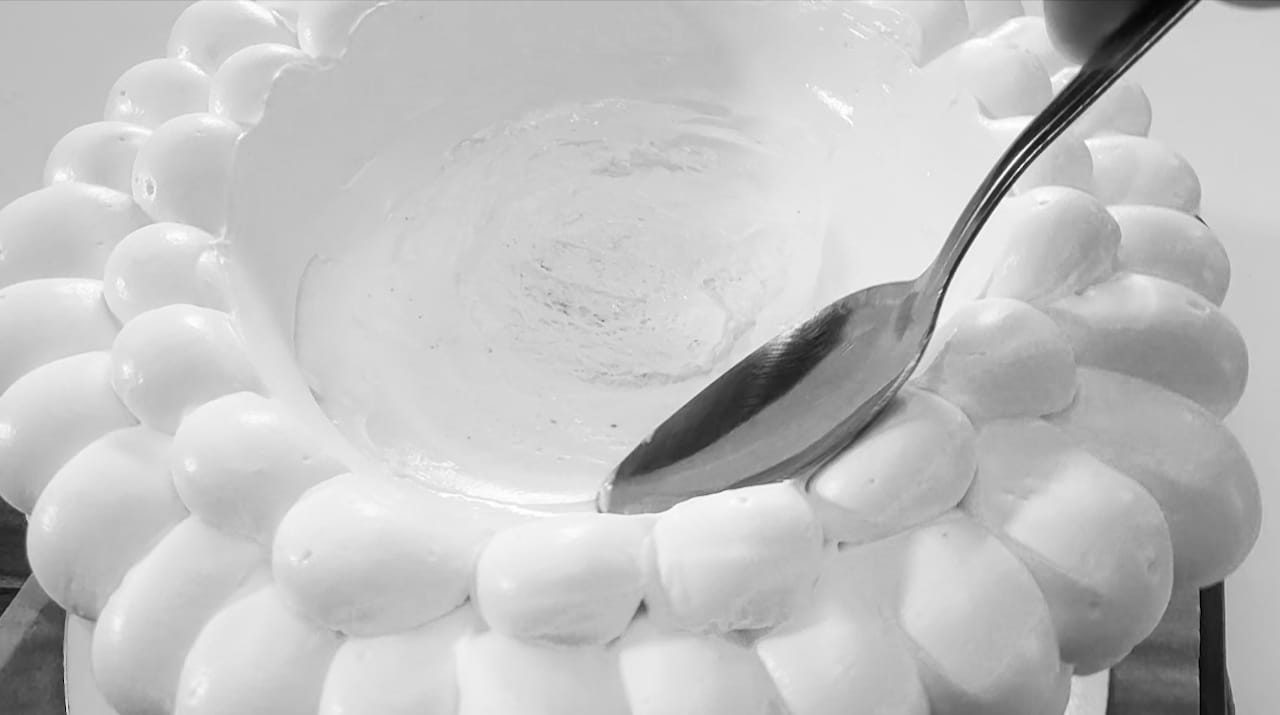
- Coat the inside, then smooth it out using a tablespoon to create a cavity. Freeze the cake for 12 hours before proceeding with the glazing step.


The Finishing Touch (coming shortly!)
- Follow the chocolate spray tutorial.
This content is part of the PREMIUM SECTION

This recipe requires a All-content access subscription. The Premium section includes more than 50 essential recipes from French pastry and a special section for mastering artisanal bread.
The Premium section is only accessible with "A year at the table" subscription. Discover it with special first year discount.