Please note that the full access to this content needs a "Year at the table" subscription: please sign up.
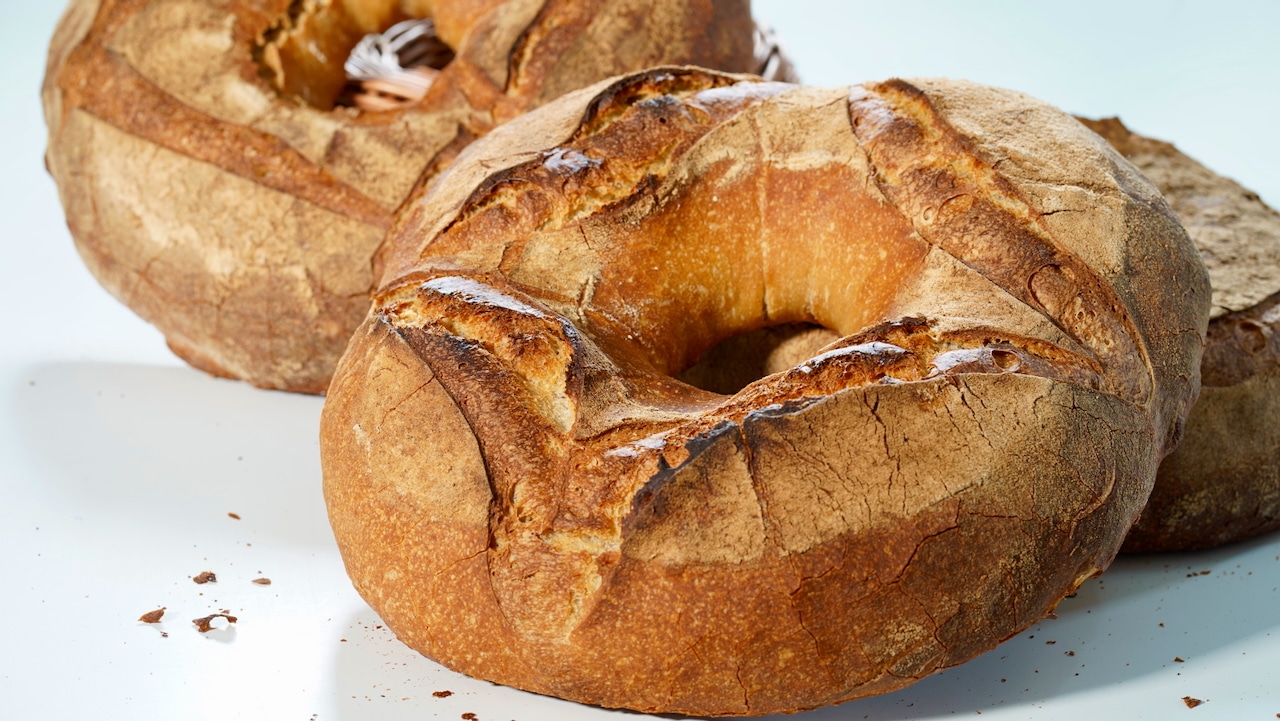
We will craft, from scratch, la Couronne Lyonnaise...
This recipe is a protected and only available for paid members. To obtain the full step by step recipe and detailed ingredients list, please sign up.
Preview the recipe
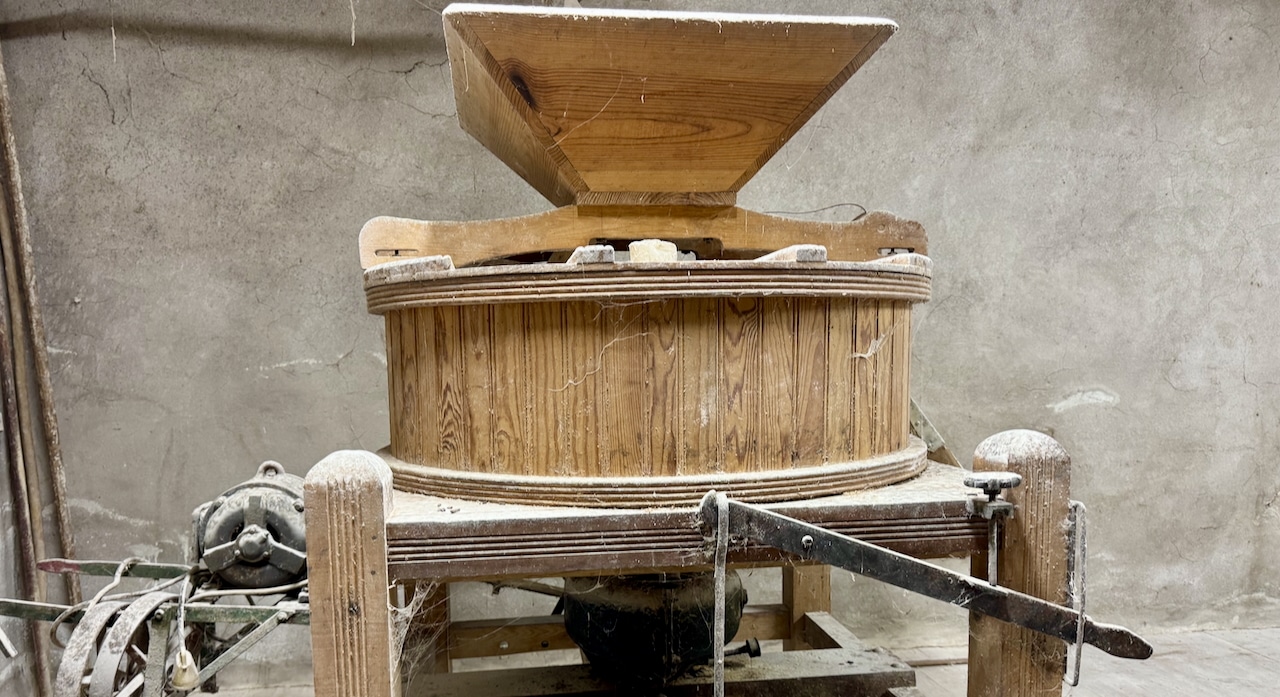
Stoneground Flour vs Cylinder-Milled
- Stoneground flour is whole grain flour produced by grinding grain between two millstones. This traditional method contrasts with modern roller milling used for mass-produced flours. As a result, stoneground flour retains more of the grain's natural nutrients and fiber compared to cylinder-milled varieties. It also lends a natural, pleasant color to the crumb.

Refreshing Leaven
- Always calculate the amount of starter needed for your daily baking accurately, ensuring you have enough to carry forward for future batches.
- The day before mixing bread, combine water, natural starter, and flours in a stand mixer fitted with the hook attachment. Mix on low speed for 3 minutes until the ingredients come together. Then increase the speed to medium-high and continue mixing for 7 minutes, or until the dough pulls away from the sides of the bowl.

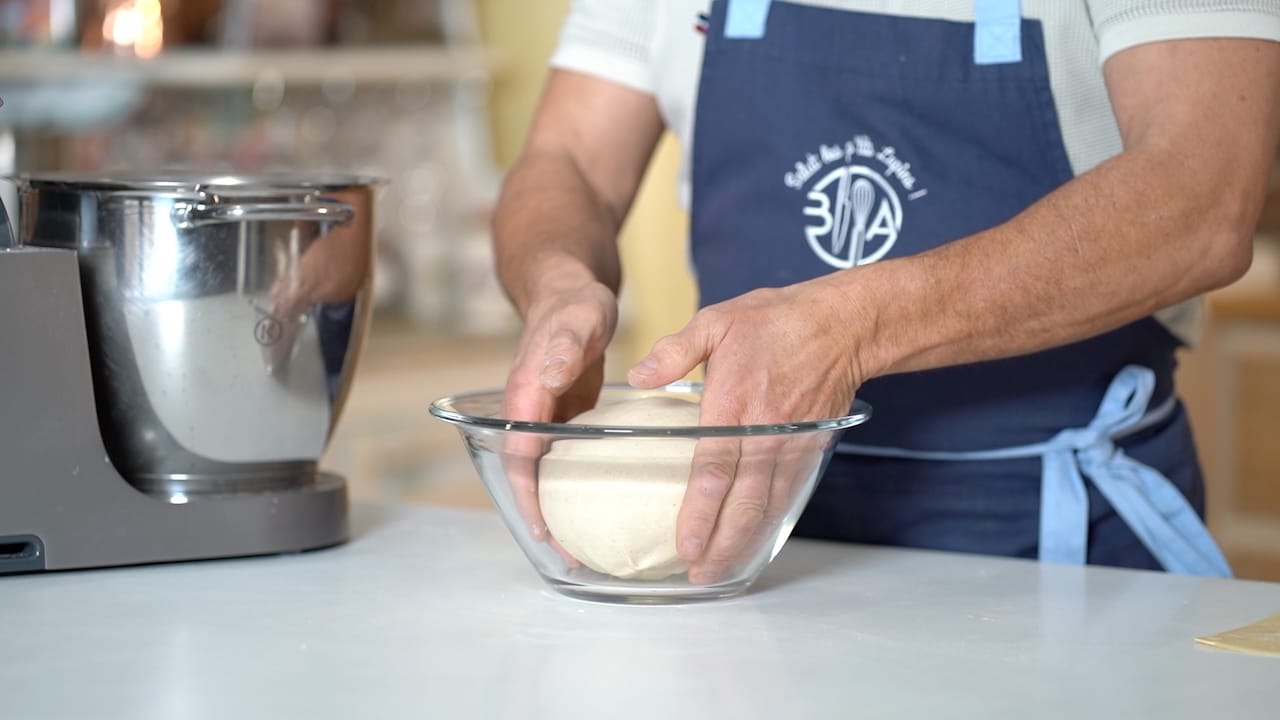
- Form the dough into a tight ball (no extra flour needed) and place it in a large bowl. Cover with a damp kitchen towel and let it rest at room temperature for 2 hours. Then, refrigerate it overnight. Alternatively, the leaven can be stored overnight at 12-15°C (54/59°F).
- Remove the portion of refreshed leaven needed for the sourdough bread. Use the remaining leaven to refresh your starter, then discard what's left.


Autolyse Technique
- The autolyse technique was pioneered and popularized by the French milling scientist and baking professor Professor Raymond Calvel. It consists of a rest period for the flour and water mixture before adding the leavening agent and salt. This rest allows the flour to fully hydrate, enzymes to begin gently breaking down starches and proteins, and gluten development to start naturally. This leads to dough that is stronger, shortening mixing time span, more extensible, and improving oven spring and flavor. The autolysis time frame ranges from 20 minutes to 12 hours.
Mixing on Low vs Fast Speed?
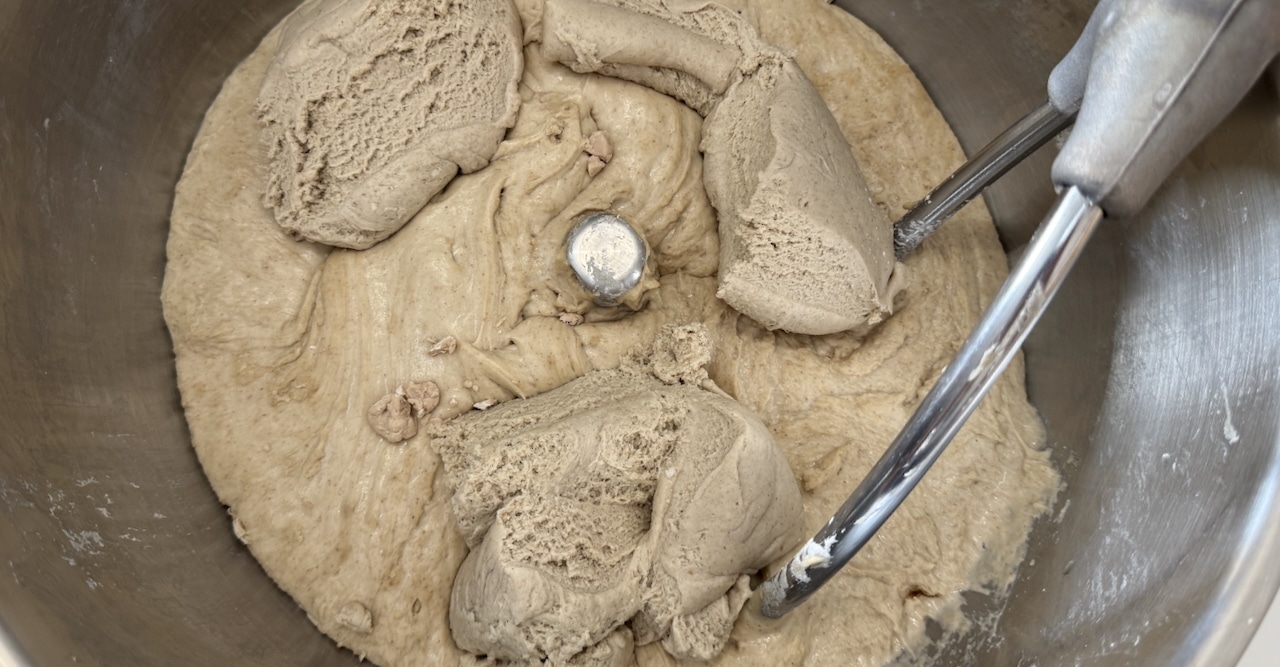
- When you mix dough, you are developing gluten—the protein network that gives bread its strength and structure. Excessive Mixing (Bleaching): You over-stretch and over-work those elastic bands until they start to snap and break down. The term "bleaching" comes from the visual change: The dough turns from a warm, creamy, yellowish hue (from the carotenoids in the flour) to a pale, dull, whitish-gray color.
Mixing Artisan Sourdough Bread (on low speed)
- Autolyze step: In a mixing bowl, combine the water and flours until just incorporated and no dry flour remains about 5 minutes on low speed. Scrape down the sides of the bowl. Cover the bowl and let rest for 2 hours.
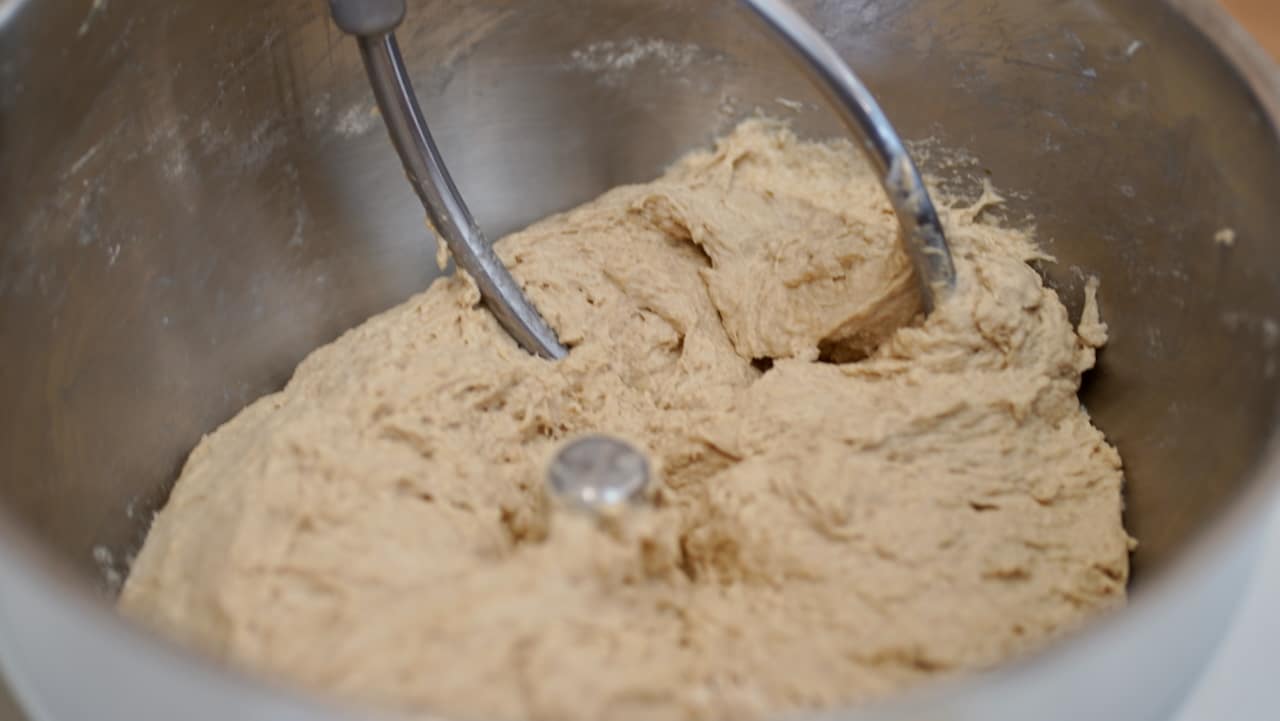
- Add the starter, yeast and turn mixer on. Knead on first speed for 5 minutes. Add salt and mix for 12 minutes more on low, or 5 minutes on second speed.


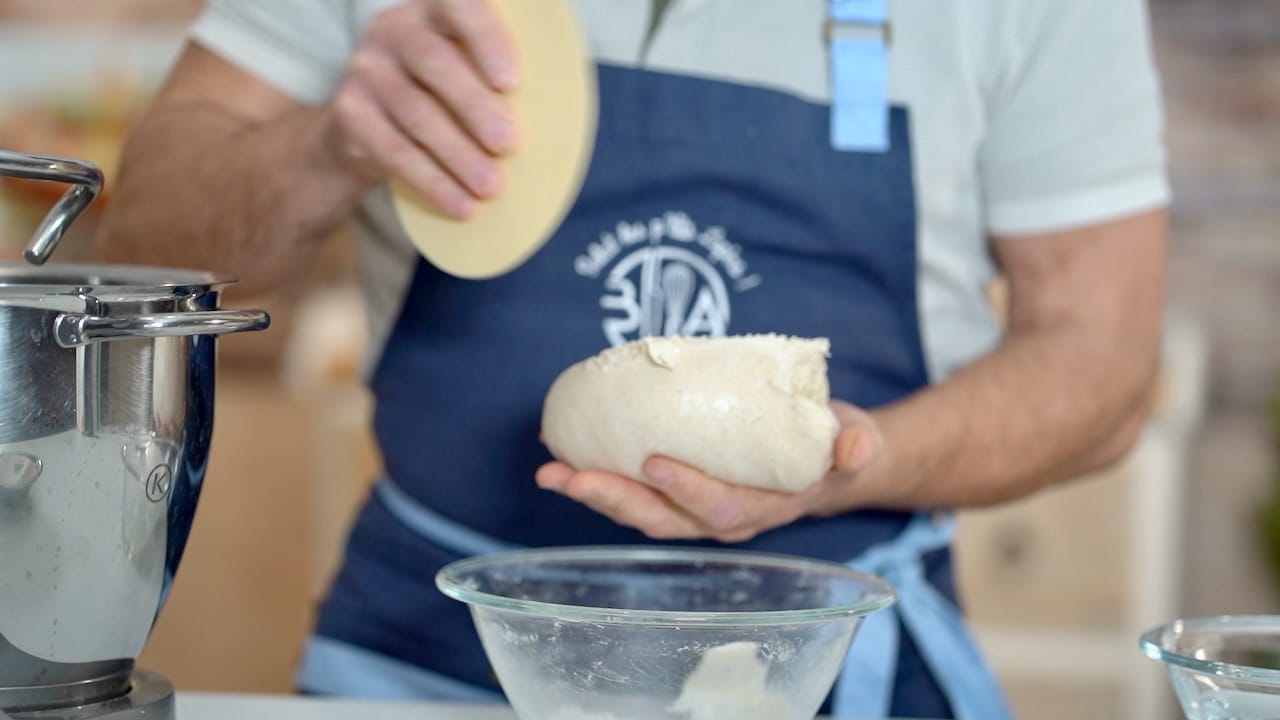
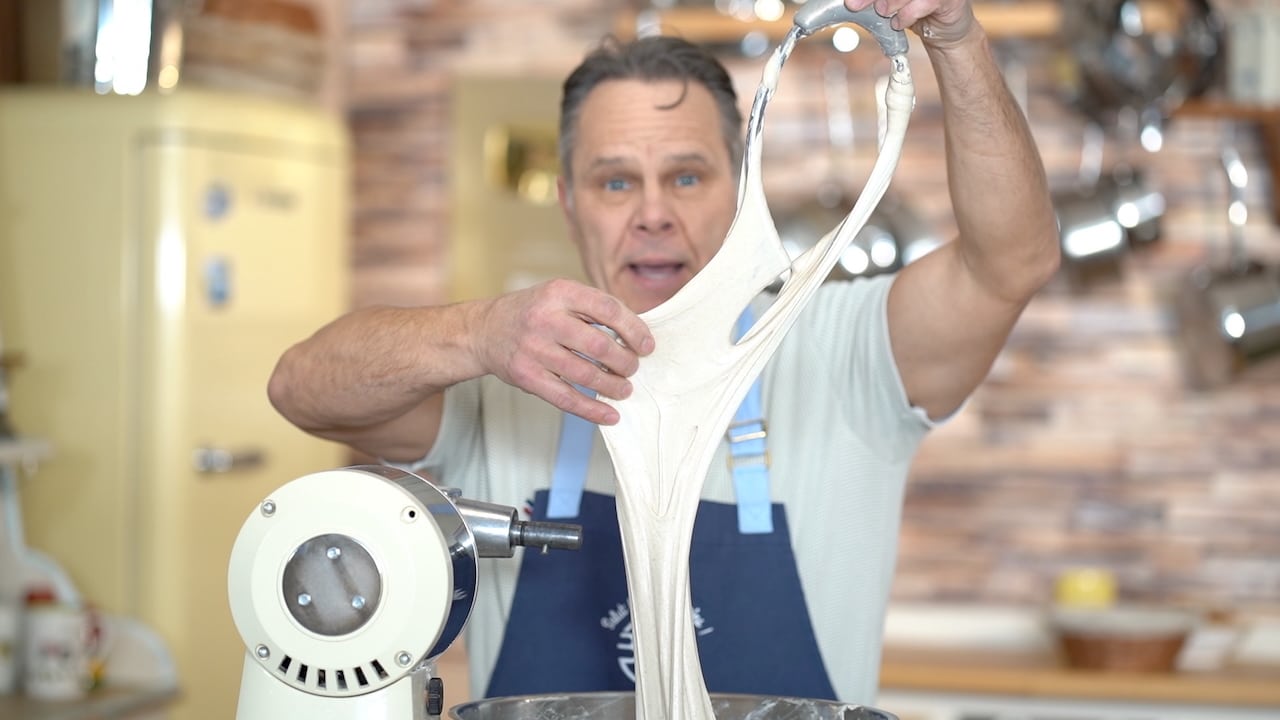
Windowpan Test
- A technique used in baking to check if bread dough has been kneaded enough and has developed sufficient gluten. Gently stretch it between your fingers. If the dough stretches thin enough to let light pass through without tearing (like a "windowpane"), it’s ready.

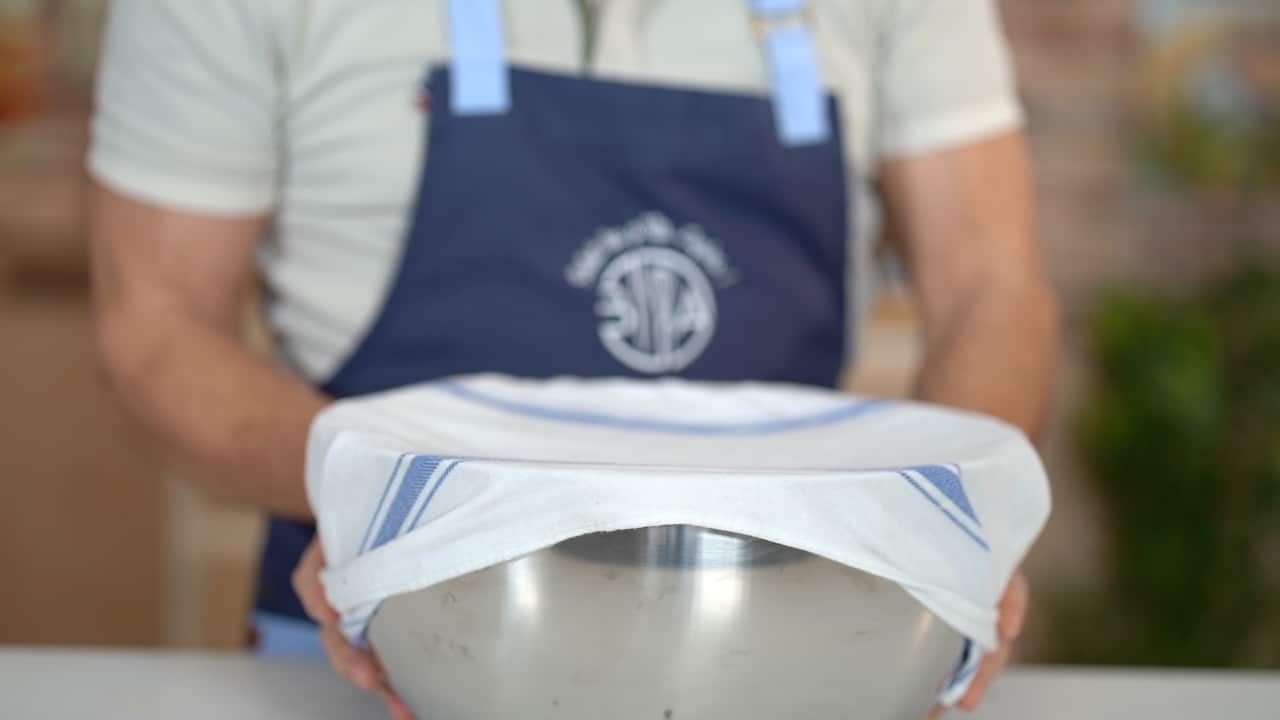
Bulk Fermentation
- Cover the dough with a towel or plastic. Let it rest for 60 minutes.
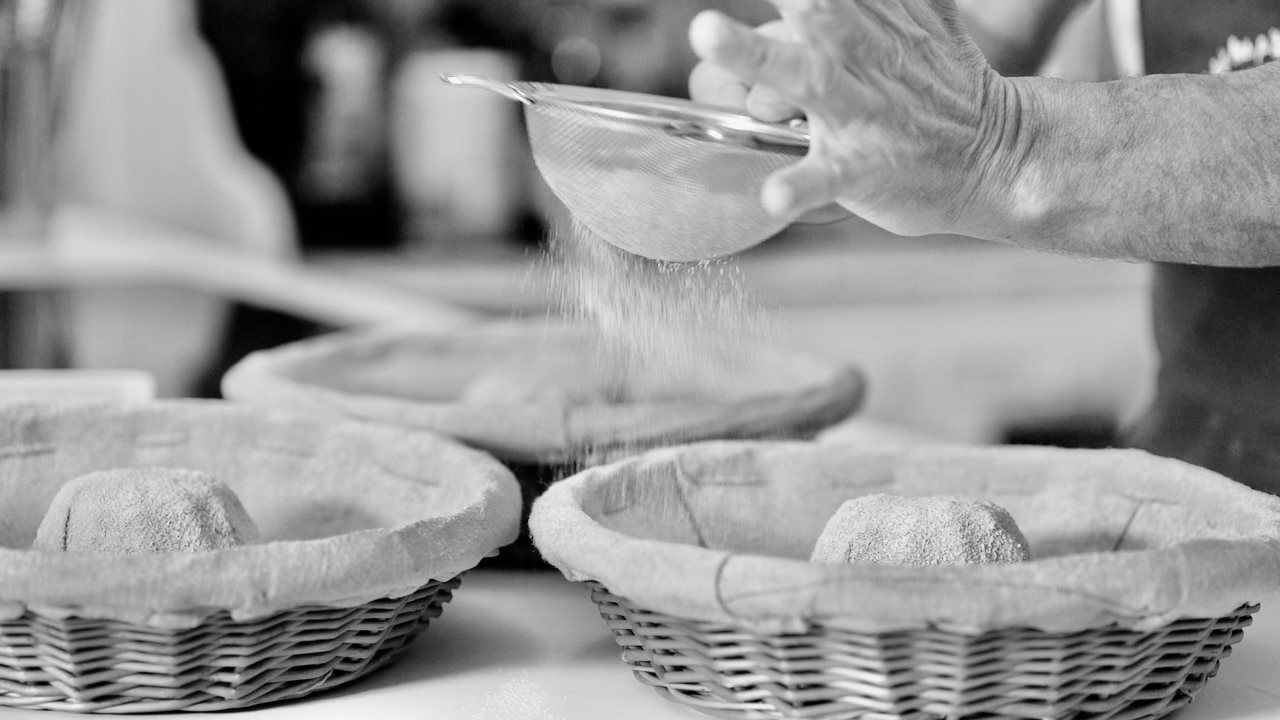
- Dust your bread baskets with rye flour.


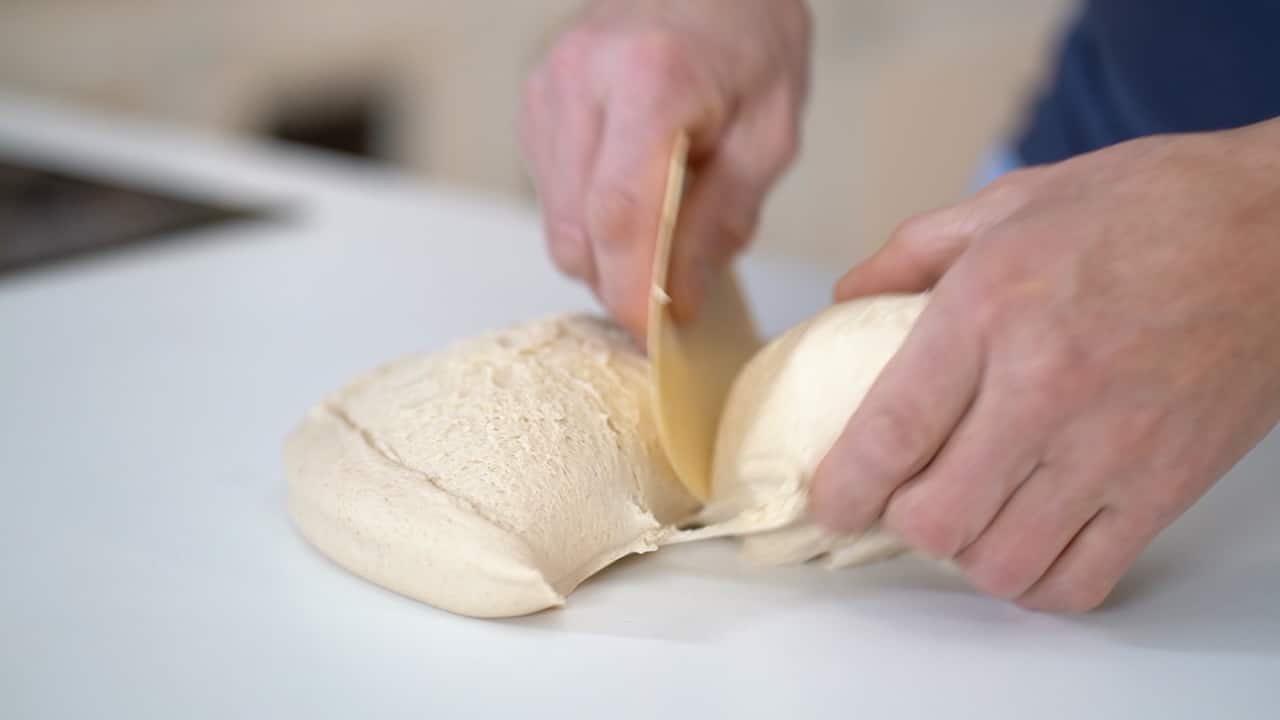
Dividing
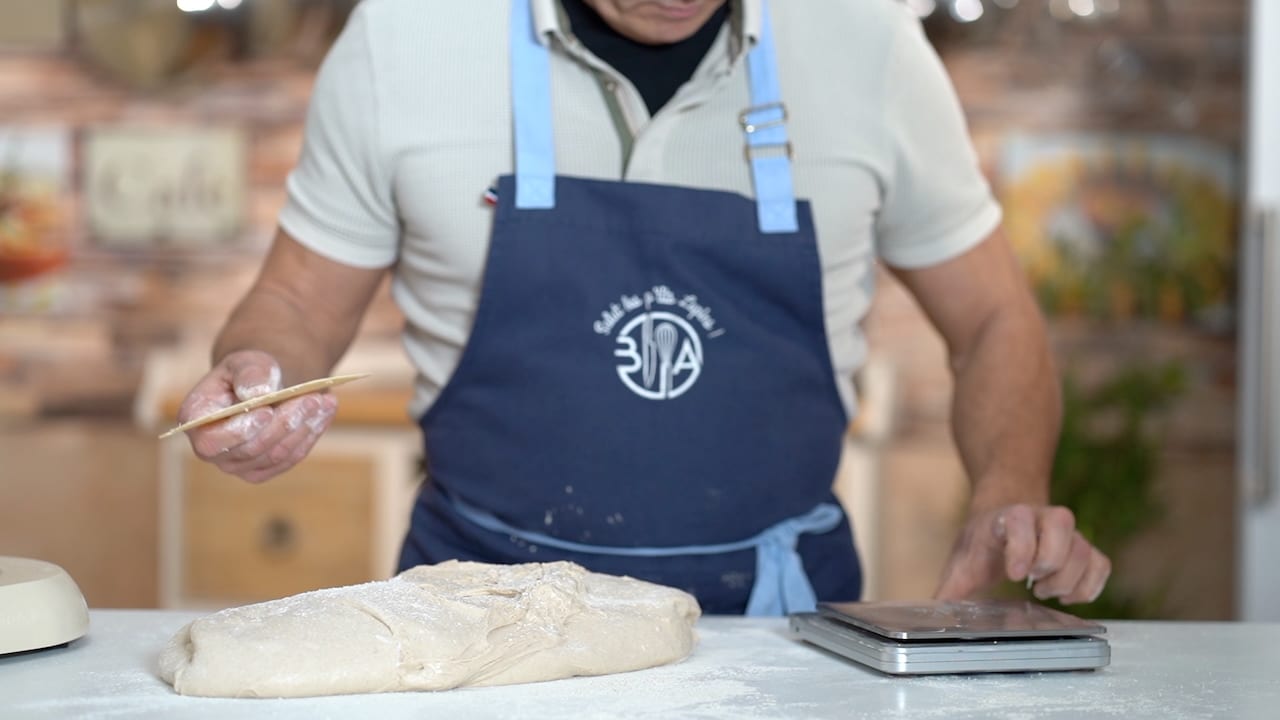
- Lightly flour the dough and the countertop. Using a dough scraper, loosen the edges of the dough to release it from the bowl when you flip it over. Make sure the skin that formed during resting stays on top before cutting. In fact, throughout the scaling and shaping process, you want to preserve that thin layer of skin. That will become the crust!
- Divide the dough into three 1150g portions.


Method A. Mise en Forme & Shaping into Crown
- Gently form each portion into oval, cover and let relax for 20 minutes before shaping.
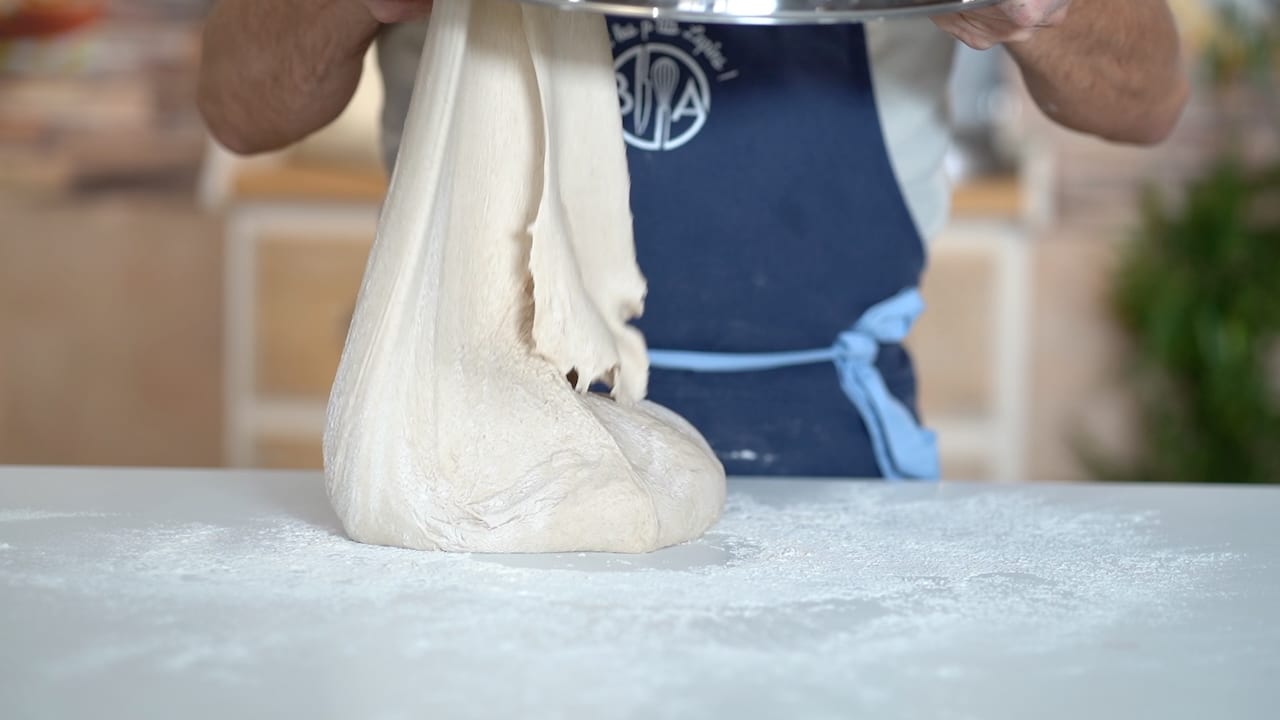
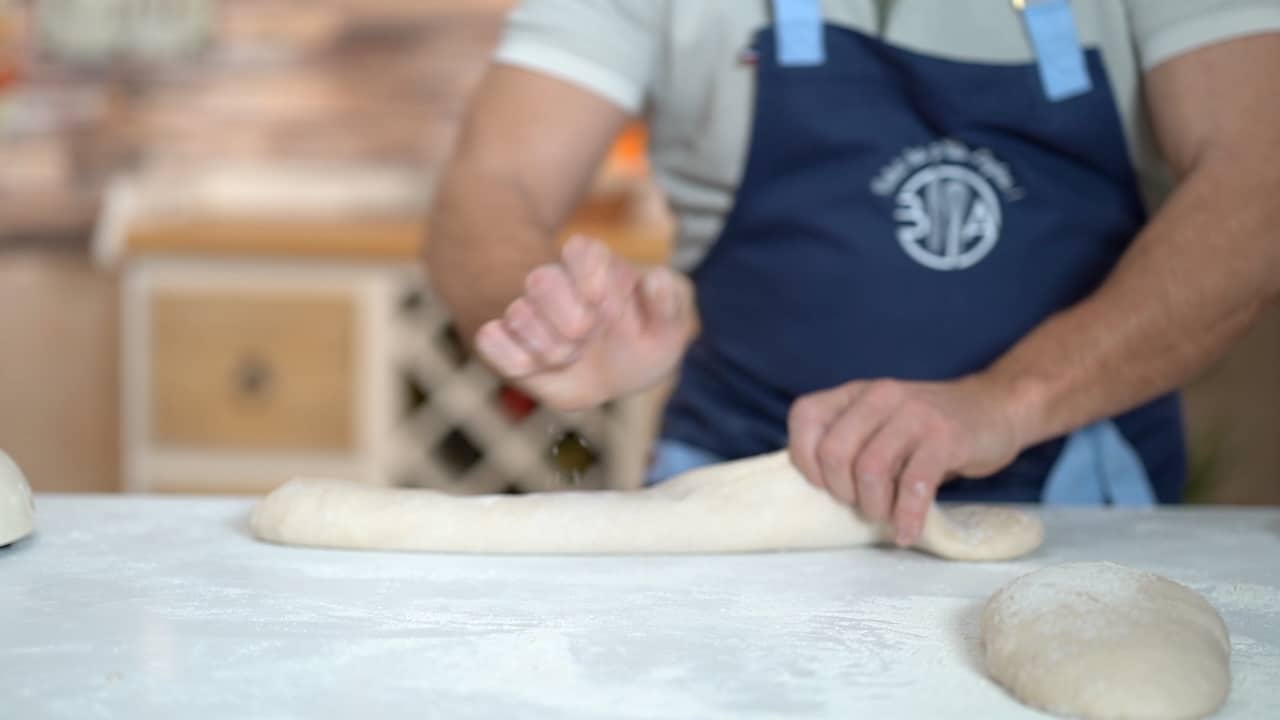
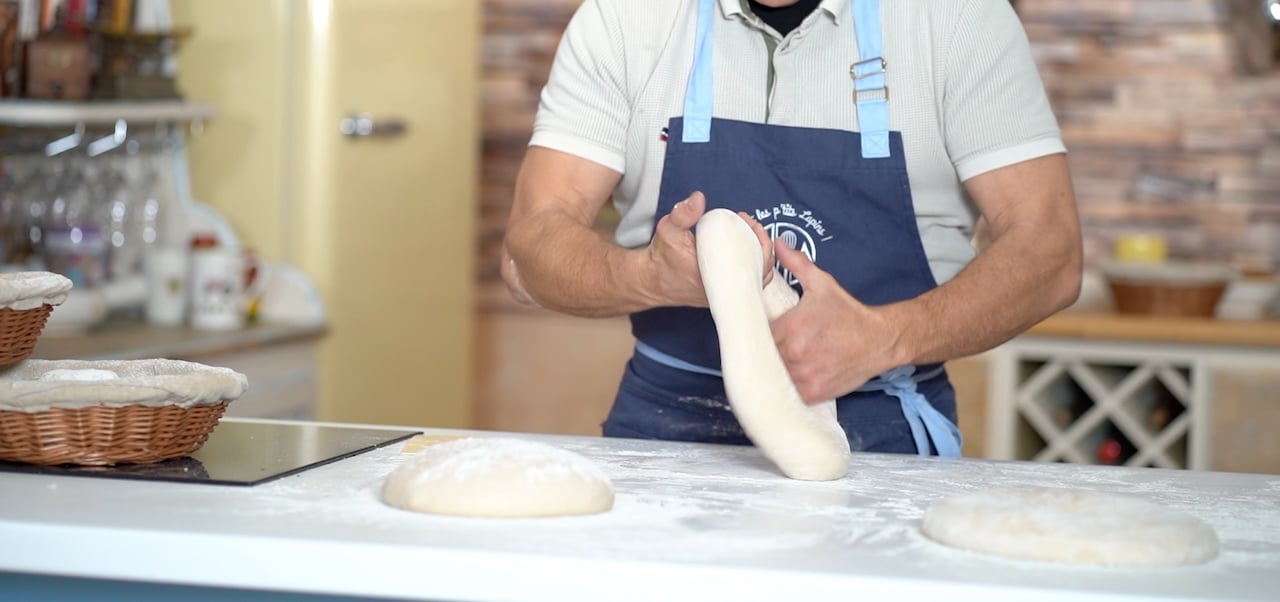
- Place the dough skin-side down on a lightly floured work surface. Brush off any excess flour from the surface of the dough and gently degas*. Now, slowly stretch the dough. The autolyse will make this remarkably easy. *In bread making, "degassing" is a crucial step that occurs after the first rise (bulk fermentation) and before shaping the dough. It literally means to gently remove the large pockets of gas (primarily carbon dioxide) that have built up during fermentation. However, when dough is leavened with a natural levain, the gas pockets are typically smaller and more fragile. They can be difficult to re-inflate during the final proof if they are excessively flattened during shaping.
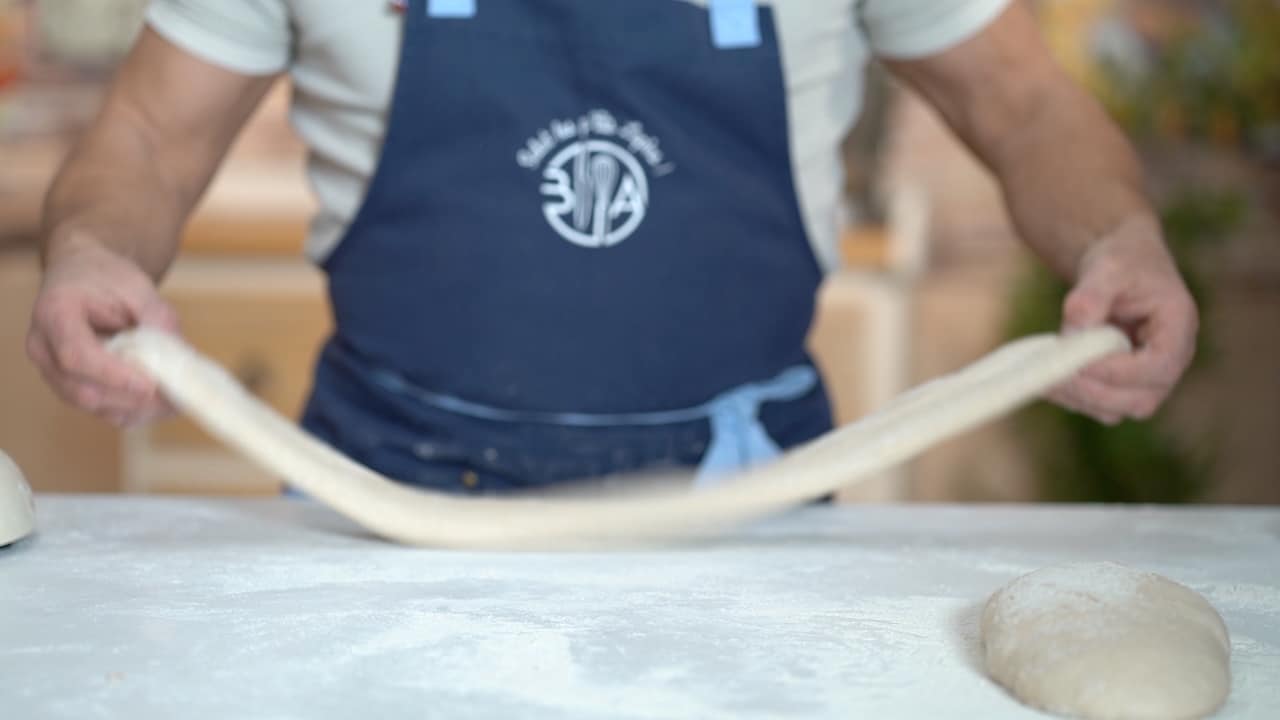
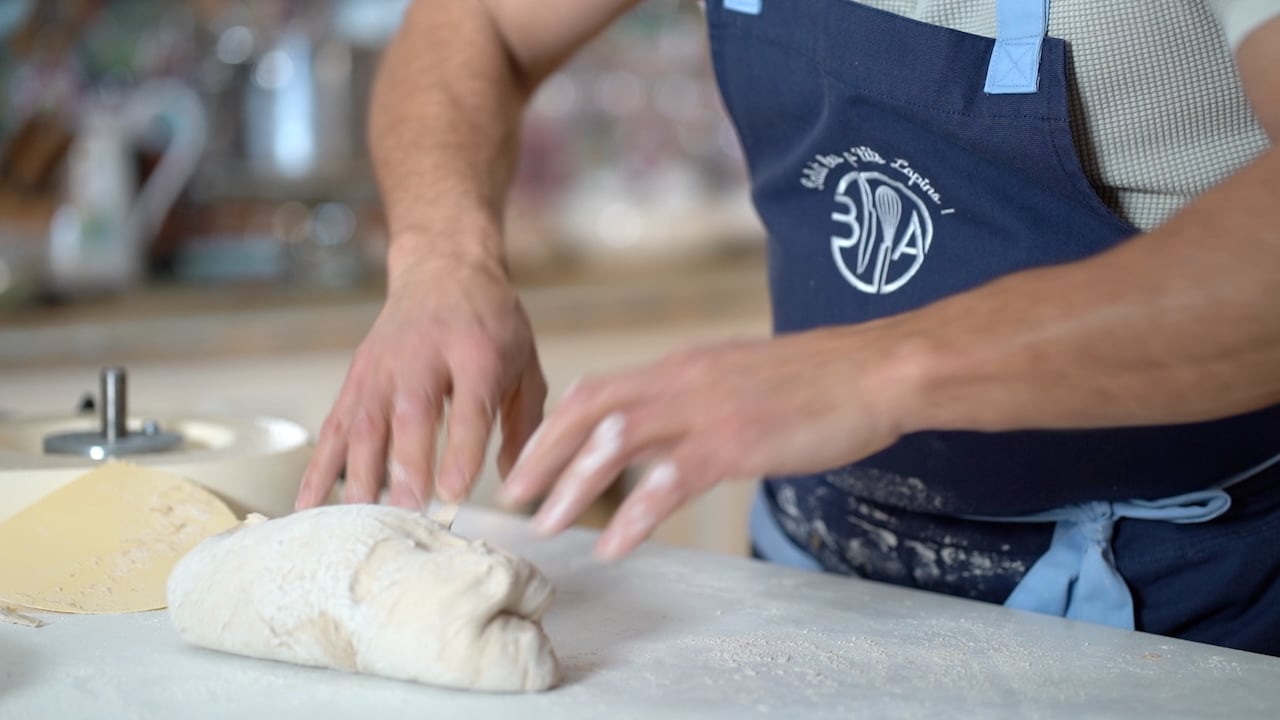
- Perform two folds, elongating the dough into a thick baguette-like shape, about 26-inch (65 cm).
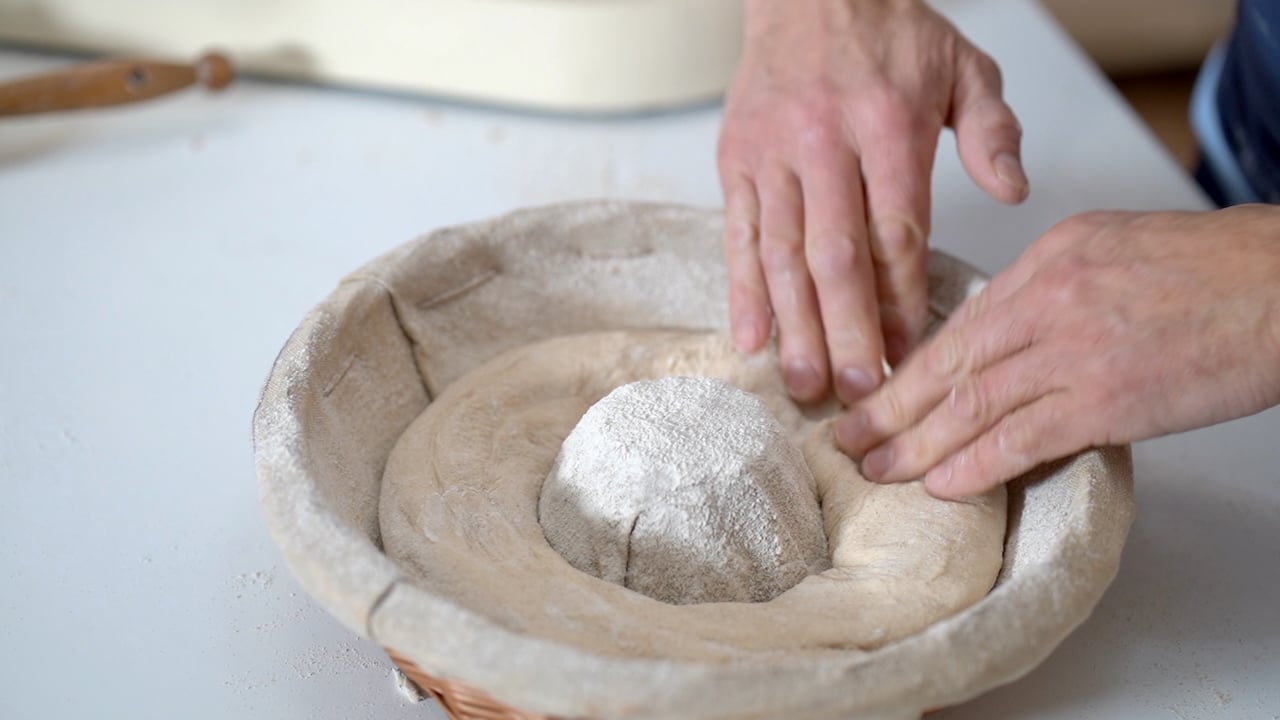
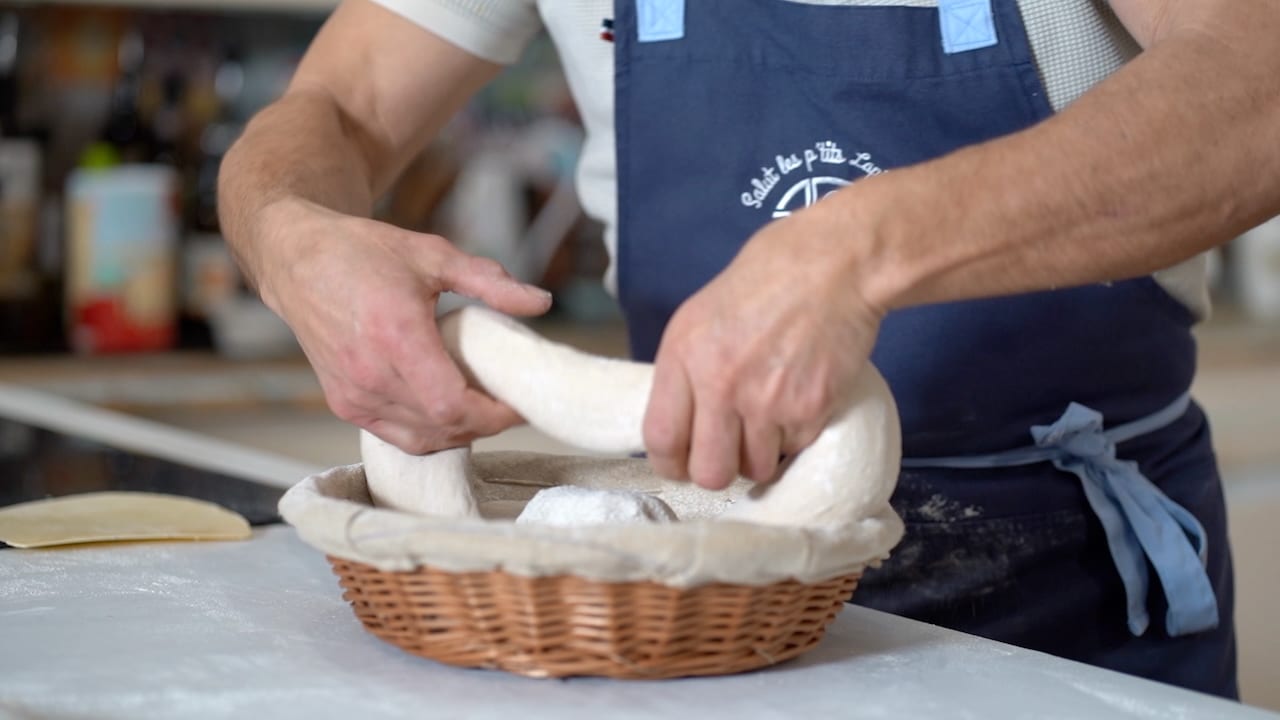
- Arrange the elongated bread over the floured basket crown, and seam side up. Cover loaves with damp fragrance free kitchen towels to prevent a crust from forming. No need to cover the bread if using a controlled fermentation chamber.


Method B. Mise en Forme & Shaping into Crown
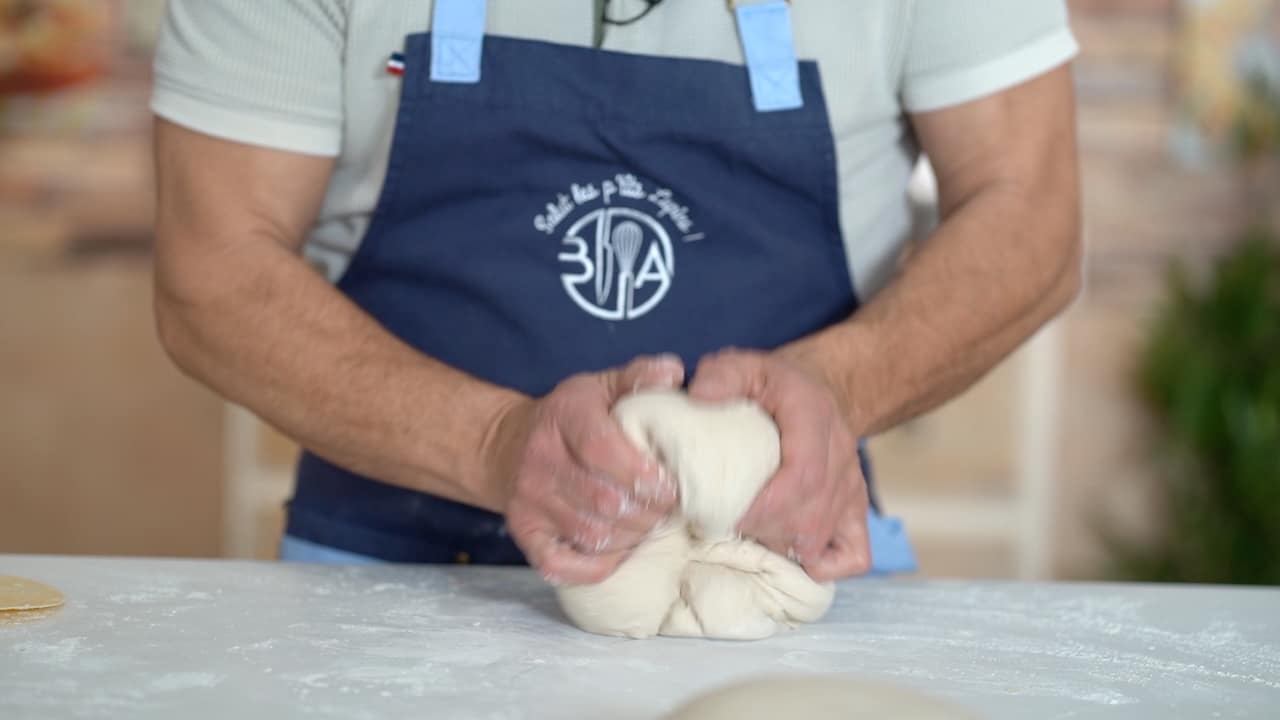
- To form a round, start with the skin side down. Fold the edges of the dough toward the center, using as little flour as possible.
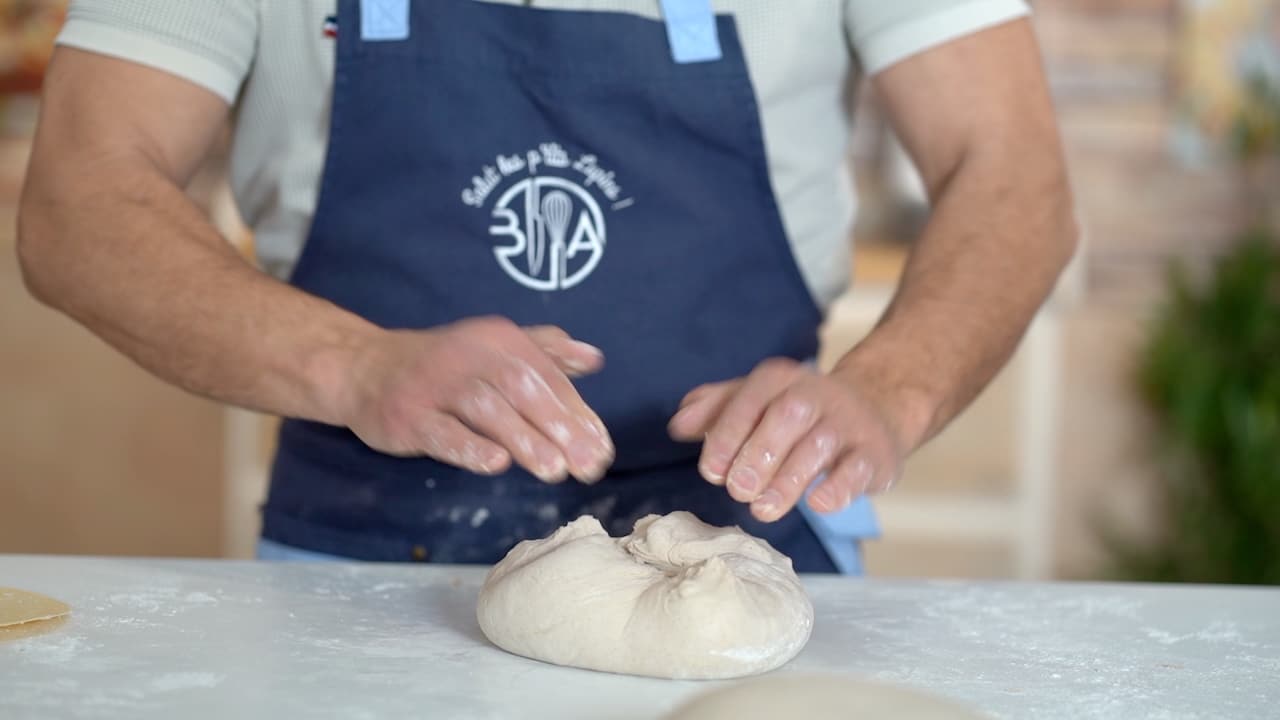
- Gently degas and turn it over. Shape each piece into a smooth, gently tight round. Cover and let rest for 20 minutes.
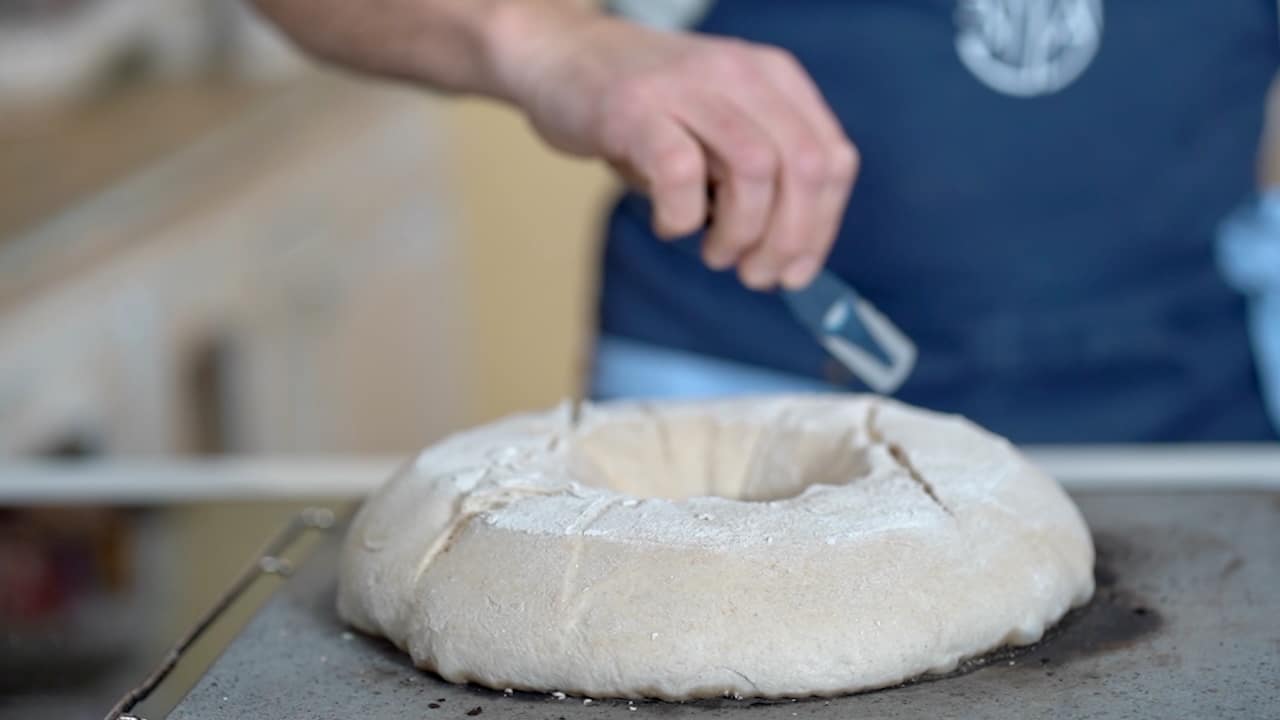
- Flour the loaves, using your elbow, press into the center of each round.
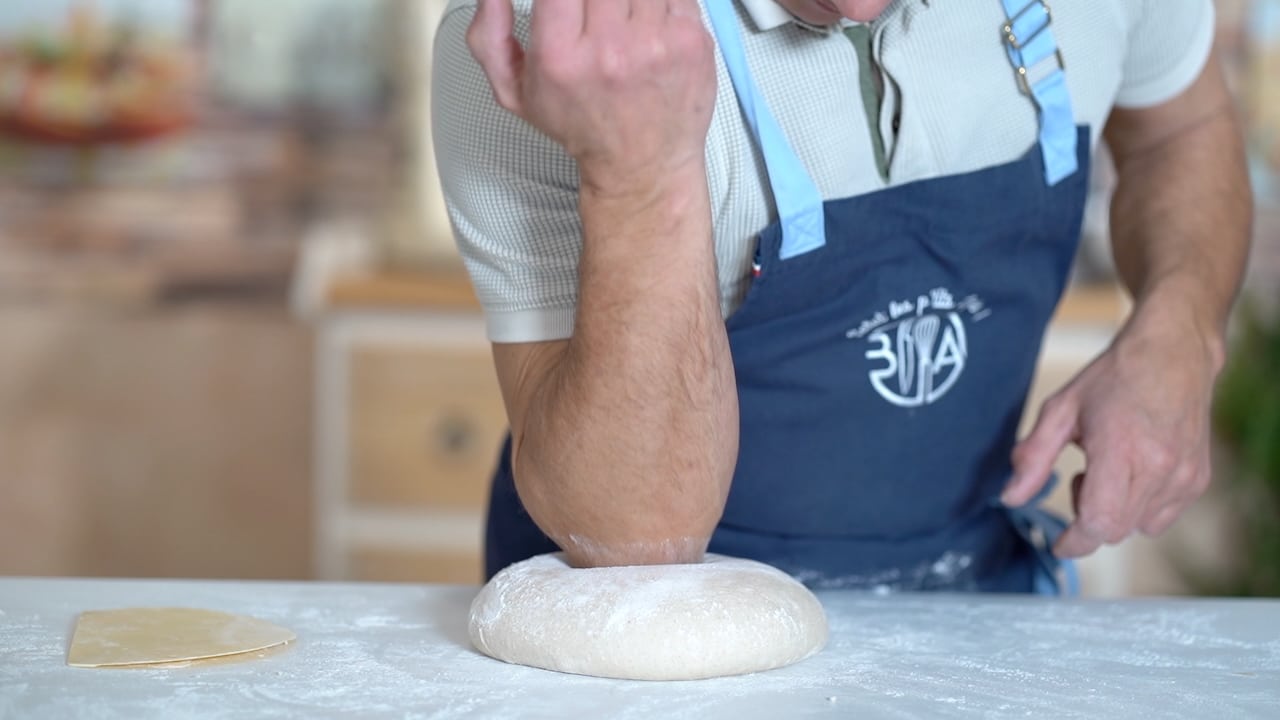
- Gently stretch it outward to open it up.
- Then, place each shaped dough into the floured bread basket crown.


Proofing
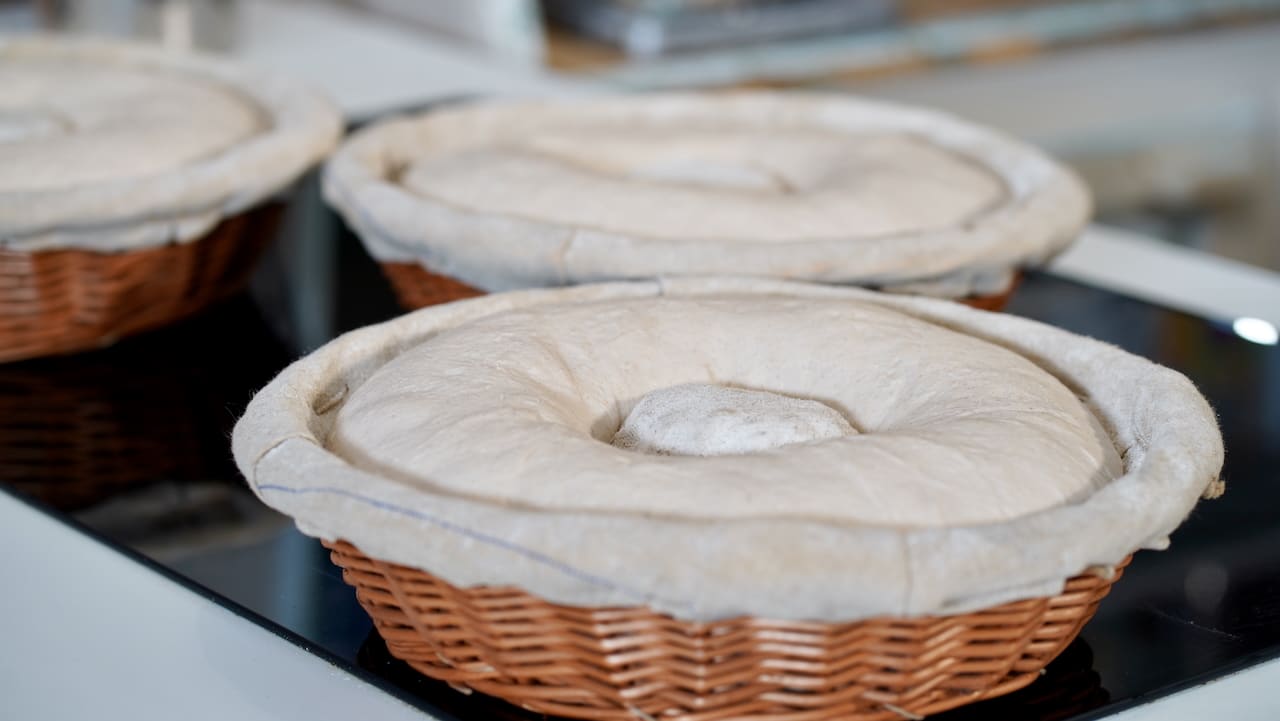
- Proof the couronne Lyonnaise slowly at 14-15°C for 14 to 18 hours until doubled in size. Alternatively, for a more flexible schedule, you can proof at room temperature (about 21°C) for 3 hours, then refrigerate overnight (8-10 hours) to complete the fermentation just like it goes when refreshing your natural starter. This cool proofing method is specific to naturally leavened bread that goes to an extended and cool rising process.
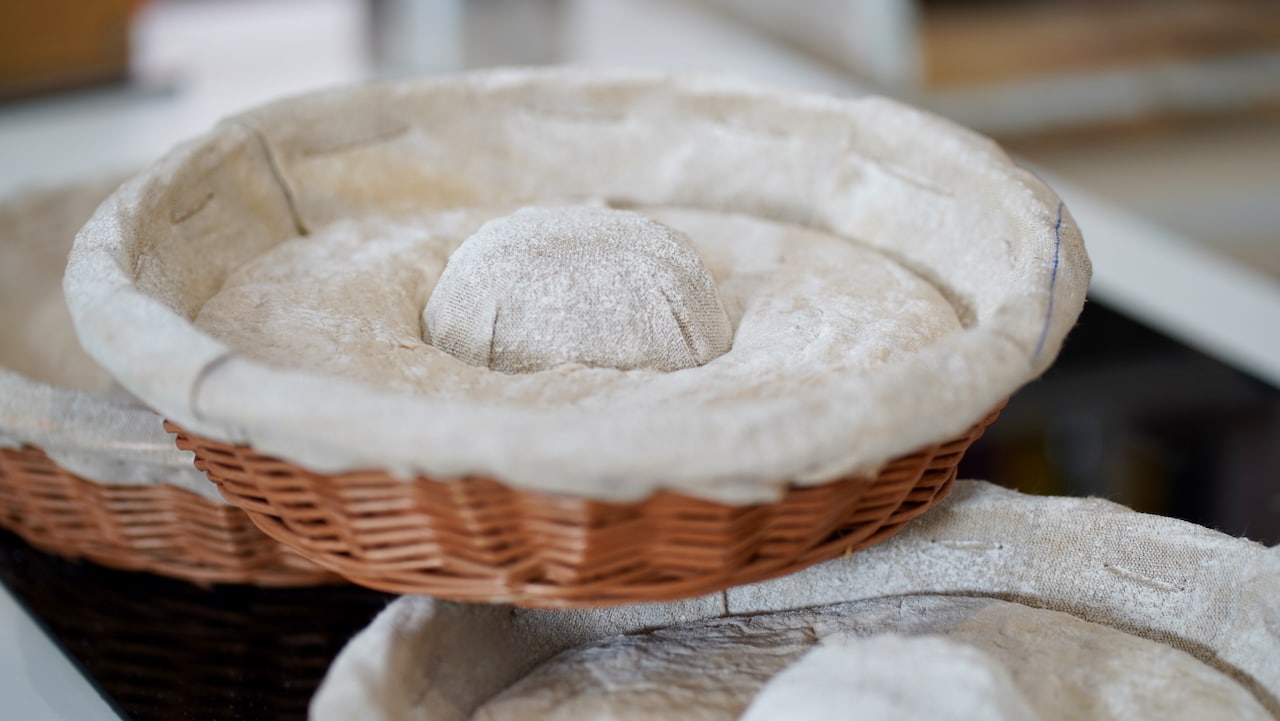
- When proofed seam-side up on a floured linen bread basket or couche, the loaf develops a light skin on the surface in contact with the linen. After flipping and scoring, this setup facilitates better oven spring, resulting in a more open crumb and a thicker, crisper crust.


Baking
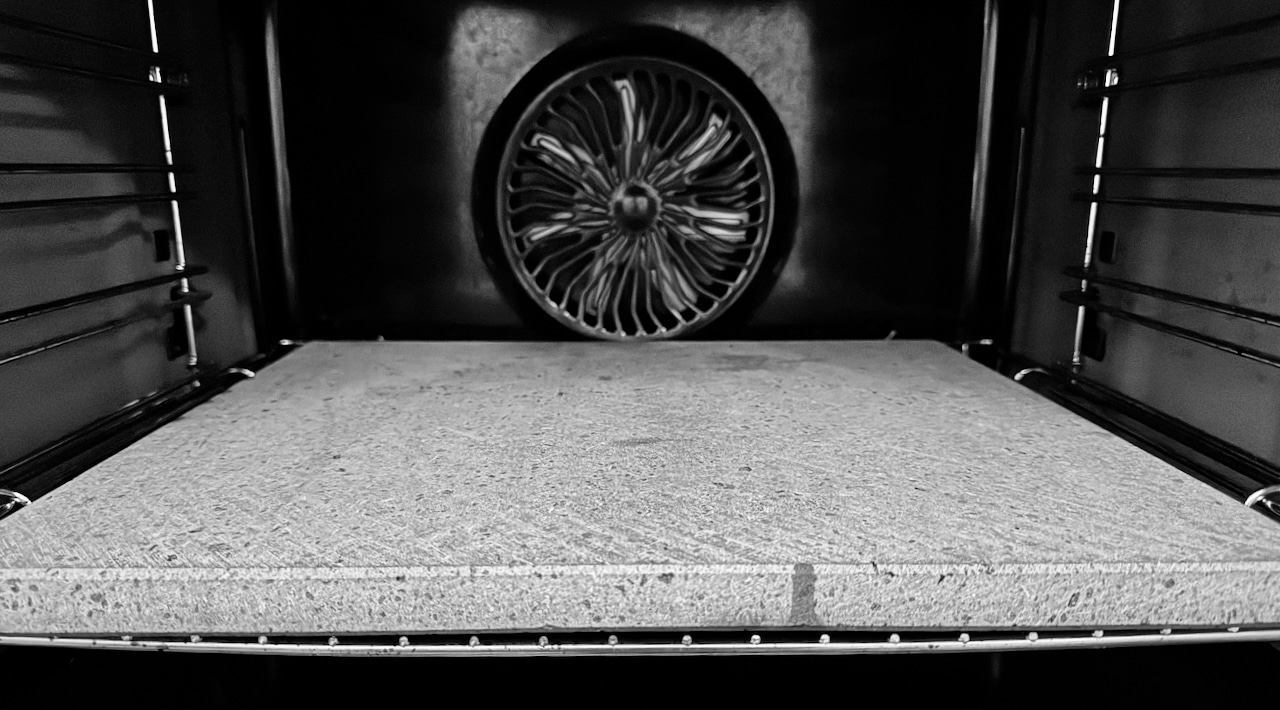
- Position a pizza stone on the lower rack of a conventional oven. Preheat the oven to 465ºF (240ºC) for at least 30 minutes.
- Flip the bread onto the preheated pizza stone. At home, you can bake one bread at a time. Reserve the 2 other crowns in a cool area or in the refrigerator until ready to bake.
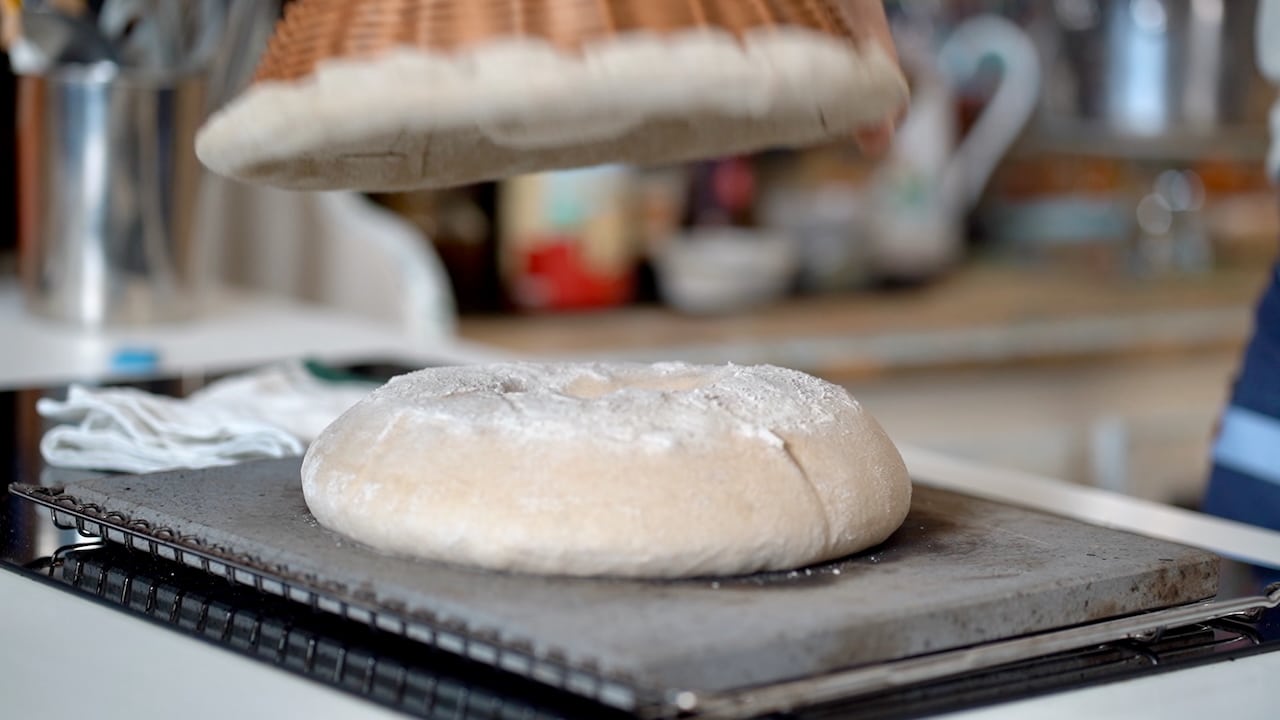
- Score each loaf to allow for optimal expansion. Quickly spray water into the oven chamber to create steam, then shut the door immediately. Reduce the oven temperature to 425ºF (220ºC) and bake for 30 minutes. Turn the oven off, prop the door ajar, and leave the bread inside for an additional 10 minutes.
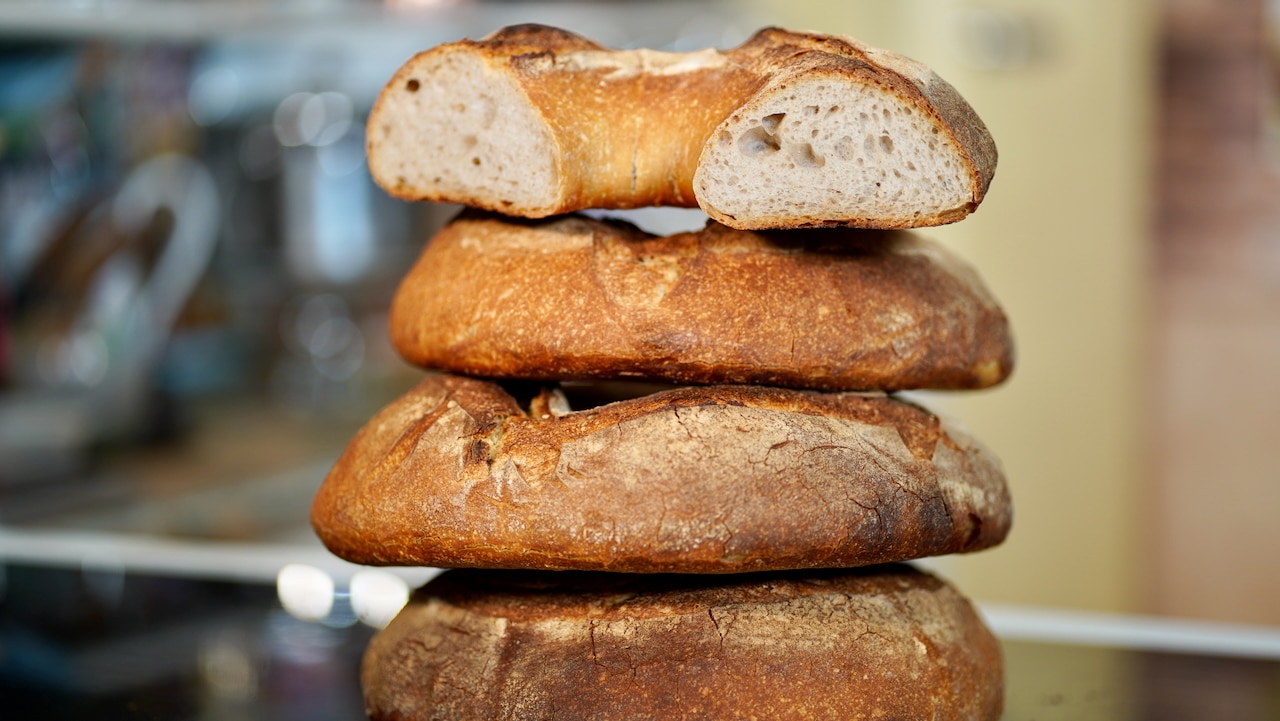
- To check if bread is fully baked, tap the bottom — it should sound hollow and appear dark brown. Remember, naturally leavened bread is better slightly overbaked than underbaked. Once done, transfer the loaves to a wire rack to cool completely. A fully baked and cooled loaf typically weighs about 15% less than the raw dough. So, your baked couronne should weighs 950g.


This content is part of the PREMIUM SECTION

This recipe requires a All-content access subscription. The Premium section includes more than 50 essential recipes from French pastry and a special section for mastering artisanal bread.
The Premium section is only accessible with "A year at the table" subscription. Discover it with special first year discount.