Please note that the full access to this content needs a subscription: please sign up.
Get ready to be blown away by the incredible Baked Alaska dessert!
This recipe is a protected and only available for paid members. To obtain the full step by step recipe and detailed ingredients list, please sign up.
Preview the recipe
Molding Ice Cream
- To begin, start by placing your vanilla ice cream in the refrigerator for approximately 2 hours to allow it to soften slightly. This will make it easier to work with when assembling your ice cream log. Next, line a mold with plastic wrap, ensuring that the wrap is in direct contact with the sides of the mold. Once your mold is prepped, fill it to the top with the softened vanilla ice cream. Smooth the top with a spatula or the back of a spoon to ensure an even surface, then place the mold in the freezer for at least 6 hours, or until the ice cream is completely frozen. After the vanilla ice cream layer has frozen solid, it's time to create the channel for the raspberry sorbet filling. Using an ice cream scoop, dig out a trench that is approximately 1.5 to 2 inches (5cm) wide, going back and forth along the length of the mold. Return the mold to the freezer for a few hours to allow the trench to set. Once the trench is firm, fill it two-thirds of the way up with raspberry sorbet. Smooth the sorbet with a spatula, making sure it is level with the top of the trench. Return the mold to the freezer and allow the sorbet to harden completely. Finally, complete your Vanilla and Raspberry Ice Cream Log by covering the raspberry sorbet with another layer of vanilla ice cream. Be sure to fill the mold to the top and smooth the surface for a polished finish. Freeze the log for at least 12 hours to ensure that it is fully set.
Joconde Biscuit
- To start, you'll need to gather your ingredients: almond meal, powdered sugar, flour, eggs, sugar, and butter. Make sure your egg whites are at room temperature before you begin. In a mixing bowl, beat the room temperature egg whites and one-third of the sugar on high speed until you reach firm peaks. Gradually add the remaining sugar while continuing to beat the mixture. This step is crucial in creating a stable meringue that will give your Joconde cake its light and fluffy texture. Once your meringue is ready, transfer it to a separate bowl and set it aside. There's no need to clean the mixing bowl at this point. Next, combine the almond meal, powdered sugar, flour, and eggs in the mixing bowl. Beat the mixture on high speed for about 5 minutes until it is well combined and has a smooth consistency. Now it's time to fold in the meringue. Start by adding one-third of the meringue to the batter and gently fold it in using a spatula. This initial incorporation will help lighten the batter and make it easier to mix in the rest of the meringue. Once the first portion is fully incorporated, add the remaining meringue and continue to fold it in until the batter is uniform in texture. Finally, add the melted butter to the batter and gently fold it in until it is fully combined. The melted butter will enrich the flavor of the cake and give it a moist and tender crumb. Once your Joconde batter is ready, spread it evenly in a prepared cake pan using a large offset spatula. Make sure the batter is level and smooth to ensure an even bake.
Baking
- Preheat fan oven to 425ºF/220ºC. Bake for 7 minutes.
Montage
- Remove the frozen ice cream log from the freezer and set it aside to keep it frozen while you prepare the Joconde biscuit. Unwrap the Joconde biscuit and carefully run a knife around the edges to loosen it up. Place a silicone mat on top of the biscuit and flip it over, then gently remove the parchment paper. Next, cut out a 4''x10'' (10x25cm) rectangle from the biscuit to serve as the bottom layer of the log. Cut a larger 7.5''x10'' (19x25cm) rectangle for the top layer. Don't discard the leftover biscuit - you can save it for another use in the future. Now, place the bottom Joconde biscuit on a rectangular serving tray. Place the hard frozen ice cream on top of the biscuit, then cover it with the second Joconde sheet. Carefully assemble the log and freeze it until ready to serve. This dessert can even be prepared ahead of time and stored in the freezer for weeks before adding the finishing touches.
Special Meringue
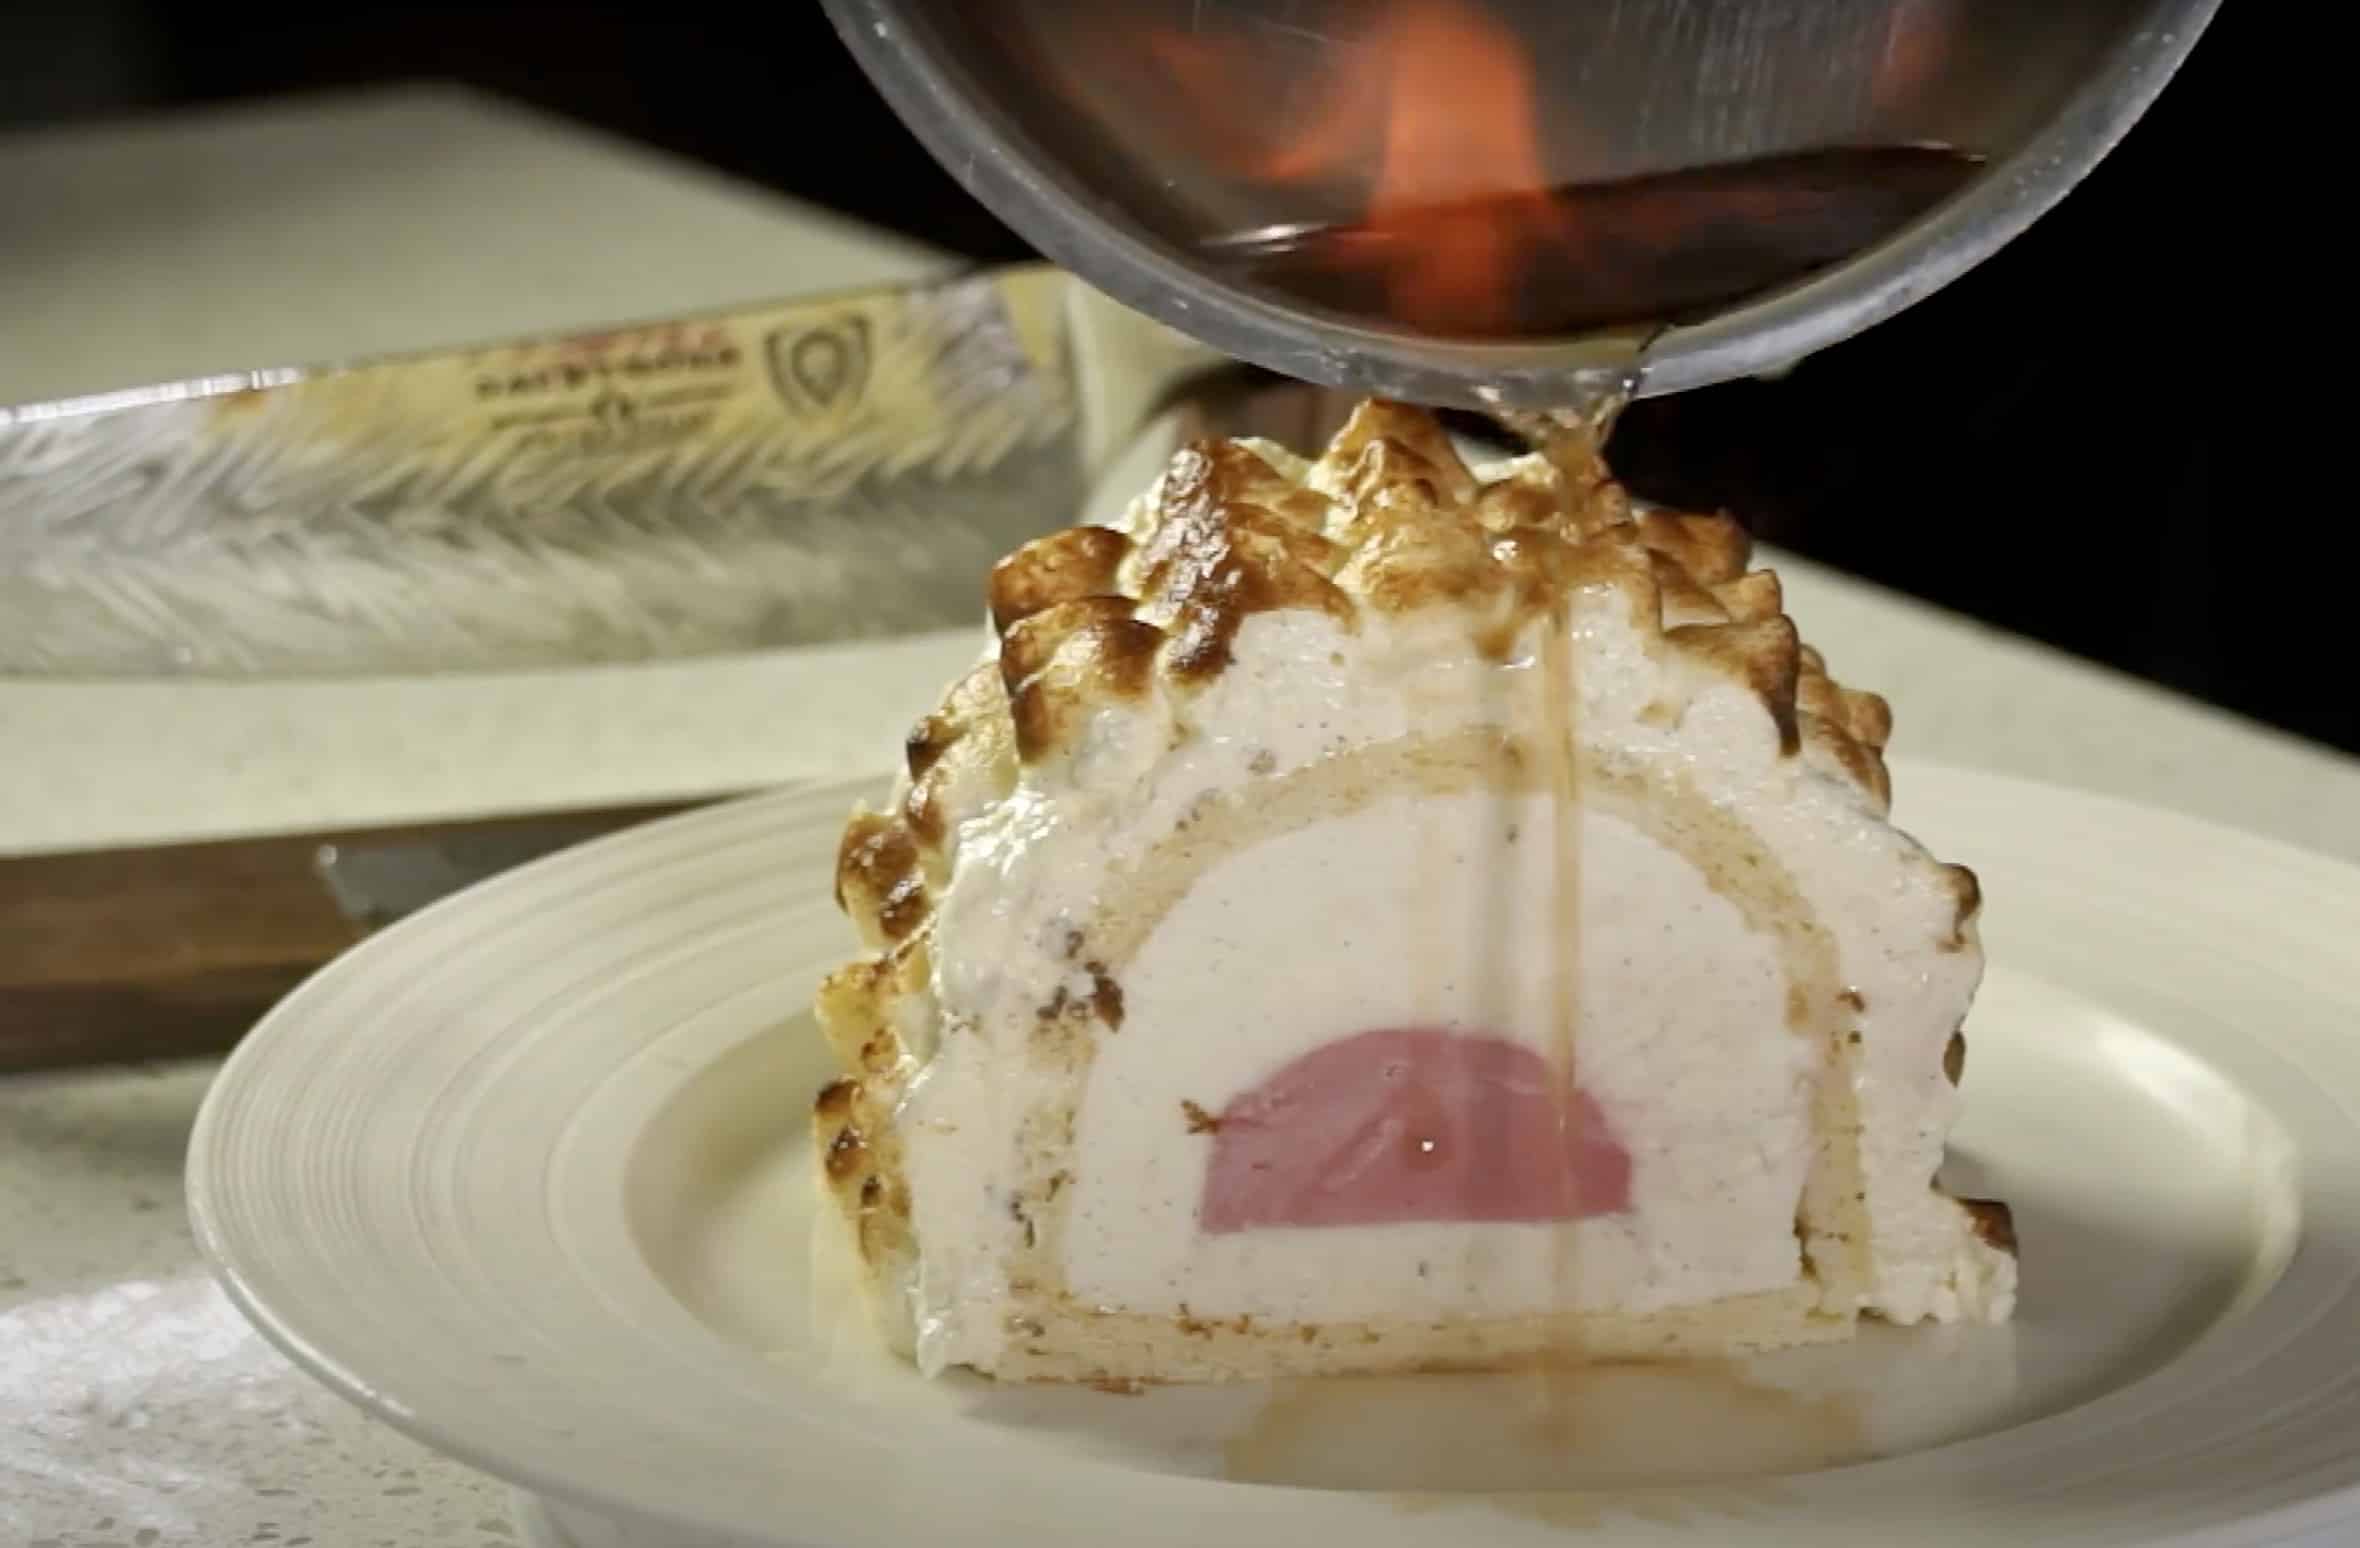
- Start by beating room temperature egg whites and sugar on high speed until fluffy and smooth. Gradually add the remaining sugar to achieve the perfect meringue consistency. Transfer the meringue into a large bowl, making sure not to clean the mixing bowl. Next, beat egg yolks, vanilla, and sugar on high speed for 5 minutes using the whisk attachment. Combine this mixture with the meringue. Coat the cake with the meringue and keep it frozen until you are ready to serve. Just before serving, you have two options to add a finishing touch to your Baked Alaska: either use a blow torch to caramelize the meringue or bake it in a hot oven for a few minutes to achieve a golden brown crust. For an extra touch of elegance and flavor, heat up some Grand Marnier, Cognac, or old dark rum, ignite it, and pour it over the Baked Alaska.
Ready to discover this recipe? You're only 1 step away.
This recipe is only accessible to registered members!
Create your account to access all recipes and content of my website.
Join us now and enjoy more 800 recipes (Mostly French with European Influences, American Classics and Asian fusion)
Already register? Sign in
