Please note that the full access to this content needs a subscription: please sign up.
Easy homemade French bread with long fermentation
This recipe is a protected and only available for paid members. To obtain the full step by step recipe and detailed ingredients list, please sign up.
Preview the recipe
- This recipe yields: 1x800g + 1x 1200g + 4x350g bread. It can be divided by 2 if the capacity of your stand mixer wont hold it.
The Art of Mixing Bread Dough for Maximum Flavor
- If you want to unlock the full potential of your homemade bread, one of the best-kept secrets of professional bakers is this: mix a larger quantity of dough rather than a small batch. Why? Because a bigger mass of dough ferments more evenly, retains temperature better, and develops deeper, more complex flavors. Better Gluten Development – More dough means more consistent kneading, leading to a stronger, more elastic structure. Controlled Fermentation – A larger quantity resists rapid temperature swings, allowing for a slower, more controlled rise. Enhanced Flavor – Enzymes work more efficiently over time, breaking down starches into sugars and creating a richer taste.

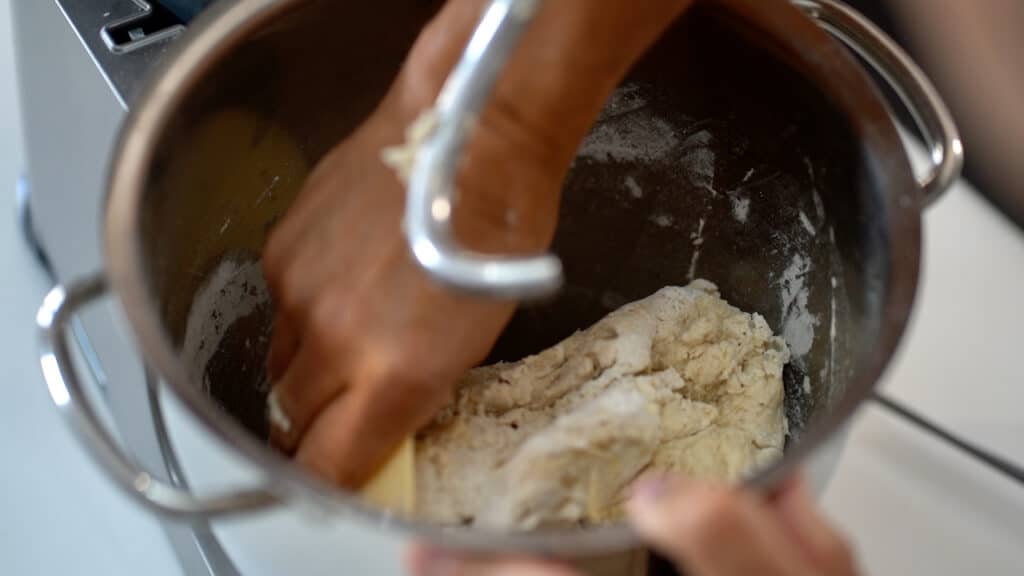
Mixing Dough
- In the bowl of the stand mixer fitted with the hook attachment, combine water, salt, flour, semolina, and instant yeast. Start mixing on low until combined. Increase mixer speed to medium and continue to knead for approximately 12 minutes. Avoid over-mixing – There are indeed several negative effects from over-kneading dough: if the dough gets too warm, it will ferment too quickly and will therefore lack flavor. Kneading for too long can cause the flour to oxidize and bleach, again impairing flavor. At the end of the mixing process, the dough temperature should be at 73/77ºF (23/25ºC).

Fermentation
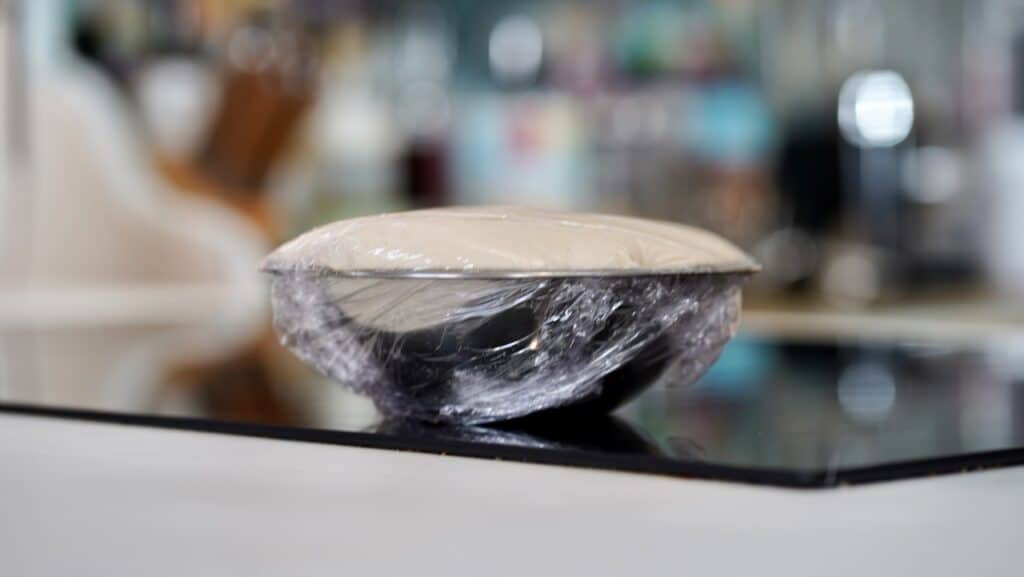
- Cover the dough and let the first fermentation going for an hour. Deflate (degas) dough, and fold into a large round. Place dough in a lightly oiled large bowl – cover the dough and refrigerate for up to 14 hours.
Shaping
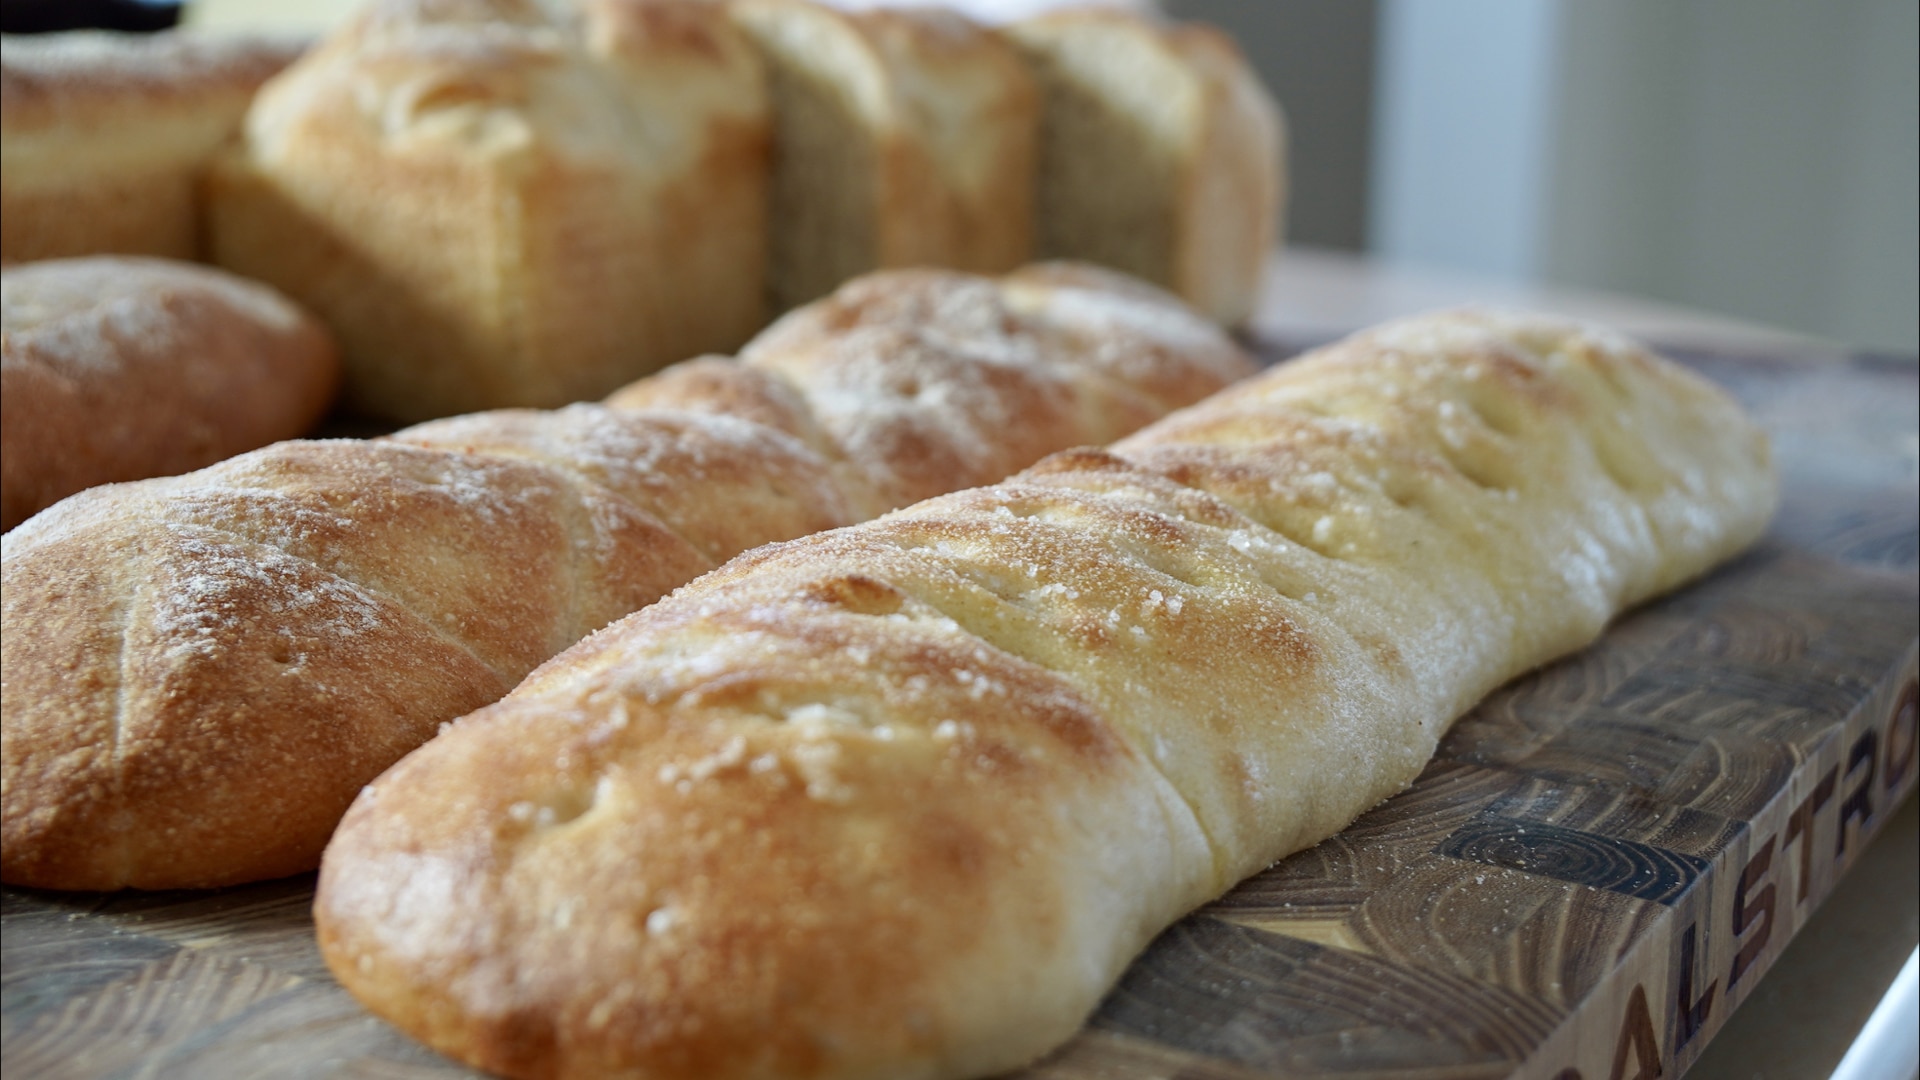
- Take the fermented dough out of the refrigerator to rest at room temp for 90 minutes. Flour countertop and flip bread dough over without deflating it. Divide dough into desired portions: 350g for flat bread, ciabatta, and baguette. 800g for 9″x4″x4″ pullman pan, or 1000g max for larger sizes. Fold dough into oval. Cover dough and it let relax for 20 minutes. Gently flatten (degas), and shape into log for large bread (grease molds with cooking spray if using them). For flat bread, ciabatta, or free-style rustic looking baguette, degas dough and stretch it out over an upside down baking tray lined with a micro-perforated silicone mat or use parchment paper.
Proofing
- Cover bread and let proof for 90 minutes for flat breads, and for about 3 hours for large breads. Flat bread and ciabatta can be finished with a dust of semolina or flour, poking holes with your fingers, or crossed cut bread with a sharp knife or razor blade.
Baking
- Preheat oven on baking position (not fan) to 550ºF/290ºC with the pizza stone in for 30 minutes. For the flat breads: Bake for 10 minutes – spray water to create steam right before shutting off oven door. For the baguettes, set oven temp to 500ºF/260ºC. Slide baguettes onto the hot pizza stone, spread water and bake for 5 minutes. Then lower oven temperature to 450ºF/230ºC, and bake for additional 15 minutes. Larger breads would need 40 minutes + to bake. Transfer breads to a wire rack to cool off.
How To Store Bread
- Generally speaking, bread made with commercial yeast tends to dry out faster than bread made with natural levain (sourdough), due to differences in moisture retention and acidity. Size also plays a role—baguettes, with their high crust-to-crumb ratio, have a much shorter shelf life than large, round loaves.If you want to keep bread fresh longer, consider making or buying a few loaves at once. Slice them into portions while still fresh (ideally a few hours after baking) and store them in freezer bags for up to 6 weeks. When ready to enjoy, simply let the bread thaw at room temperature for about 3 hours before serving. Rewarm quickly in the oven. Though, if chose this option, bread won't last that long.Fun fact: Previously frozen bread can actually be healthier to eat! The freezing process alters the starch structure, resulting in a lower glycemic index compared to fresh bread. So not only does freezing extend shelf life—it might also make your bread a better choice for stable energy levels.Note: Storage times may vary slightly depending on your local humidity and atmospheric conditions.
Ready to discover this recipe? You're only 1 step away.
This recipe is only accessible to registered members!
Create your account to access all recipes and content of my website.
Join us now and enjoy more 800 recipes (Mostly French with European Influences, American Classics and Asian fusion)
Already register? Sign in
