Please note that the full access to this content needs a subscription: please sign up.
They say perfection is in the details...
This recipe is a protected and only available for paid members. To obtain the full step by step recipe and detailed ingredients list, please sign up.
Preview the recipe
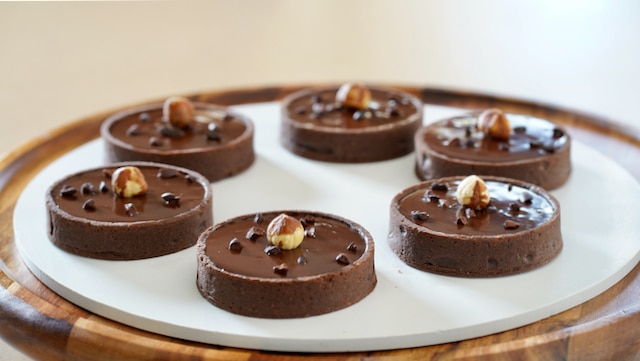
Chocolate Tartlets
- To begin, always work on a lightly floured surface when handling pastry dough. This prevents sticking and makes it much easier to roll out. After dividing your pastry in half, gently work the dough with your hands to soften it and make it pliable. Be careful not to overwork it, as this can develop the gluten and result in a tough crust. The goal is to achieve a soft, pliable dough while keeping it cool.Next, roll out the pastry into a thin sheet, approximately 3mm (⅛ inch) thick. Lightly prick the dough all over with a fork to prevent it from puffing up during baking. Using a cookie cutter that is slightly larger than your pastry rings, cut out four disks. If needed, gently soften the edges of the pastry disks with the palm of your hand, then place them loosely inside the rings.Gently press the pastry against the bottom and sides of the rings, ensuring there are no gaps between the base of the mold and the crust. A slight lip of pastry should form just above the upper edge of the rings. Chill the tartlets thoroughly to allow the pastry to rest and firm up. Once well-chilled, use a sharp knife to shave off the excess pastry flush with the top of the ring, creating a neat, professional finish.At this stage, you can refrigerate the tartlet shells for up to three days, leaving them uncovered to prevent condensation from softening the pastry.

Baking
- Line each tartlet shell with two sheets of microwave-safe plastic wrap. Next, fill the lined shells with pie weights. The weights help to hold the dough down and maintain its shape as it bakes. Pre-bake the tartlets in a preheated fan oven at 160°C (330°F) for 15 minutes. This initial baking sets the crust and helps prevent it from becoming soggy once the filling is added later on.After the first 15 minutes, carefully remove the pie weights and plastic wrap, then continue baking the tartlet shells for an additional 10 minutes. This final baking step ensures the crust is fully cooked and achieves a beautiful golden-brown color. Please note that baking times may vary depending on your oven, so keep an eye on them toward the end.
Chocolate Mousse
- To begin, gently melt your chocolate. While the chocolate is melting, heat a mixture of cream, glucose, and trimoline on the stove. The glucose and trimoline help prevent crystallization, resulting in a smoother, more supple ganache. Once the cream mixture is hot, pour it over the melted chocolate and stir gently until fully combined. After the initial mixture is well combined, add the remaining and chilled heavy cream. Mix everything together thoroughly with the immersion blender, then transfer the ganache montée to the refrigerator to set overnight.
Soft Salted Caramel
- In a hot frying pan, make a caramel à sec (a dry caramel), meaning without water. Stir occasionally as the sugar begins to brown. When it starts to smoke, lower the heat and carefully stir in the hot heavy cream, butter, and salt. The mixture will bubble up vigorously, so proceed with caution.Cook for a couple of minutes, stirring constantly, until smooth. Pass the caramel through a fine-mesh sieve to ensure a silky texture, then let it cool to room temperature. Do not refrigerate.
Chocolate Crémeux
- In a saucepan, bring a mixture of heavy cream, milk, and a portion of the sugar to a gentle boil. While the cream mixture is heating, beat the egg yolks with the remaining sugar in a separate bowl. Once the cream mixture reaches a boil, remove it from the heat. Slowly pour a portion of the hot liquid into the beaten egg yolks while whisking constantly to temper them. Pour the egg mixture back into the saucepan with the remaining cream and milk, whisking continuously. Return the pan to medium-low heat and cook the crème anglaise, stirring constantly with a spatula, until it reaches 85°C (185°F) or coats the back of a spoon. Remove the crème anglaise from the heat immediately and strain it through a fine-mesh sieve over the chocolate and stir gently until fully combined.
Assembly
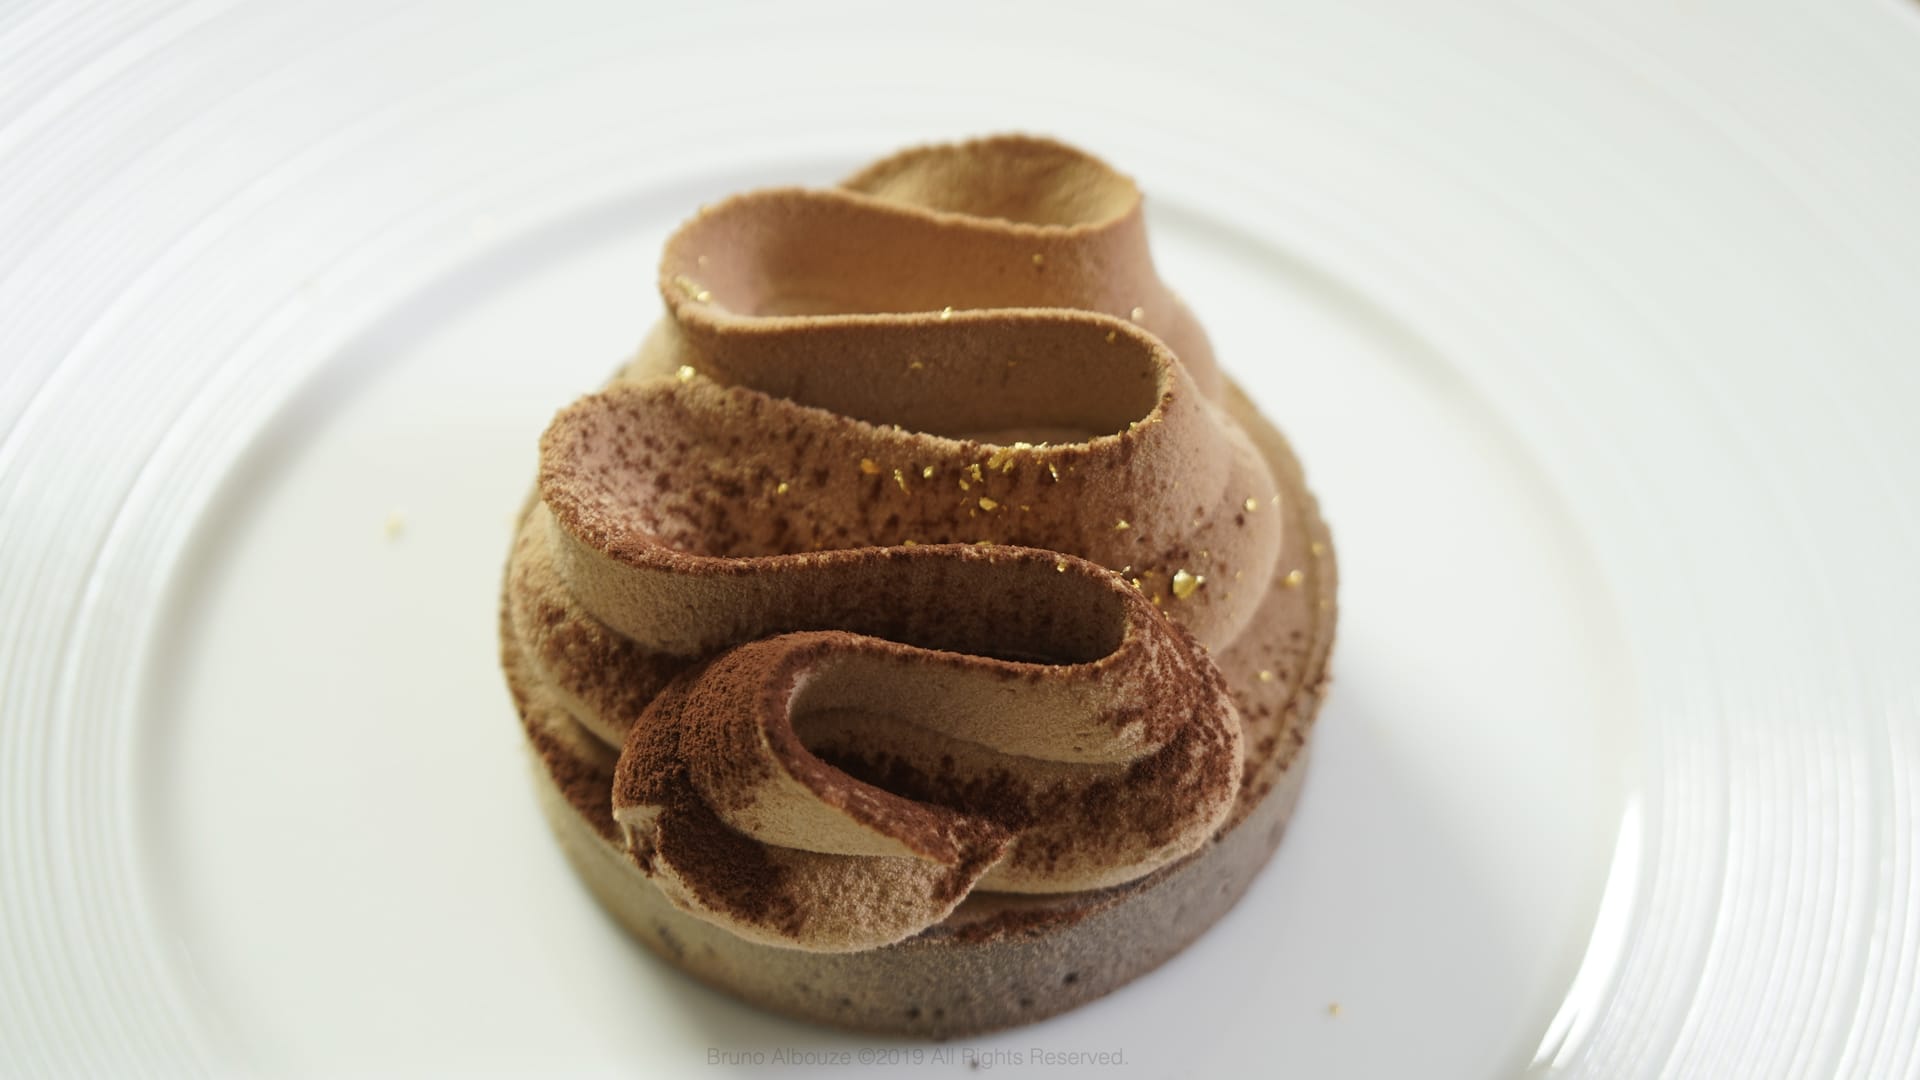
- Pour approximately 20g (¾ ounce) of soft salted caramel into each baked tart shell. Refrigerate to set. Once the caramel is set, fill the tartlets with the warm chocolate crémeux and chill until firm.Whip the chilled ganache to medium-firm peaks. Top the tartlets with the chocolate mousse using a St. Honoré piping tip, or simply cut the tip of a disposable pastry bag on the bias for a similar effect.Freeze the assembled tartlets for at least 3 hours before spraying with the chocolate spray mixture, known as flocage.
Spraying Tartlets
- To achieve this technique, you will need a small paint spray gun with a cup on top. Chocolate spray canister can also be purchased online. Start by spraying the frozen tartlets on the outside, ensuring an even coating all around. Once you have sprayed the tartlets, refrigerate them overnight to allow them to thaw and set properly. Before serving, you can elevate the presentation by lightly dusting one side of the tartlet with cocoa powder.
Storage
- These chocolate caramel tartlets is their make-ahead potential. You can refrigerate them for up to 3 days. Additionally, you can also keep them frozen for up to 3 months allowing you to plan ahead for future gatherings or simply satisfy your sweet cravings whenever they strike. Enjoy!
Ready to discover this recipe? You're only 1 step away.
This recipe is only accessible to registered members!
Create your account to access all recipes and content of my website.
Join us now and enjoy more 800 recipes (Mostly French with European Influences, American Classics and Asian fusion)
Already register? Sign in


Appetizers
Beetroot Red Cabbage Mango Salad

Free Recipes
How To Prepare Red Cabbage Raw


Free Recipes
Apple Pie Traybake

Cakes
Olive Oil Chocolate Cake

Desserts
Spicy Chocolate Bar

Entrees
Deboning A Poularde Leg
Free Recipes
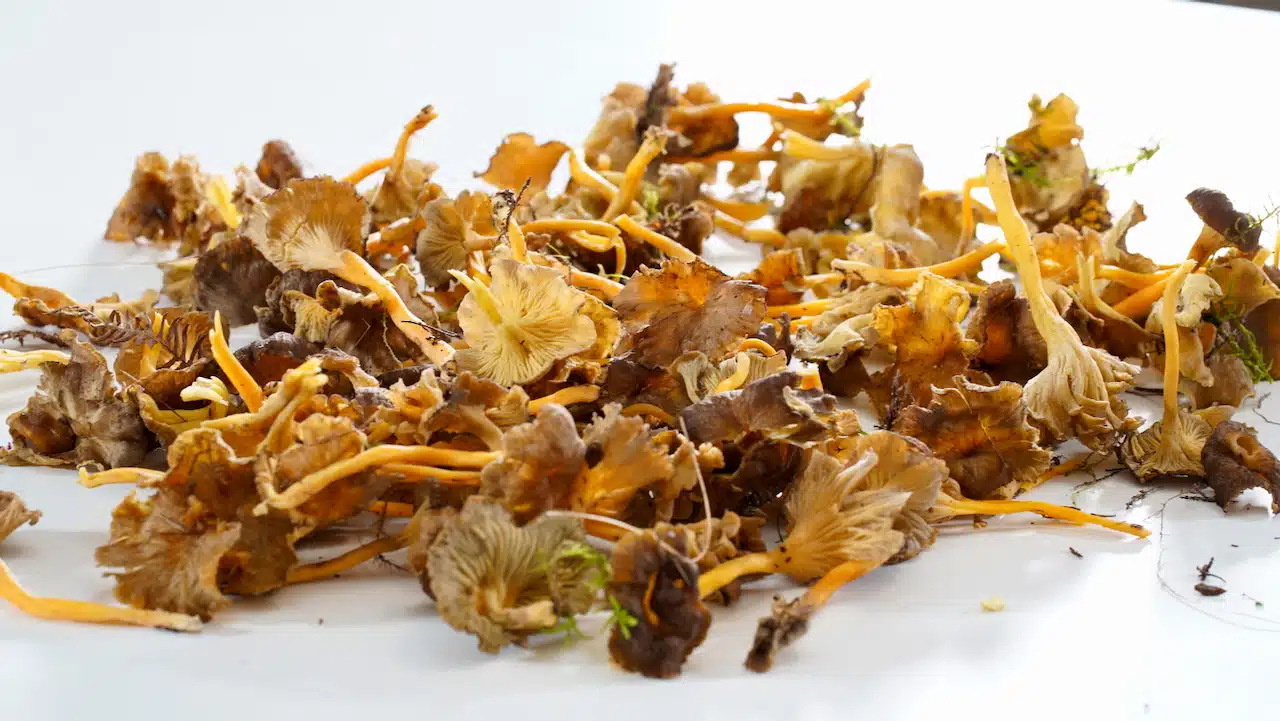
Chanterelle

Bread
Panettone Perdu

Free Recipes
Mustard Fig Spread

Free Recipes
Poularde Demi-Glace
