Please note that the full access to this content needs a subscription: please sign up.
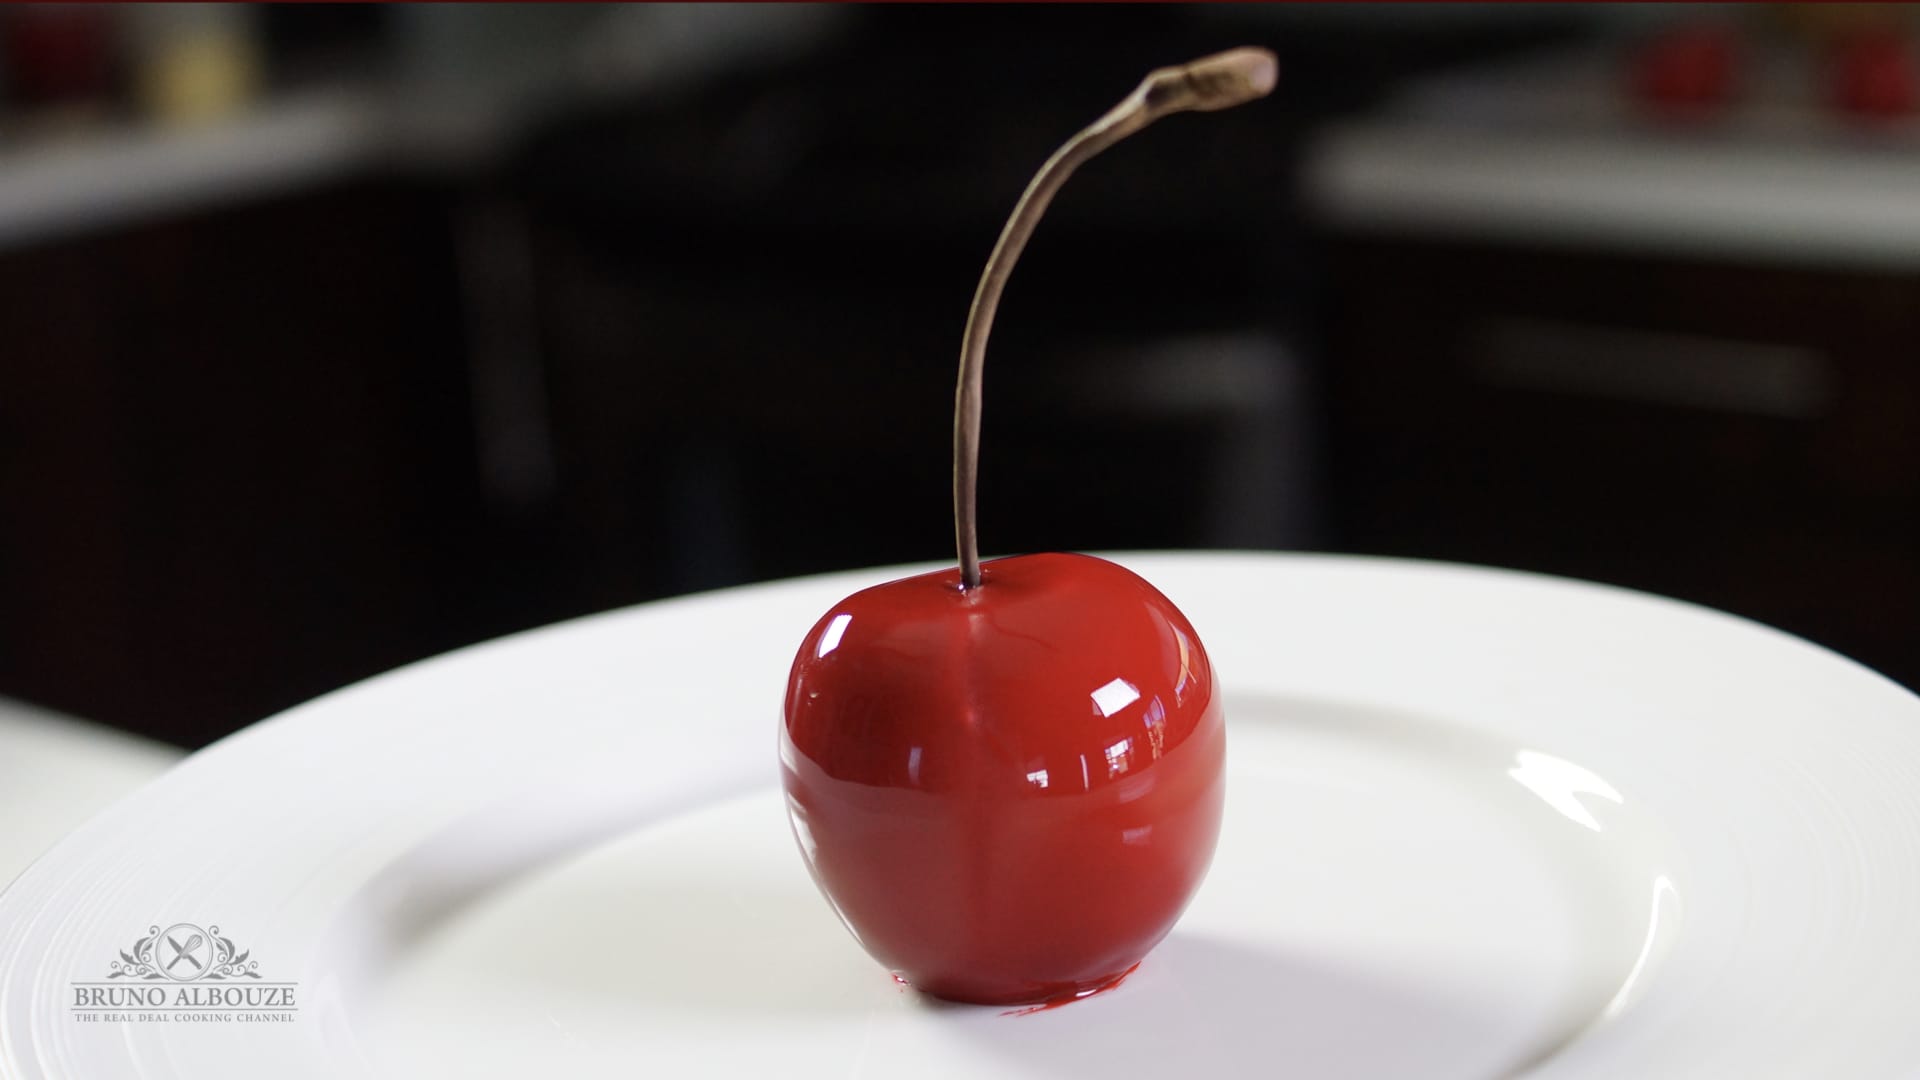
When illusion become reality
This recipe is a protected and only available for paid members. To obtain the full step by step recipe and detailed ingredients list, please sign up.
Preview the recipe
Silicone Mold
- For best results, use a Silikomart silicone mold in an apple, cherry, or peach design.
Cherry Jelly Insert
- Pit the cherries and cut them into eighths. Set aside. In a separate deli container or small bowl, whisk together the sugar, pectin, and corn starch. Set aside. In a sauté pan over high heat, cook half of the cherries (225g) with olive oil for 1-2 minutes. Carefully flambé the cherries with Kirsch until the flames subside. Reduce the heat to low. Add the corn syrup and the sugar-pectin-corn starch mixture, stirring to combine. Cook for 2 minutes, stirring constantly. Add the tart cherry juice and stir. Remove from heat and gently fold in the remaining raw cherries and lime zest. Allow the mixture to cool completely to room temperature.Spoon the mixture into the mini demi-sphere silicone mold. Freeze until completely solid, preferably overnight. Wearing disposable gloves, unmold the cherry inserts onto a frozen tray. Press two demi-spheres together to form a sealed, individual 1 ounce/30g balls. Place the completed spheres on a frozen tray and freeze immediately.
Tarragon Mousse
- Place the gelatin sheets in a bowl of cold water. Soak for 5-10 minutes until soft and pliable. Melt the chocolate: Create a double boiler. Bring a pot of water to a simmer, then place a heatproof pastry bowl on top, ensuring the bottom does not touch the water. Melt the white chocolate in the bowl, stirring occasionally until smooth. Remove from heat immediately once melted.In a saucepan, heat the heavy cream with the chopped tarragon over medium heat until it just begins to steam; do not boil. Turn off the heat, cover, and let steep for 20 minutes to infuse. Strain the infused cream through a fine-mesh sieve into the melted white chocolate, pressing firmly on the tarragon to extract all the flavor. Discard the herbs.Squeeze any excess water from the softened gelatin sheets and add them to the warm cream and chocolate mixture along with the kirsch. Using an immersion blender, blend until the gelatin is fully dissolved. Pour the mixture into a clean bowl, cover and refrigerate overnight.Transfer the chilled mixture to the bowl of a stand mixer. Whip on high speed until medium-soft peaks. Be careful not to over-whip, as it will complicate the filling procedure.
Chocolate Shell Glaze (Enrobage)
- Melt the cocoa butter over direct heat in a small saucepan until completely liquid. Transfer melted cocoa butter to a narrow and tall deli container. Add white chocolate and add the white chocolate and let sit for a couple of minutes. Quickly blend the mixture with an immersion blender. Strain through a fine-mesh sieve to remove any impurities.Temper the coating before use. The ideal working temperature is 113°F/45°C. Storage: If using daily, store in a sealed container and melted in a warm area. For long-term storage over months, refrigerate in an airtight container and re-warm gently before use.
Montage
- Fill each cavity of the silicone mold halfway with the tarragon mousse. Place a frozen cherry jelly insert into the center of each cavity. Ensure the insert is suspended in the mousse and does not touch the bottom of the mold or protrude from the top. Fill the cavities with the remaining mousse. As you fill, gently press the mousse around the insert to eliminate any air gaps and ensure it is fully encapsulated. Freeze cakes overnight or for up to 3 months.
Red Mirror Glaze
- Make a day ahead. Soak the gelatin sheets over a bowl of cold water. Soak until soft and pliable, about 5 minutes. Drain and squeeze out excess water. Set aside. In a saucepan, combine the water, sugar, and corn syrup. Bring to a boil, stirring just until the sugar dissolves. Continue cooking without stirring until the syrup reaches 218°F/103°C. Immediately remove the syrup from the heat. Whisk in the drained gelatin until it is fully dissolved. Then, whisk in the condensed milk and vanilla extract.Pour the hot syrup mixture over the white chocolate in a bowl. Let it sit undisturbed for 2-3 minutes to soften the chocolate, then whisk gently until the mixture is completely smooth. Using an immersion blender, blend the glaze until it is perfectly smooth and emulsified. Tip: Keep the blender head submerged to avoid incorporating air bubbles. Add food coloring and blend again until the color is uniform.Strain and de-bubble: Strain the glaze through a fine-mesh sieve into a clean container. Gently tap the container on the counter to release any air bubbles. Refrigerate glaze overnight.
*Cherry Stems
- Cherry stems can also be imitated using marzipan mixed with cocoa powder. Make them in advance and let edible stems dry out for a day or 2. In the food processor, pulse dark chocolate with the glucose until it turns into a workable paste. Shape into cherry stems. Brush them with some edible gold powder if desired.
Un-molding Cherry Cakes
- Unmold the hard-frozen cherry cakes and arrange them on a parchment-lined, frozen tray. Carefully insert a short bamboo skewer into the base of each cake. Return the tray to the freezer until you are ready to glaze.
Glazing Cherry Cakes (Two-Step-Process)
- Gently warm the white chocolate shell glaze to 113°F/45°C. Blend briefly with an immersion blender to ensure it is smooth and fluid. Keep it at this temperature in a warm water bath. Warm the red mirror glaze to 88°F/32°C. Keep it warm and ready for use.First Coat: Remove a few cakes from the freezer at a time. Working quickly, completely submerge one frozen cake into the warm white chocolate shell glaze. Lift it out, allow the excess to drip off, and place it back on the frozen tray. The coating will set almost instantly.Second Coat: Once the white coat is set, submerge the same cake into the red mirror glaze. Lift it out, gently tap the skewer to remove excess glaze, and place the glazed cake upright in a styrofoam block or holding device to set.
Finishing and Thawing
- Once all cakes are glazed and the glaze has set, carefully remove the skewers while the desserts are still cold. Insert a chocolate stem into the hole left by the skewer.Transfer the finished desserts to the refrigerator to thaw slowly for several hours before serving. Store refrigerated for a maximum of 48 hours. Enjoy!
Ready to discover this recipe? You're only 1 step away.
This recipe is only accessible to registered members!
Create your account to access all recipes and content of my website.
Join us now and enjoy more 800 recipes (Mostly French with European Influences, American Classics and Asian fusion)
Already register? Sign in
