
Please note that the full access to this content needs a "Year at the table" subscription: please sign up.
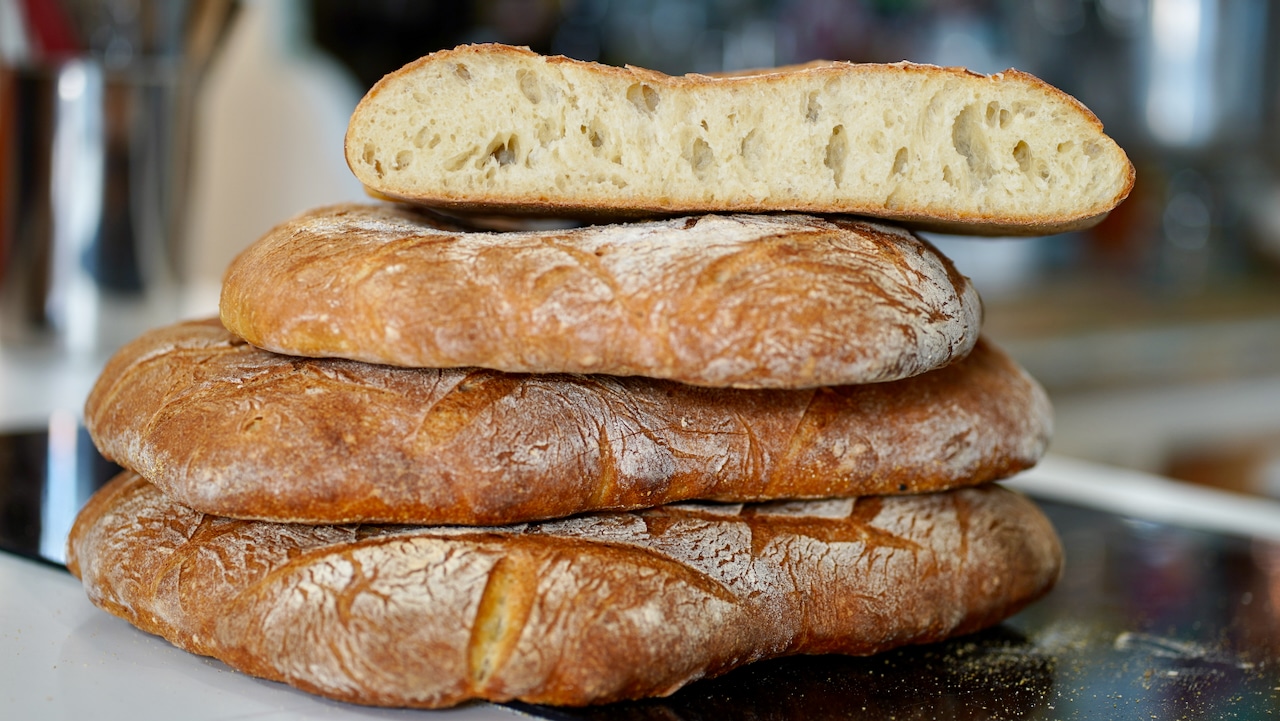
This is the family bread I would pick to make once a week...
This recipe is a protected and only available for paid members. To obtain the full step by step recipe and detailed ingredients list, please sign up.
Preview the recipe
How to Store Your Artisan Family Loaves
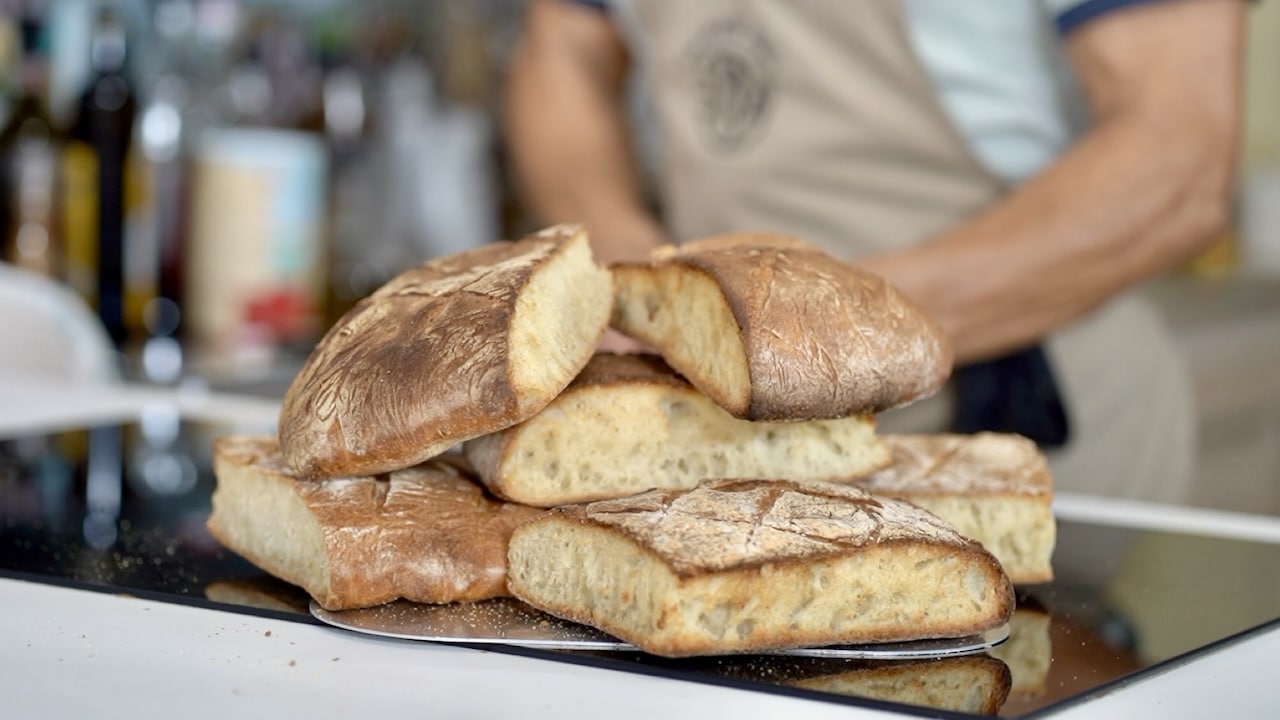
- When loaves are at room temperature, cut in half or 4, wrap in a kitchen towel, their shelf life is about 4 days.For later events: To enjoy your artisan loaf as crispy as it was on the first day, quarter each loaf, wrap or bag them, and store them in the freezer for up to a month. An hour before serving, preheat your conventional oven to 480ºF/250ºC with the pizza stone positioned on the bottom third of the oven for 45 minutes before. Place the frozen and quartered loaf inside for 5 minute. Turn the oven off and leave them in for additional 5 minutes. You'll get a fantastic golden crust with an open crumb all around. Let rest at room temperature for 30 minutes before eating.
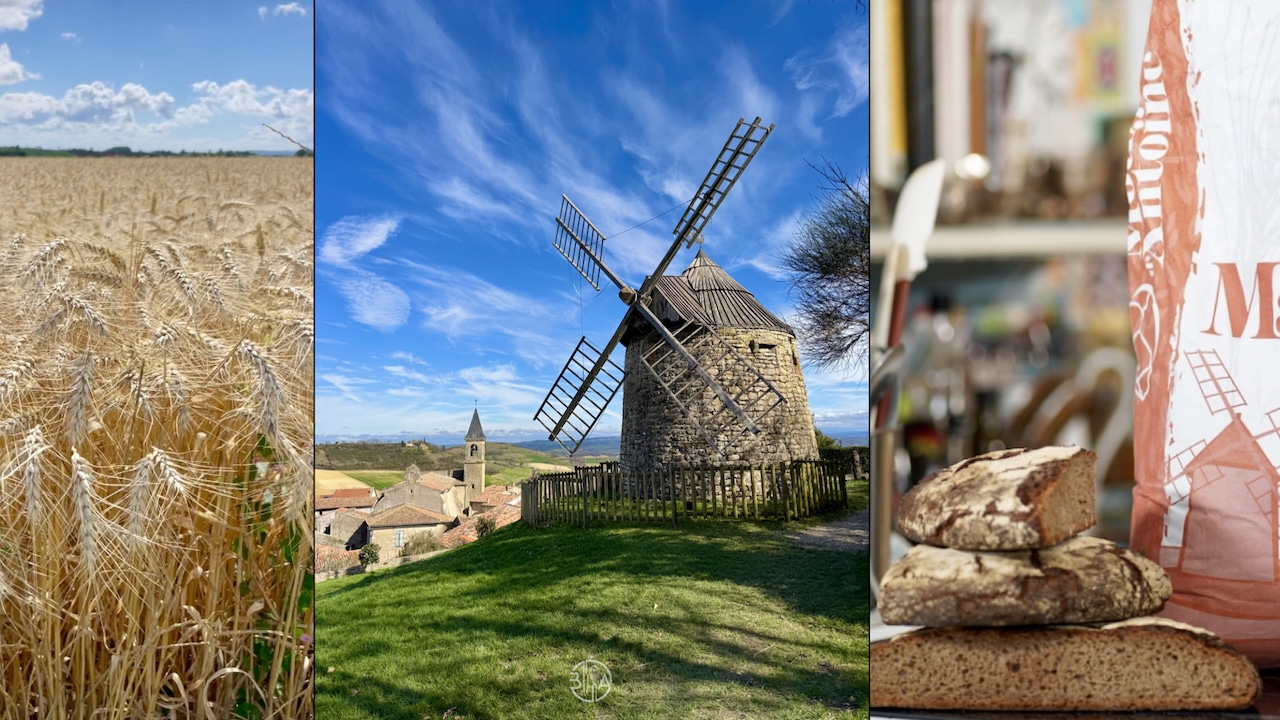


Basic Temperature: 75ºC
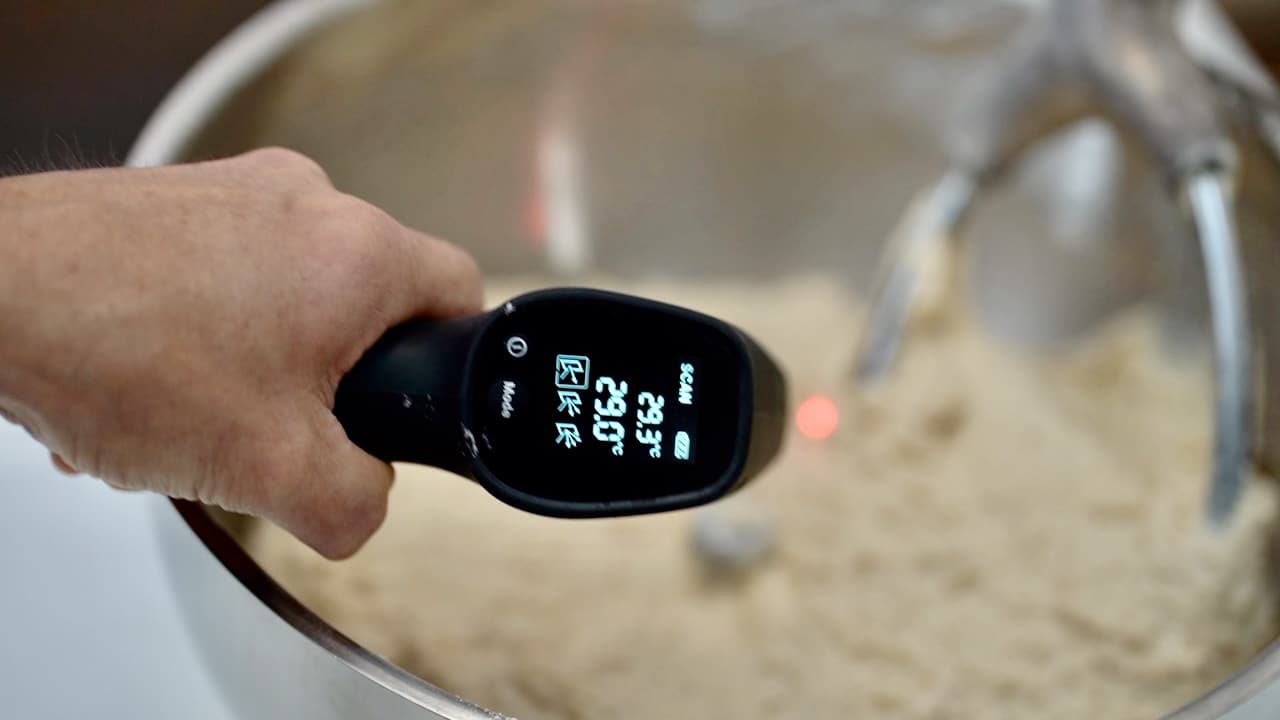
- This traditional Pain de tradition Française recipe calls for a desired dough temperature (DDT) that is warmer than most bread recipes: 28–30°C versus the standard 24°C. This higher temperature is intentional, as the method incorporates three specific factors: a slow and short mixing process, a low amount of yeast, and a four-hour bulk fermentation interrupted by a degassing intervention every hour.For example, during winter, if the room temperature and flour are both at 18°C and the friction factor is insignificant (≈1 degree celsius).75-18-18-1= water temp set at: 38/39ºC.Summer: 75-24-24-1= water temp should be set at: 24/25ºC. You also want to lower even further the amount of yeast by 2.

Kneading
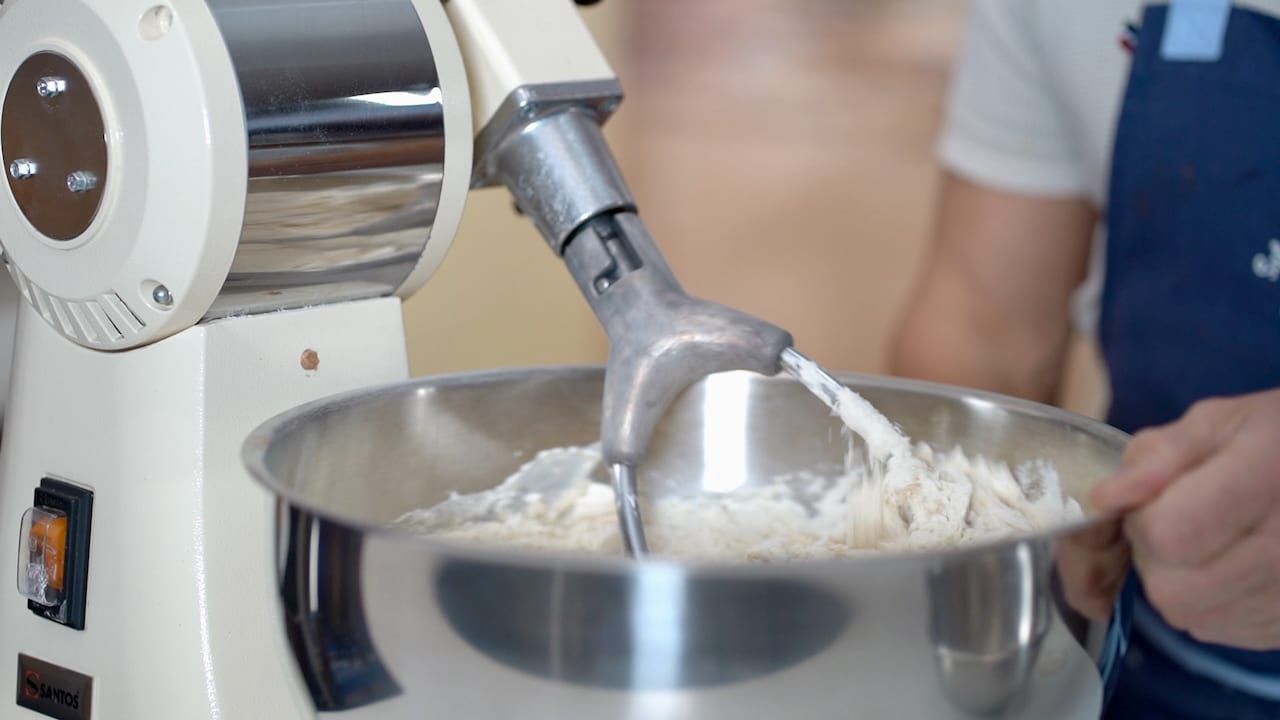
- First, pour the water into the mixing bowl along with the fresh yeast and salt. Add the flour, then mix on low speed for 10-12 minutes max. Pause the mixer occasionally to scrape down the sides of the bowl and the dough hook.The dough does not need to be mixed beyond this point. We are not aiming for a fully developed dough that passes the 'windowpane test'; instead, we want the dough to be slightly under-mixed. The gluten network will develop during the bulk fermentation.

Bulk Fermentation
- Cover the dough and let it ferment for 4 hours. During this time, the dough must be degassed 3 times (once every hour).
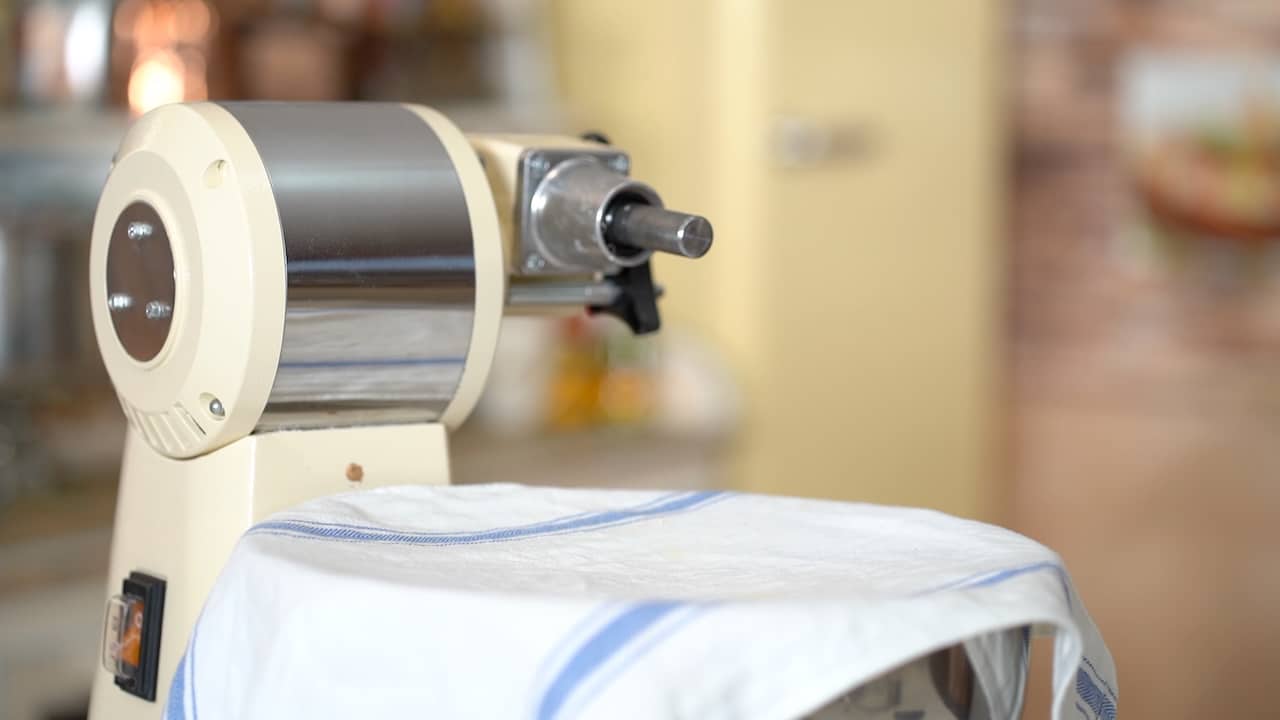
- This bulk fermentation can take place in the mixing bowl; to degas it, simply turn on the mixer briefly each hour, then re-cover the dough.
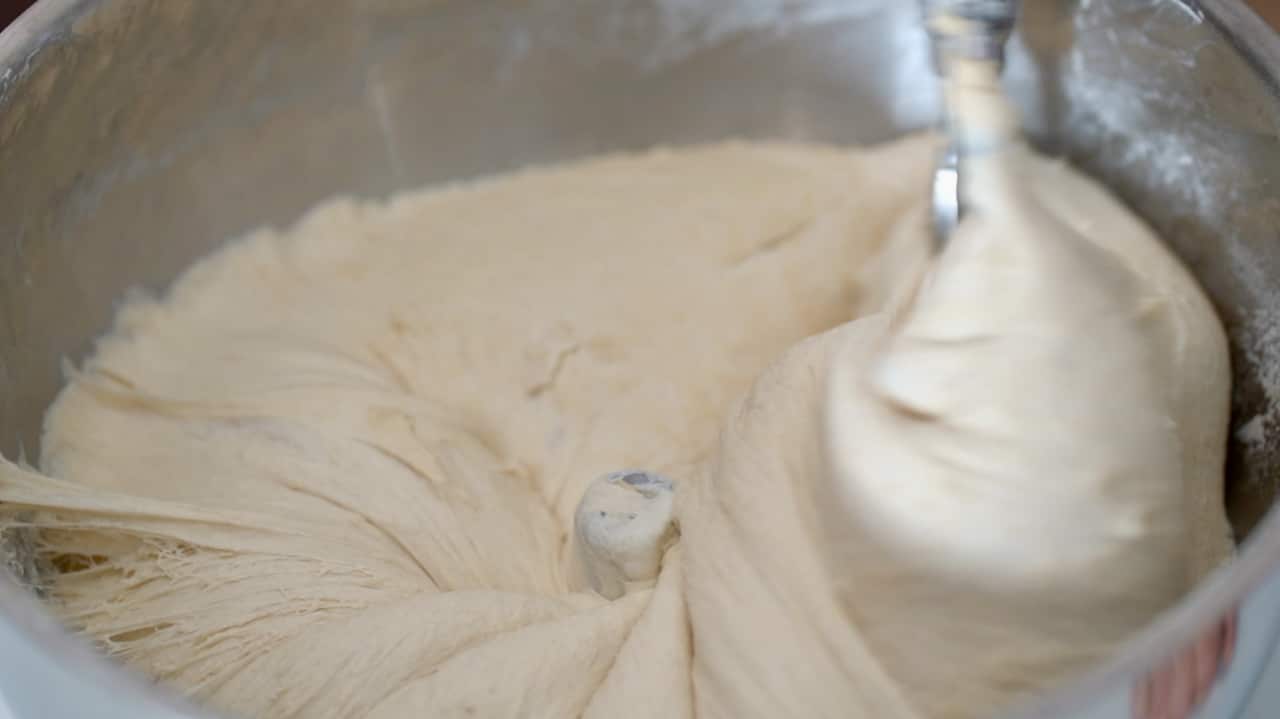


Dividing Dough
- Flour the work surface and the dough. Use the plastic dough scraper to release it from the edges of the bowl. Gently turn the bowl over (now, the skin is down). Flour the top.
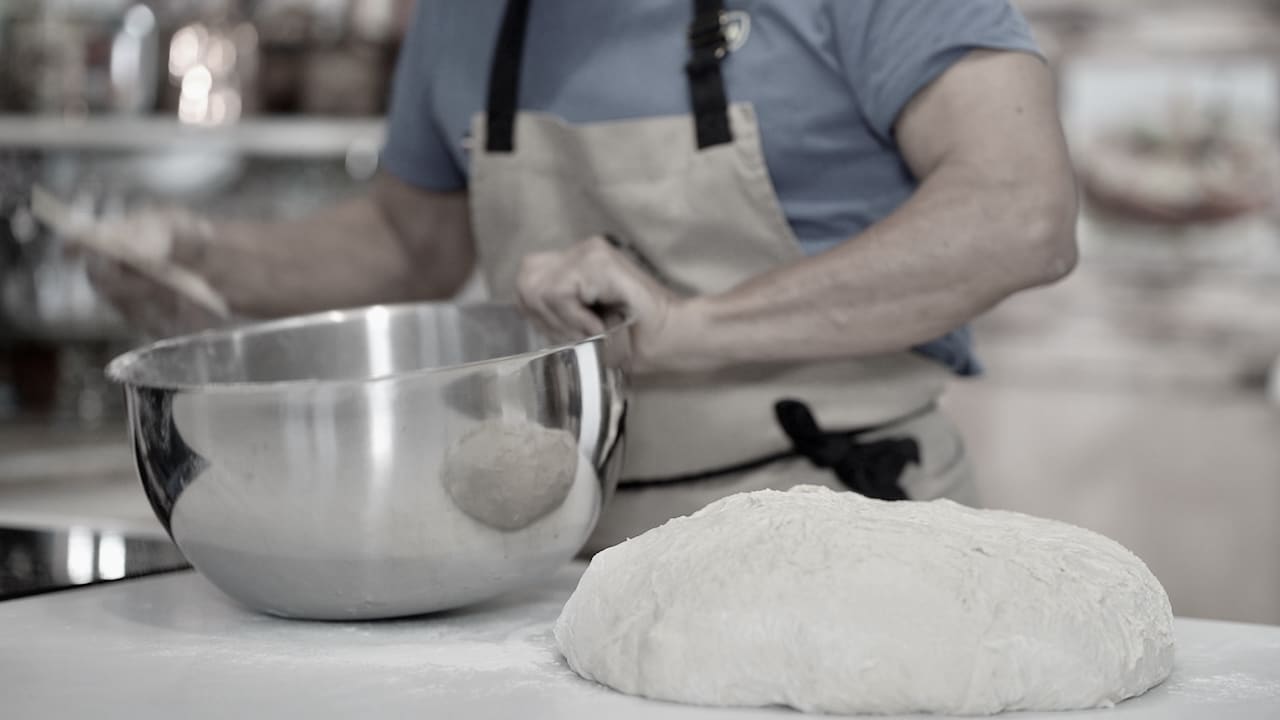
- With the help of the large triangle dough scraper, divide into 3 equal portions (keep it skin side down).
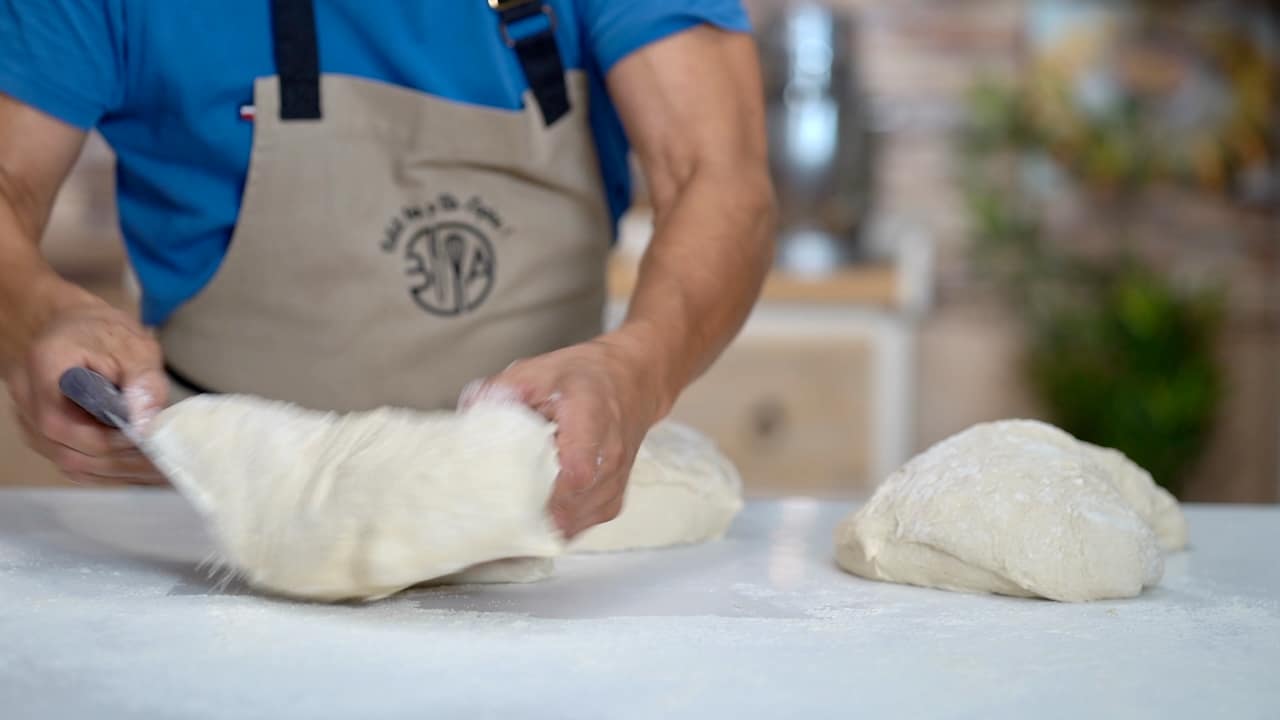


Bunch Rest
- Bench rest is the period during when dough is allowed to relax on the work surface after pre-shaping and before final shaping. Gently deflate the dough; try to burst any large air bubbles caused by fermentation, but you want to preserve most of the others (these will create the irregular, open holes throughout the crumb that we are seeking).
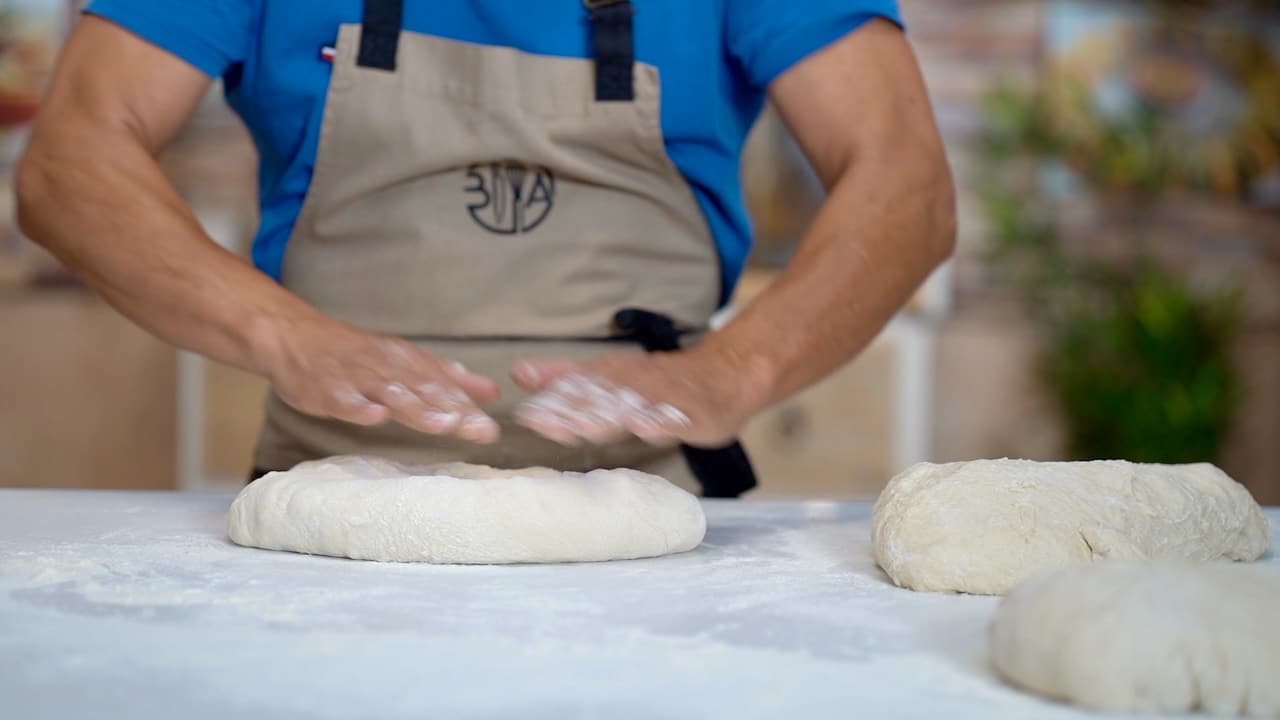
- Then, fold each piece into an letter to form a evenly distributed slab; still skin side down (seam up). If the dough is flattened too aggressively, it will compromise the final texture. Cover the dough and let it bench rest for 20 minutes.
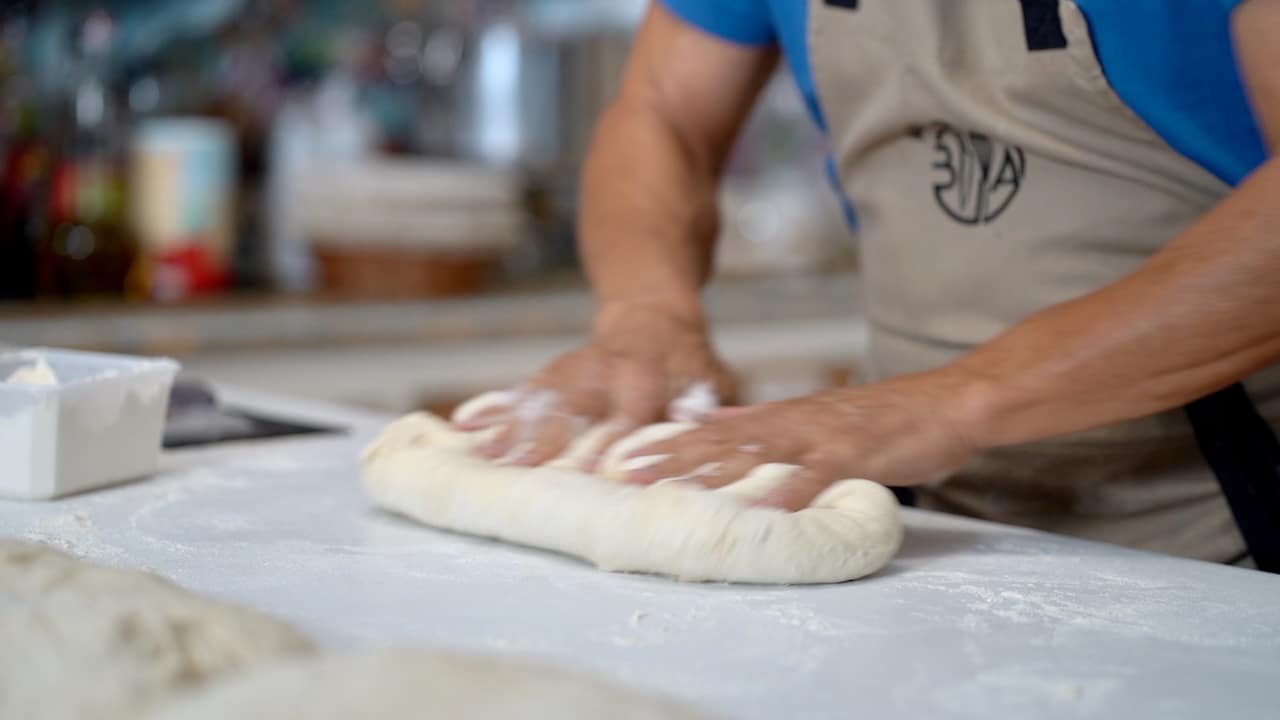


Last Step Before Proofing
- Line a baking tray with baker's couche and dust it with flour. Flour the work surface and the dough, then gently grab the first slab on the list and, with a gentle motion and from the center toward the edges, roll it out into an evenly distributed slab that is an inch (2.5 cm) narrower than the baking tray.
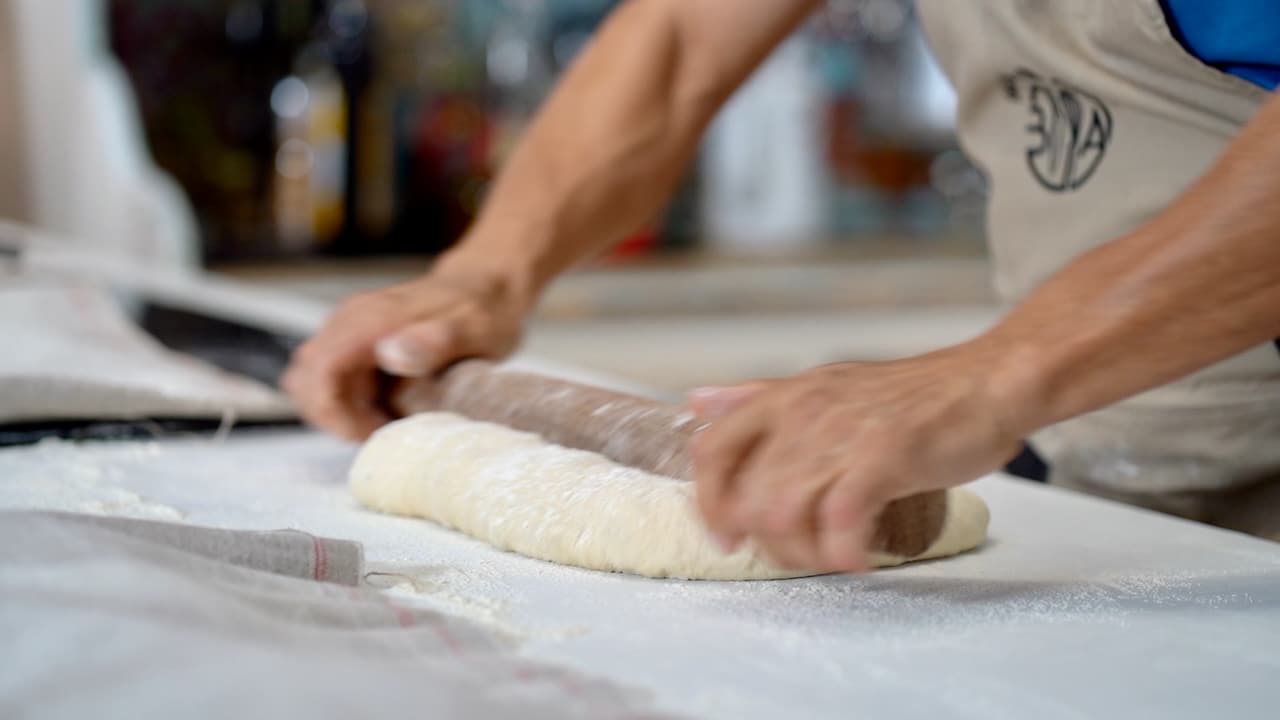
- Transfer the dough onto the prepared baker's couche (skin side down). Repeat with the other 2 loaves. Cover the bread and let it proof for about 90 minutes at 77ºF (25ºC). At home, unless you have a large oven that can handle baking all of them at once, place 2 loaves in the refrigerator; the cold will slow down the fermentation. They can be kept refrigerated for up to 4 hours.
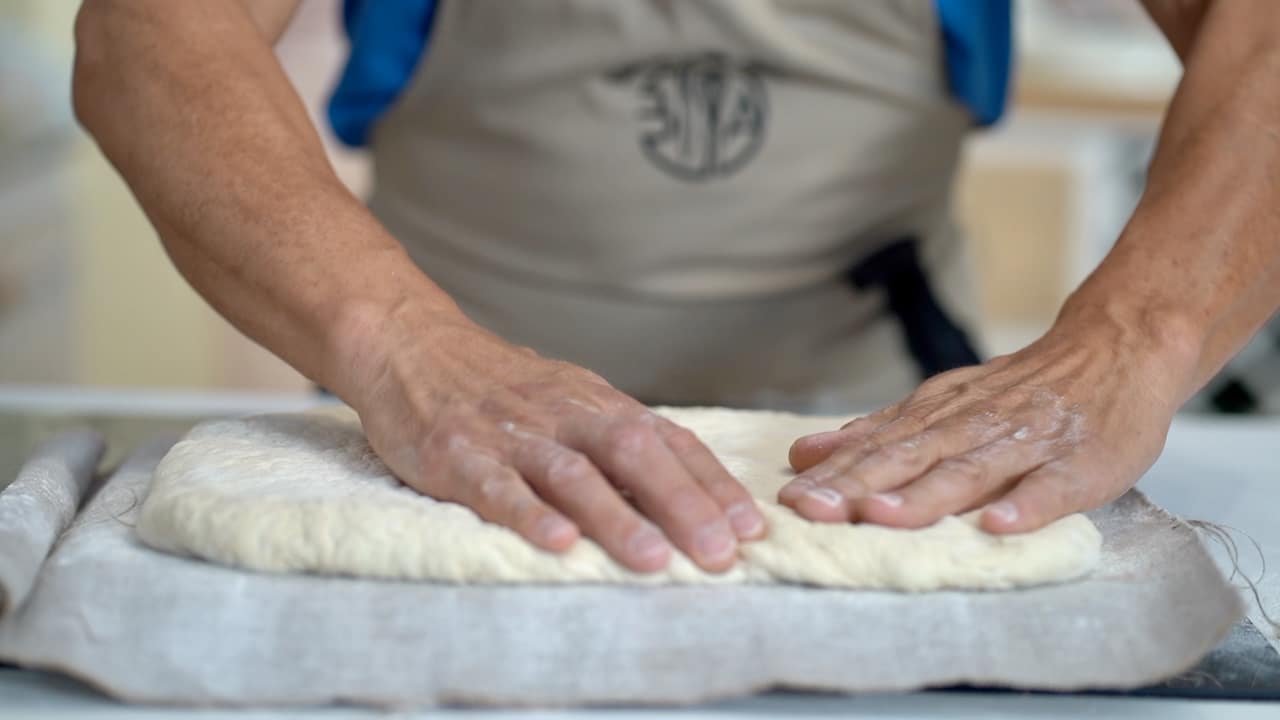


Proofing
- Preheat your conventional oven to 480ºF/250ºC with the pizza stone positioned on the bottom third of the oven for 45 minutes before baking your first loaf.
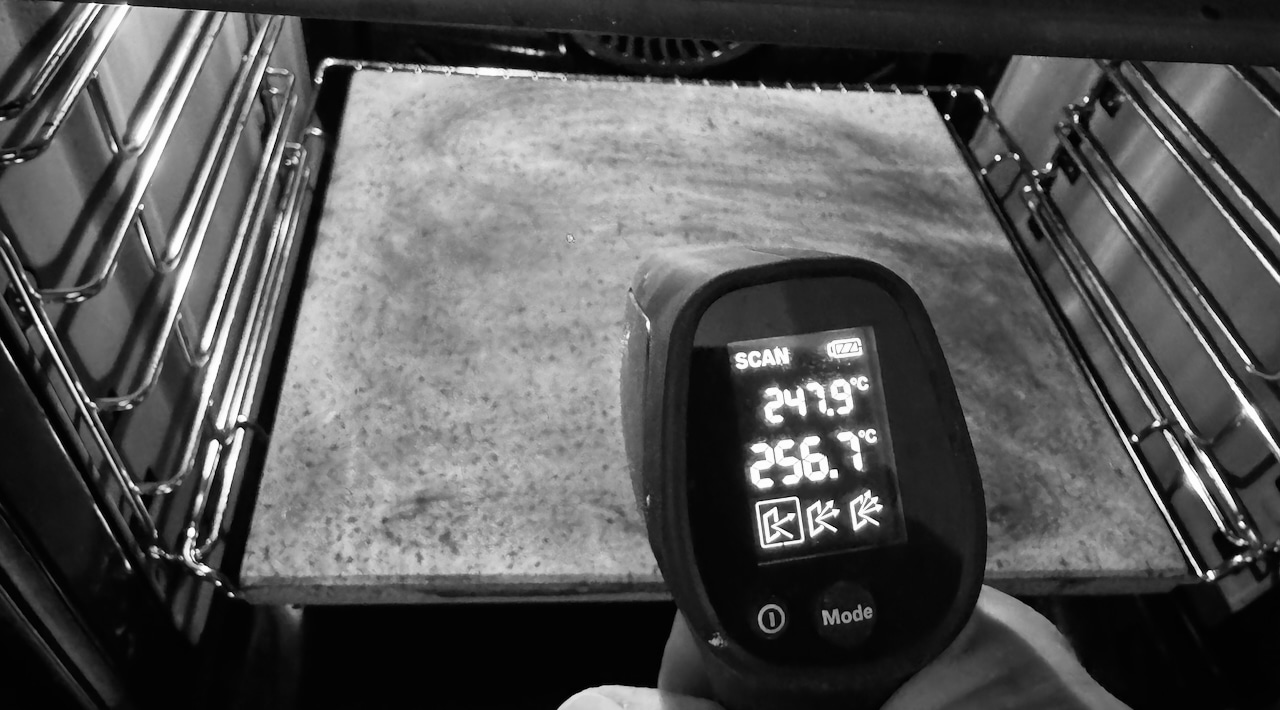

The Procedure for Flipping the Proofed Slab onto a Hot Pizza Stone
- When the oven is ready, dust the top of the proofed loaf with semolina and top it with parchment paper. With one hand, hold the baking tray underneath and place the pizza peel on top.
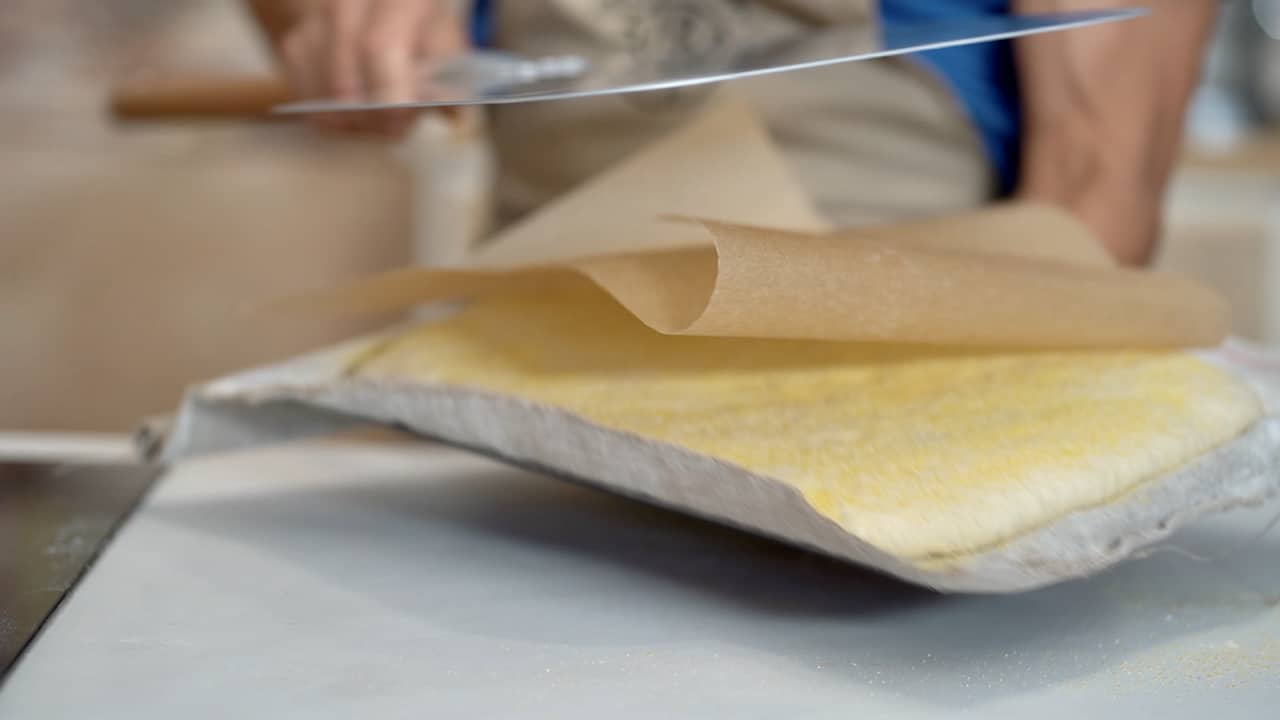
- Carefully flip it over. The slab will now rest, skin-side up, on the parchment and peel.
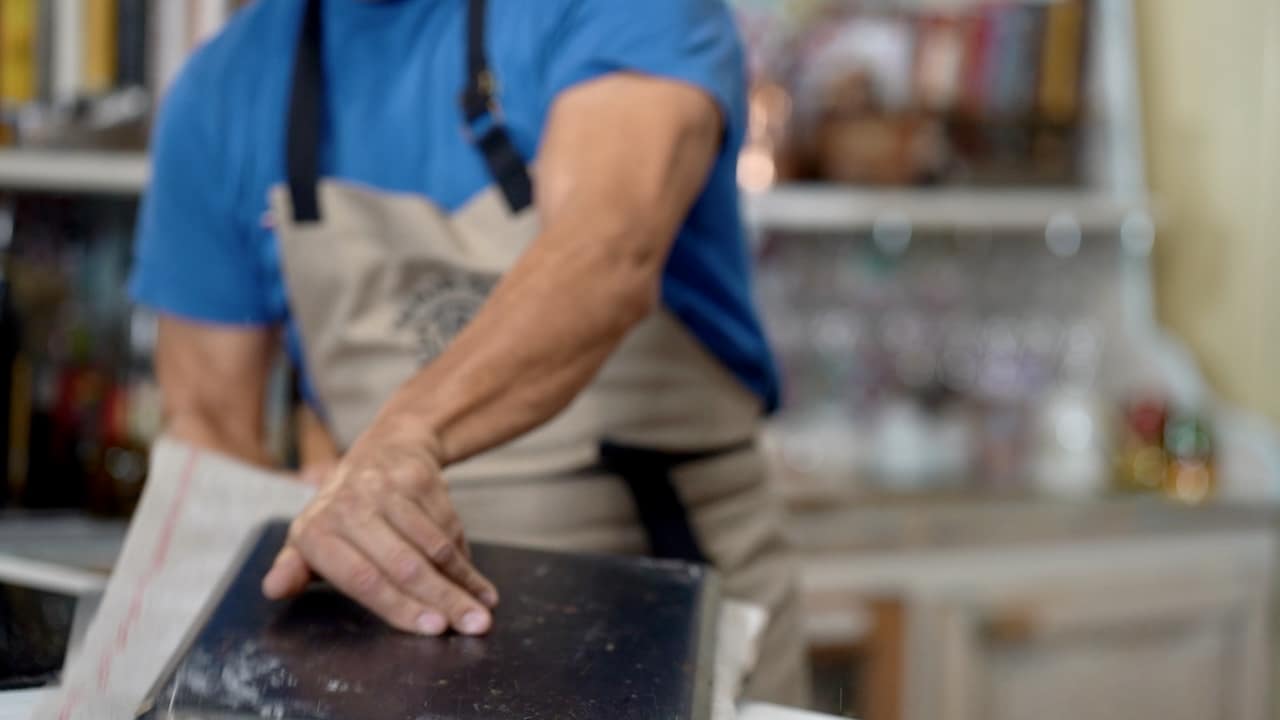
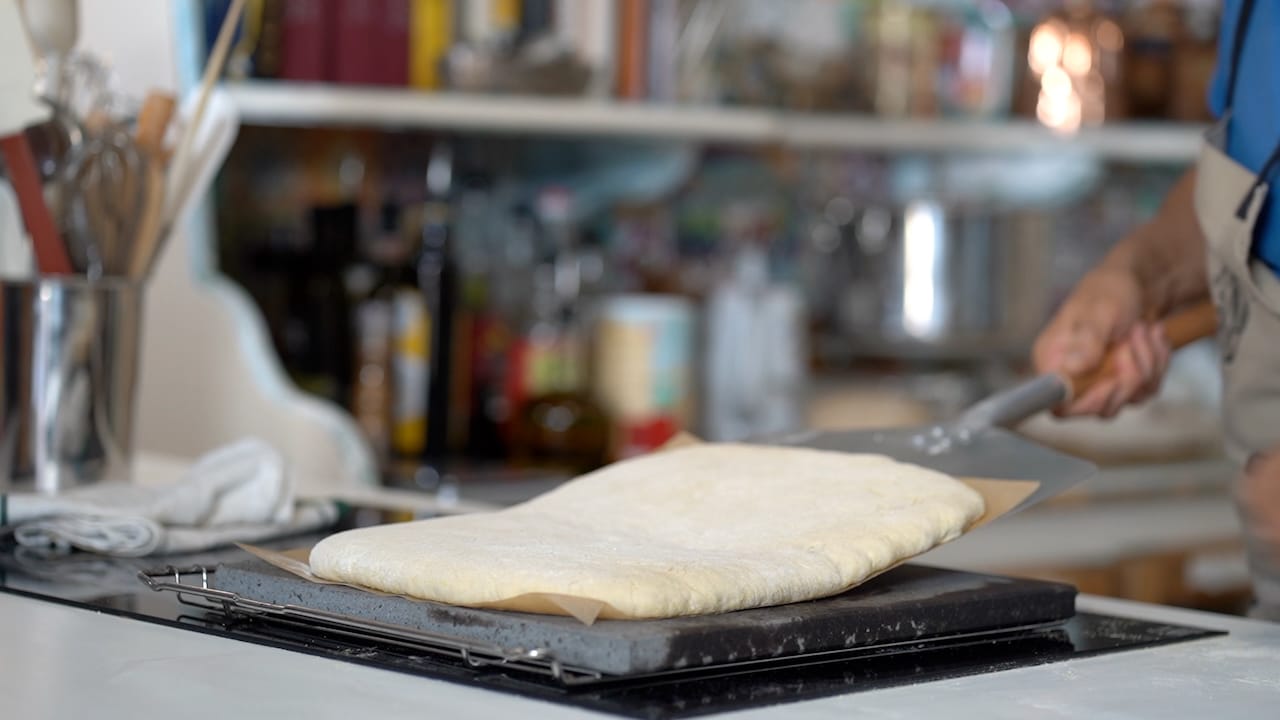
- Slide the bread onto the hot stone (position the stone accordingly).
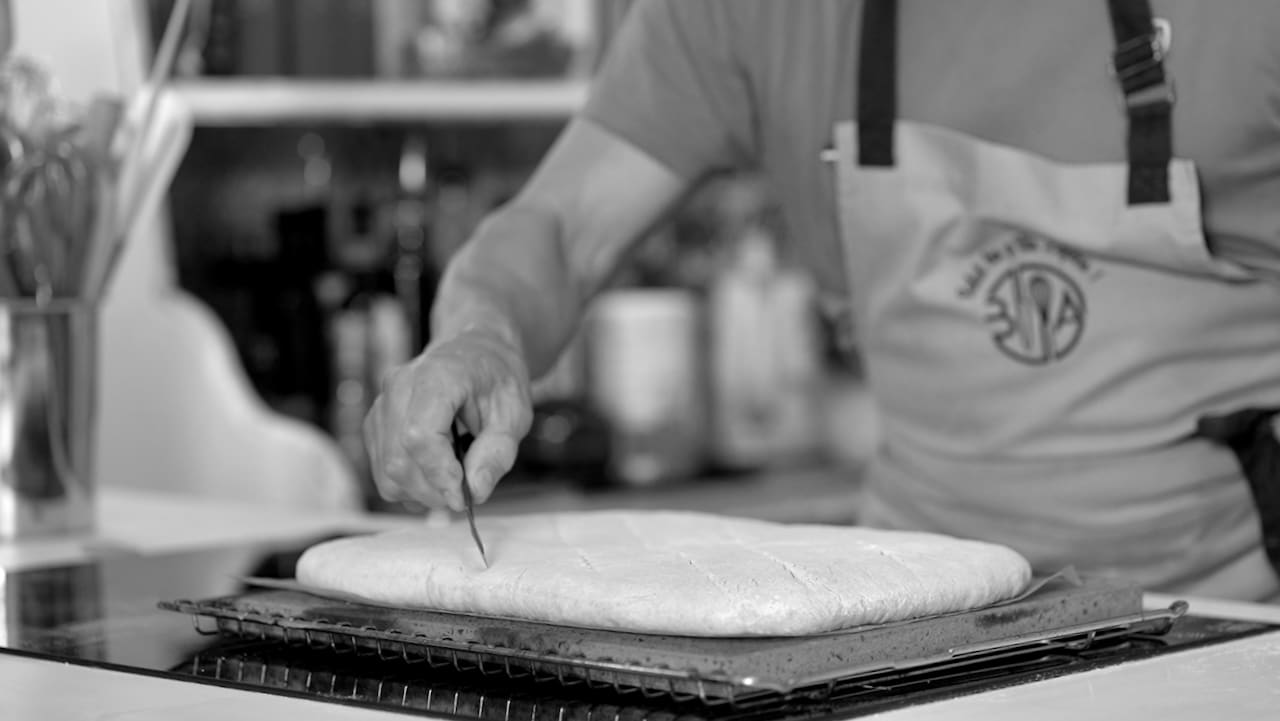
- Use a razor blade to score a criss-cross pattern. Spray water inside the oven, then bake the first loaf for 10 minutes at 450°F/250°C.


Baking
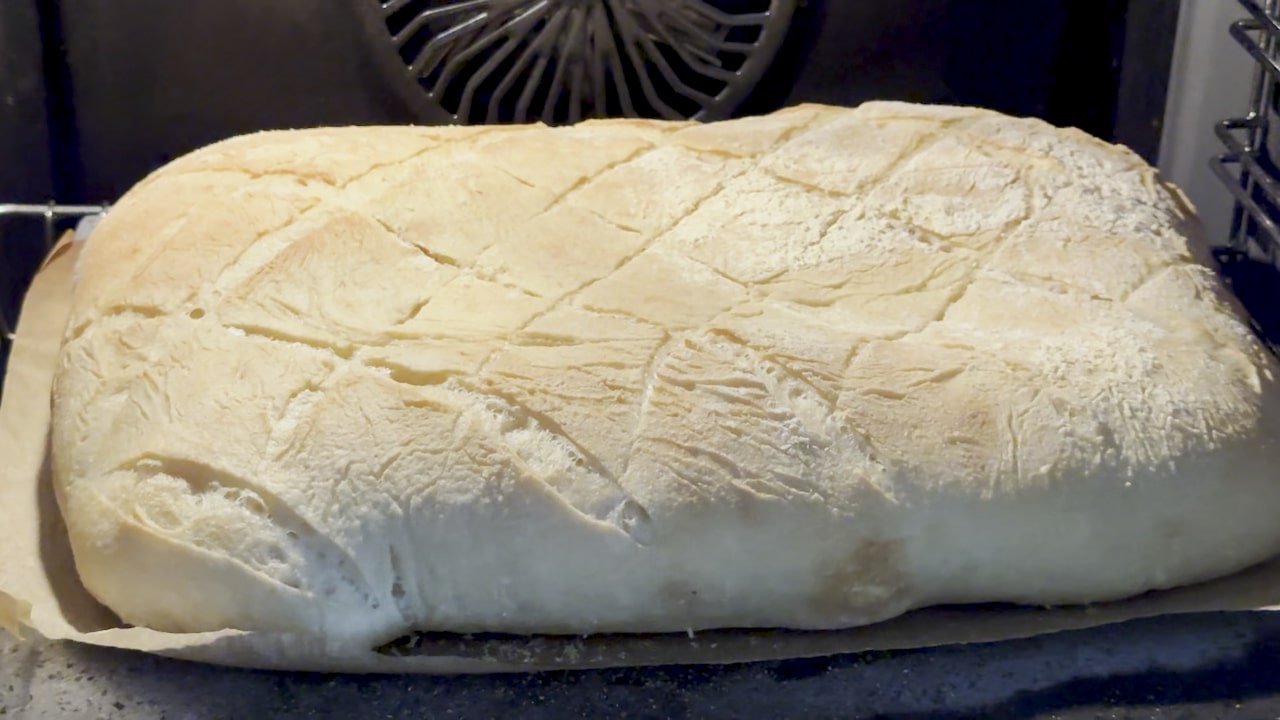
- Lower the oven temperature to 425ºF (220ºC), and continue to bake for 20 more minutes. Carefully open the oven door to let the steam escape, then leave the loaf in for 5 more minutes. Remove parchment paper first, and then slide the pizza peel under the bread, and transfer the loaf to a wire rack to cool. Immediately, reheat the oven to the same temperature and repeat the same baking process for the remaining loaves.

The Sign of A Well Baked Loaf
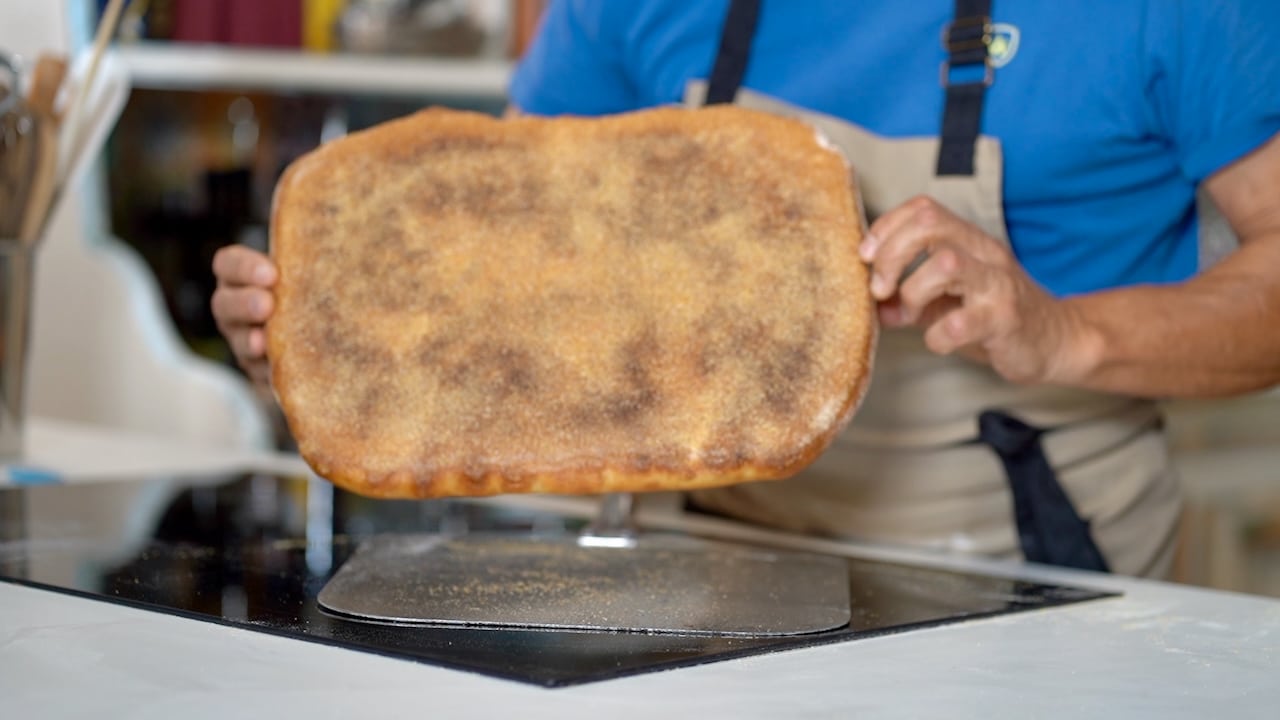
- A good sign of a well-baked loaf is when the bottom has a golden brown, thick crust. Tap it underneath, and you should hear a loud, hollow sound. If not, the pizza stone wasn't sufficiently heated.

This content is part of the PREMIUM SECTION

This recipe requires a All-content access subscription. The Premium section includes more than 50 essential recipes from French pastry and a special section for mastering artisanal bread.
The Premium section is only accessible with "A year at the table" subscription. Discover it with special first year discount.